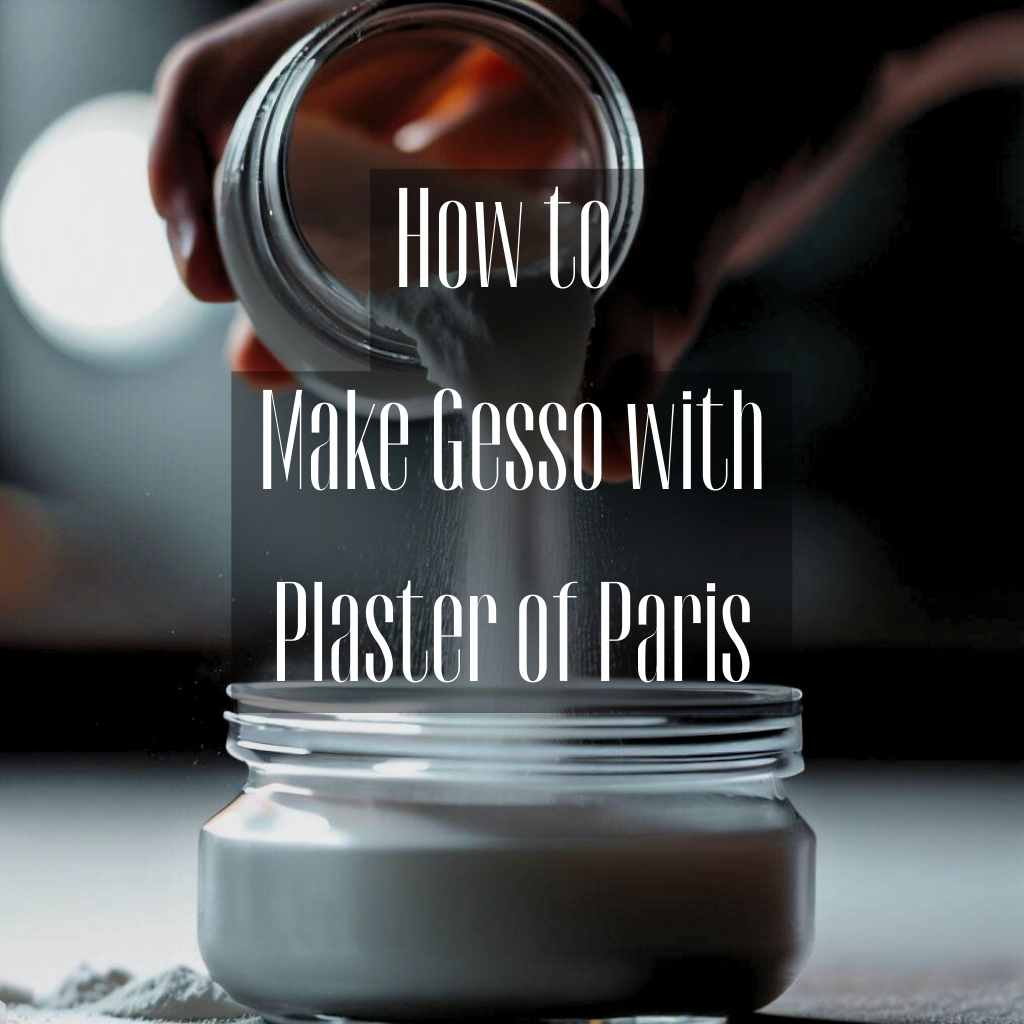
Are you an artist looking to elevate your creative process to new heights? If so, how to make gesso with plaster of Paris is a skill you’ll want to master.
In this introductory guide, we’ll dive into the captivating world of gesso and explore the art of crafting your own using plaster of Paris.
We’ll unravel the mysteries behind this essential artistic tool, from its historical significance to the benefits it brings to your art projects.
Get ready to unlock your artistic potential as we delve into the problem of creating a high-quality primer, agitate your curiosity about the possibilities of gesso, and provide you with the solution to unleash your creativity with confidence.
What is Gesso?
Gesso serves a twofold purpose in art: to create a smooth, even surface for painting and to protect the underlying substrate from the potentially harmful effects of art materials.
This primer has a long-standing historical significance, dating back to the Renaissance period when it was used to prepare wooden panels for oil paintings.
Benefits of using gesso in art projects
Gesso holds importance in contemporary art practices-
- Improved adhesion and vibrancy of art materials
- Provides a smooth and even surface for artwork
- Protects substrates from damage and extends longevity
- Customizable surface characteristics for artistic vision
- Enhances color vibrancy and creates a professional finish
- Suitable for various surfaces and mediums
- Offers better control and allows for correction
- Encourages experimentation and exploration in art.
Materials
Here you’ll need a few other items to create a successful batch of homemade gesso-
- Plaster of Paris
- Distilled water
- A mixing container (preferably non-metallic)
- A measuring cup or scale
- A spatula or stirrer and
- A sealable container for storing the gesso.
How to Make Gesso with Plaster of Paris: Step by Step
Learning how to create your own gesso makes you customize its properties to suit your artistic needs. Here’s the step-by-step guide for making gesso using Plaster of Paris:
Step1: Mixing the Gesso
Mixing the gesso is a critical step in the process of creating a homemade primer. It involves precise measurements and careful blending to achieve the desired consistency for optimal application and performance-
- Precise measurements: Accurately measure the plaster of Paris using a scale to ensure the right ratio of ingredients for your gesso mixture.
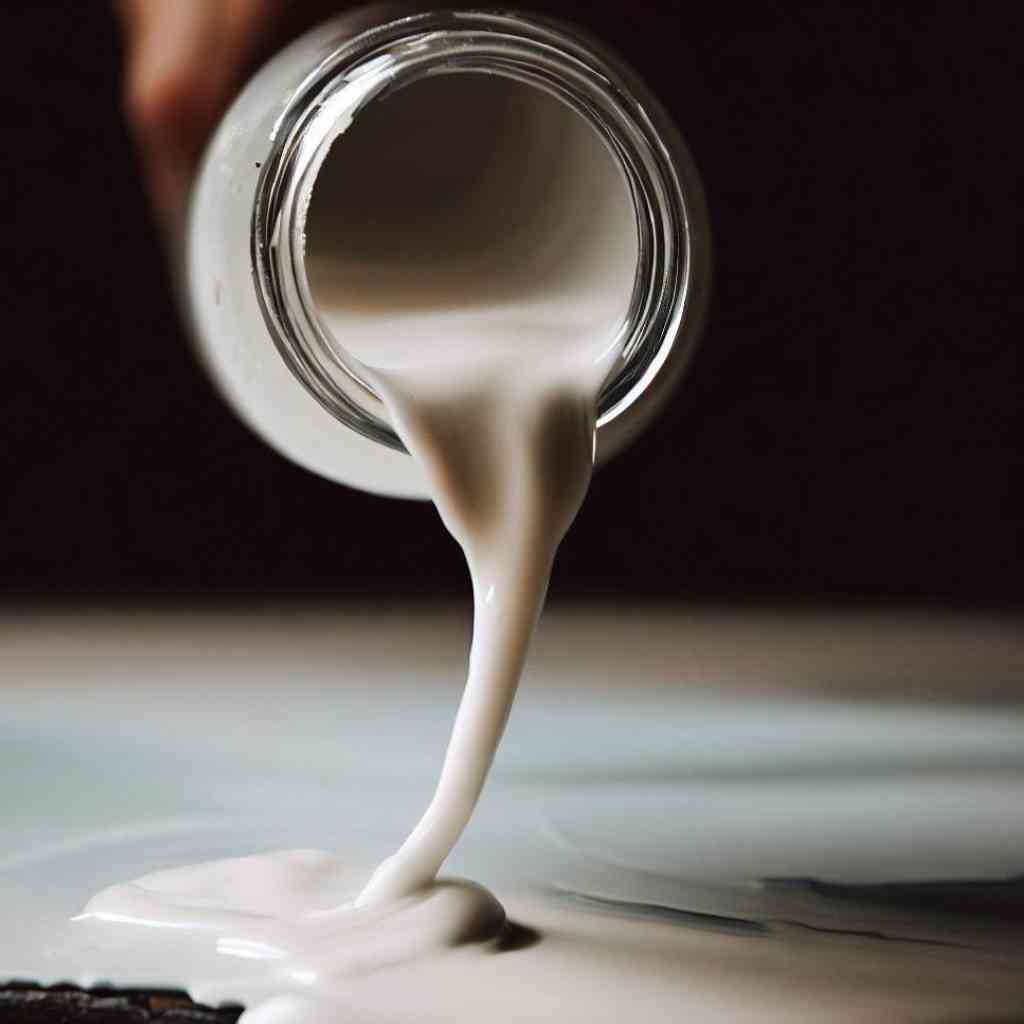
- Gradual water addition: Add water gradually to the measured plaster of Paris while continuously stirring to achieve even distribution and prevent clumping.
- Aim for the right consistency: The gesso should have a smooth and pourable consistency, neither too thin nor too thick, to ensure optimal application and surface preparation.
- Thorough mixing: Stir the mixture thoroughly to achieve a homogenous blend, breaking down any lumps or dry patches for a uniform gesso.
Step 2: Adding Binding Agents to the Gesso
When making gesso, incorporating binding agents is an important step that enhances the strength, durability, and adhesive properties of the primer. Binding agents help the gesso adhere to the surface and create a more robust foundation for your artwork.
There are several options to choose from, including:
- PVA glue (polyvinyl acetate): PVA glue is a popular choice as a binding agent for gesso. It provides good adhesion, flexibility, and durability, ensuring that your gesso remains intact over time.
- Rabbit skin glue: Rabbit skin glue, a traditional choice for gesso, offers excellent adhesive properties and has been used for centuries in art conservation. It provides a strong bond and helps create a stable surface for your artwork.
- Hide glue: Hide glue, derived from animal collagen, is another traditional binding agent used in gesso preparation. It offers good adhesion and has a long history of use in the art world.
Mixing the binding agent:
Ensure that the binding agent is thoroughly blended with the gesso mixture to create a homogenous and consistent blend. Stir the mixture carefully to avoid introducing air bubbles or causing clumping.
Step 3: Incorporating Fillers (Optional)
Whether you’re aiming for a specific texture, adjusting the absorbency, or fine-tuning the tooth of the gesso, fillers provide a means to customize your primer and create a surface that aligns with your artistic vision.
Popular fillers to consider when incorporating fillers into your gesso:
- Marble dust
- Talcum powder
- Calcium carbonate
Fillers can add unique characteristics to your gesso, enhancing its performance and providing additional benefits for your art projects.
Benefits of adding fillers to gesso include:
- Fillers allow you to adjust the texture and absorbency of your gesso, giving you greater control over your artwork.
- Fillers can modify the tooth of the gesso, influencing how mediums interact with the surface.
- Maintaining the right ratios of fillers ensures the consistency and workability of your gesso mixture.
- Incorporating fillers offers opportunities to add unique characteristics to your artwork, creating surfaces that align with your artistic vision.
How to add fillers with gesso

Select the filler you want to incorporate into your gesso. Start by adding a small amount of filler to the gesso mixture. Begin with about a tablespoon or less, depending on the quantity of gesso you’re making. It’s important to add the filler gradually to control the texture and avoid clumping.
Stir the filler into the gesso mixture, ensuring it is evenly distributed. Take your time to blend the filler and gesso together, breaking up any lumps or dry patches that may form.
As you add the filler, pay attention to the consistency of the gesso. If it becomes too thick or clumpy, you can adjust by adding a bit more water. Aim for a smooth and pourable consistency that is easy to spread.
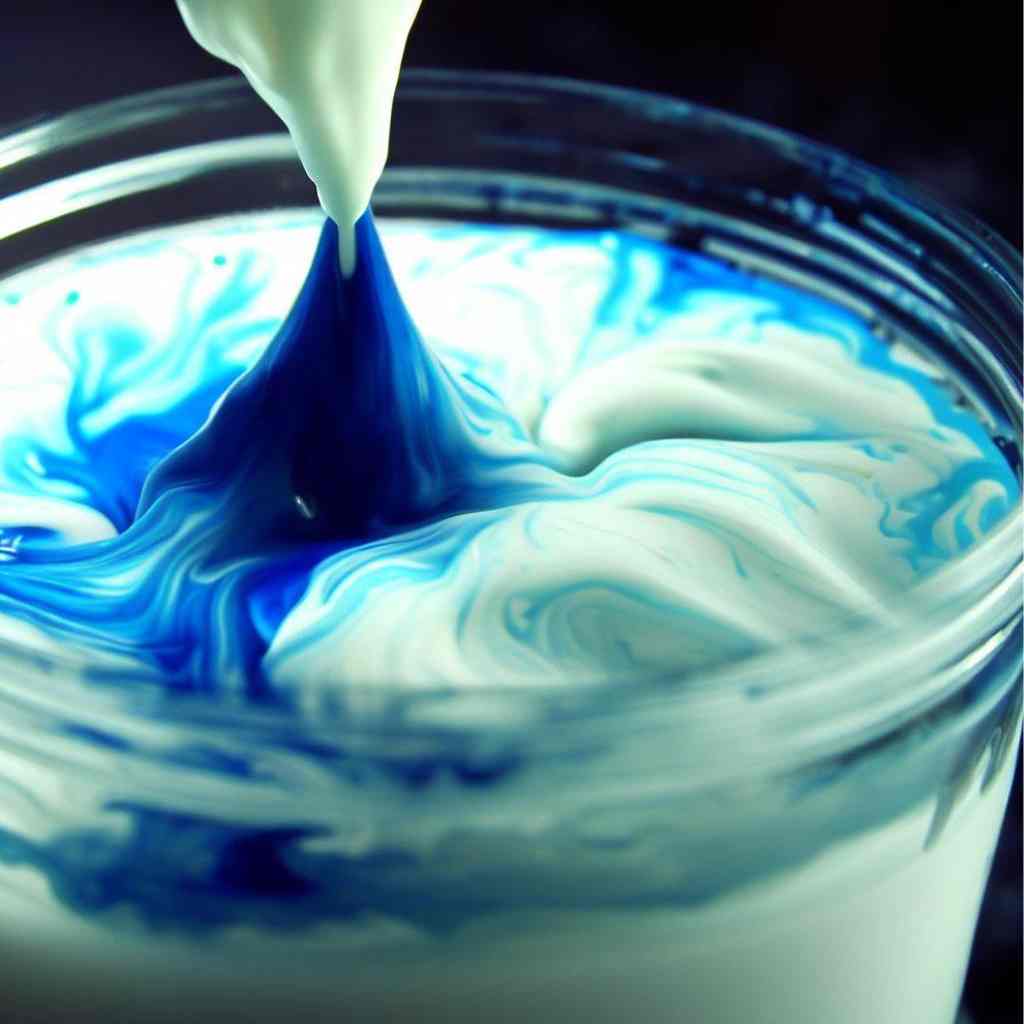
Step 4: Adding Pigments (Optional)
Adding pigments to your gesso mixture offers a wonderful opportunity to introduce color and enhance the visual impact of your artwork. While optional, this step allows you to customize the appearance of your gesso and create a unique base for your creative endeavors.
Here’s how to add pigments to the gesso-
- Choose suitable pigments: Select pigments compatible with your medium and gesso mixture.
- Gradual addition: Add pigments slowly, stirring continuously for even distribution.
- Test and adjust: Apply small amounts to assess color intensity and make adjustments as needed.
- Note pigment ratios: Keep track of ratios for consistent color replication or future adjustments.
Step 5: Mixing and Storing Gesso
Mixing and storing gesso properly is crucial to ensure its longevity and maintain its quality over time.
By following these steps, you can create a well-mixed gesso and store it appropriately for future use-
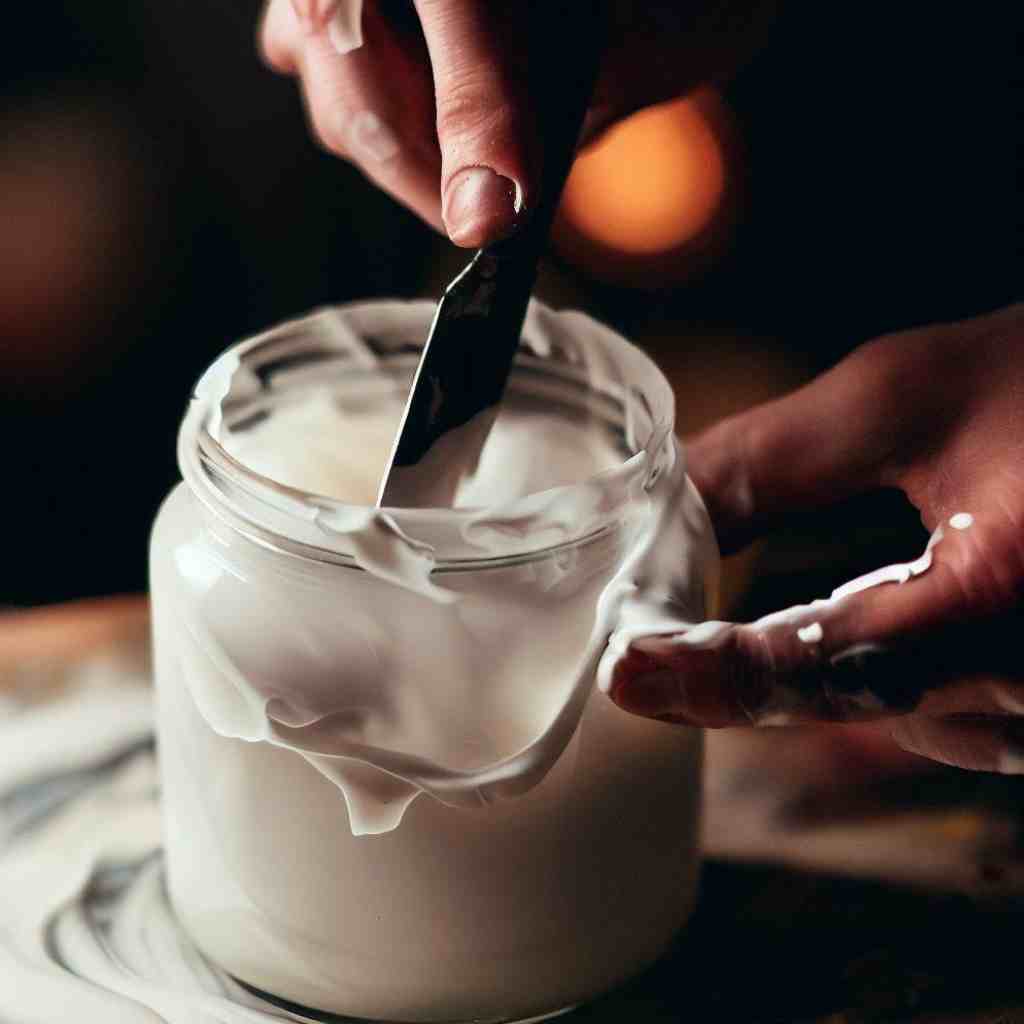
- Thoroughly mix all ingredients: Take the time to thoroughly mix all the components of your gesso. Whether it’s plaster of Paris, water, binding agents, fillers, or pigments, ensure they are well-blended for a consistent and uniform gesso mixture.
- Proper storage containers: Transfer the mixed gesso into a suitable storage container. Choose a container that is airtight and moisture-resistant to protect the gesso from drying out or becoming contaminated. Glass jars or plastic containers with tight-fitting lids are often ideal options.
- Labeling & Storage conditions: Clearly label the container with the date of preparation and any relevant information, such as the type of gesso or pigments used. Store the gesso in a cool, dry place away from direct sunlight and extreme temperature fluctuations. These conditions help maintain the gesso’s consistency and prevent deterioration or spoilage.
Longevity and shelf life
Homemade gesso can generally be stored for several months when stored properly. However, it’s recommended to use it within a reasonable time frame to ensure optimal quality. Test the gesso periodically to ensure it hasn’t spoiled or lost its effectiveness before using it for important projects.
Troubleshooting Common Issues
When working with gesso, it’s common to encounter certain issues that can affect the application and performance of your primer.
By addressing these common problems, you can overcome challenges and achieve the desired results in your artwork.
Addressing lumps and air bubbles:
If lumps or air bubbles are present in your gesso, strain it through a fine-mesh sieve or cheesecloth to remove any unwanted particles.
Ensure that all ingredients are mixed thoroughly, paying special attention to breaking down any lumps or dry patches.
Fixing a runny or thick consistency:
If the gesso is too runny, add a bit more plaster of Paris to thicken the mixture. If it’s too thick, gradually add water until you reach the desired consistency. Adjustments should be made in small increments to avoid drastic changes.
Dealing with a grainy texture:
Ensure that all ingredients are thoroughly mixed, paying attention to breaking down any clumps or dry patches. Stir the mixture consistently and methodically to achieve a smoother texture.
If the grainy texture persists, you may want to experiment with different fillers or adjust the ratios to achieve the desired smoothness.
Adjusting gesso absorbency:
To control the absorbency of the gesso, adjust the amount of filler added. Increase the filler for a less absorbent surface or reduce the filler for a more absorbent one.
Test the gesso on a small surface to gauge the absorbency level before applying it to your artwork.
Solutions for poor adhesion of gesso:
Ensure that the surface is properly cleaned and free from any dust, debris, or oily residues before applying gesso. A clean and well-prepared surface promotes better adhesion.
If the gesso is not adhering well, consider adding a bit more binding agent to the mixture to enhance its adhesive properties.
Tips and Tricks for Working with Gesso
Working with gesso offers exciting possibilities for artists seeking to enhance their artwork. Here are some valuable tips and tricks to optimize your experience with gesso and achieve the desired results in your creative endeavors:
- Experiment with different textures: Use various tools and techniques to create unique textures with gesso. Explore brushwork, palette knife applications, or even experiment with unconventional materials to add depth and visual interest to your artwork.
- Layer gesso for added depth: Apply multiple thin layers of gesso, allowing each layer to dry before adding the next. Layering creates a sense of depth and can provide a smoother surface for your subsequent art materials.
- Create unique effects with gesso: Explore different ways to manipulate the gesso to create special effects. You can create subtle patterns, incorporate textures, or even use masking techniques to achieve interesting and dynamic results.
- Sanding for a smooth finish: If desired, lightly sand the gessoed surface after it has fully dried. This helps create a smooth and even finish, ideal for detailed work or when aiming for a polished result.
FAQs
- Is gesso waterproof?
Gesso itself is not inherently waterproof. However, it provides a protective barrier between the surface and art materials, which can help to some extent in preventing moisture damage. For enhanced water resistance, artists can consider using specific sealants or varnishes designed for the desired level of waterproofing.
- Can gesso be used on non-porous surfaces?
While gesso is typically applied to porous surfaces like canvas or wood, it may not adhere well to non-porous surfaces like glass or plastic. For such surfaces, it’s advisable to use specific primers designed for those materials or explore alternative priming methods.
- Can I remove gesso from the surface?
Gesso is designed to provide a durable and permanent primer layer. Removing gesso completely from a surface can be challenging. However, sanding or scraping the gesso lightly may help in certain cases. It’s recommended to test removal methods on a small, inconspicuous area before attempting to remove gesso from a larger area.
- Can gesso be used as a fixative?
Gesso is not typically used as a fixative. Its primary purpose is to prepare surfaces for artwork. For fixing or sealing finished artwork, it is advisable to use appropriate fixatives or varnishes designed for the specific art medium used.
- Can gesso be used for mixed media artwork?
Yes, gesso can be used as a versatile primer for mixed media artwork. It provides a consistent base that helps various art materials adhere to the surface, allowing artists to combine different mediums and techniques in their creations.
- Can gesso be applied with a spray gun or airbrush?
A: While gesso is commonly applied using brushes or palette knives, it can also be thinned and applied with a spray gun or airbrush for more even and controlled coverage. Ensure that the consistency is appropriate for your specific application method and follow the manufacturer’s recommendations.
- Can gesso be used on flexible surfaces like fabric?
Gesso is not typically used on fabric or other highly flexible surfaces, as it may crack or peel when subjected to repeated flexing. For fabric-based artwork, exploring fabric-specific primers or alternatives may be more suitable.
- Can gesso be used to repair damaged artwork?
Gesso can be used to repair minor damages or imperfections in artwork. By applying thin layers of gesso and carefully blending them with the surrounding area, artists can restore the surface and create a seamless appearance. For extensive repairs, it’s advisable to consult a professional conservator.
Conclusion
As we come to the end of our journey into the realm of gesso creation, it’s time to reflect on the artistic possibilities that await you.
Throughout this guide, we’ve explored the definition, purpose, and historical significance of gesso, understanding its pivotal role in artistry. From gathering the essential materials to mixing the perfect consistency, you’ve acquired the knowledge to craft your own gesso with confidence.
By incorporating binding agents, fillers, and pigments, you can further personalize your gesso and bring your creative vision to life.
So go forth, unleash your imagination, and let gesso be the catalyst for artistic brilliance in your creative endeavors.