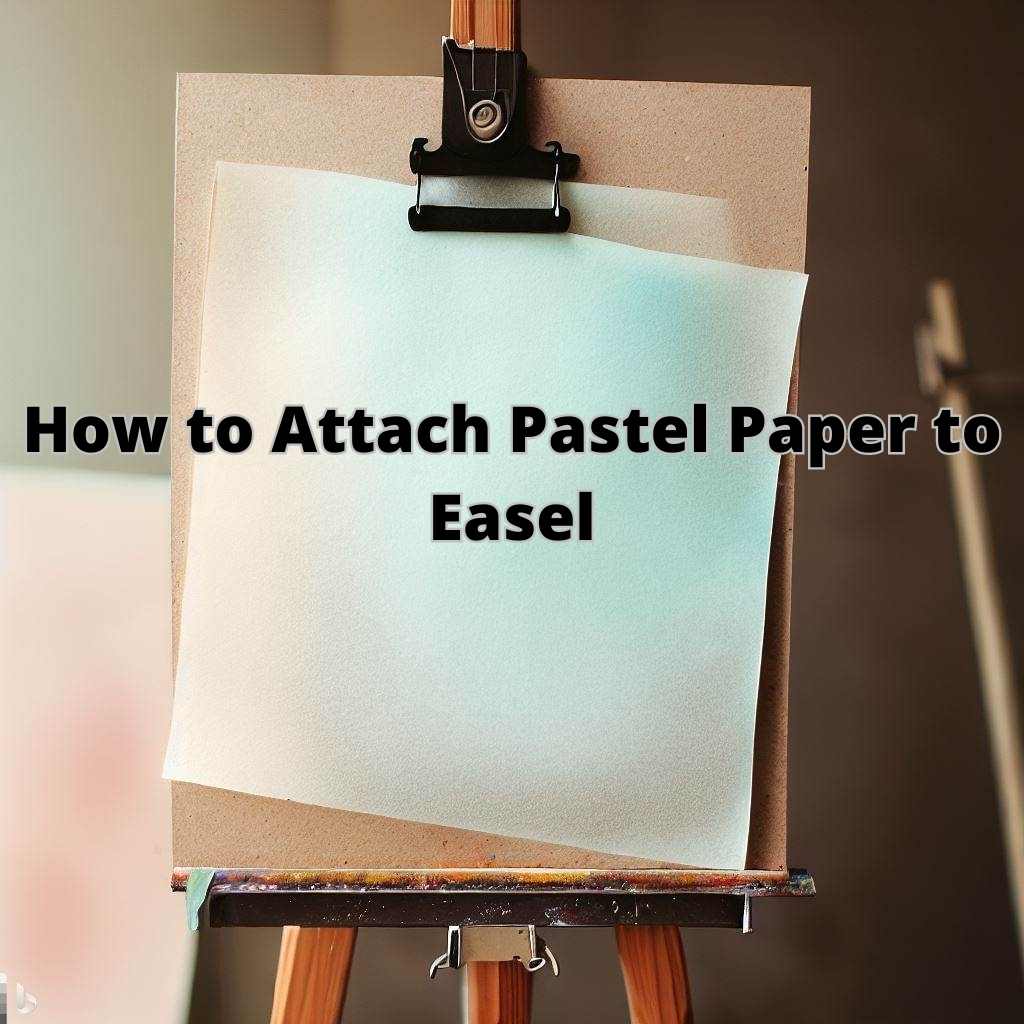
Are you a passionate artist looking to elevate your pastel artwork to new heights? Look no further! In the world of art, pastels offer a mesmerizing array of colors and textures that can bring your imagination to life.
However, a common challenge many artists face is how to attach pastel paper to easel. The struggle to achieve stability and secure attachment can sometimes hinder the creative process.
In this article, we will guide you through how to attach pastel paper to easel in a way that will provide stability, prevent smudging, and ensure optimal comfort and visibility.
Get ready to unlock your artistic potential as we embark on this exciting journey together!
Pastel Paper and Easel Compatibility
To create a masterpiece with pastels, it’s crucial to understand the intricate relationship between the pastel paper and the easel. The right combination can make all the difference in achieving the desired artistic outcome.
Types of Pastel Paper
Pastel paper comes in a variety of options, such as sanded, textured, and smooth surfaces. Each type offers unique qualities that can significantly impact the final result of your artwork.
Sanded paper, for example, provides a rough surface that holds the pastel pigment well, allowing for multiple layers and better color saturation.
On the other hand, smooth paper offers a different texture that may be more suitable for detailed work. Consider your artistic style and the desired effect when selecting the right paper for your artwork.
Choosing the Right Easel
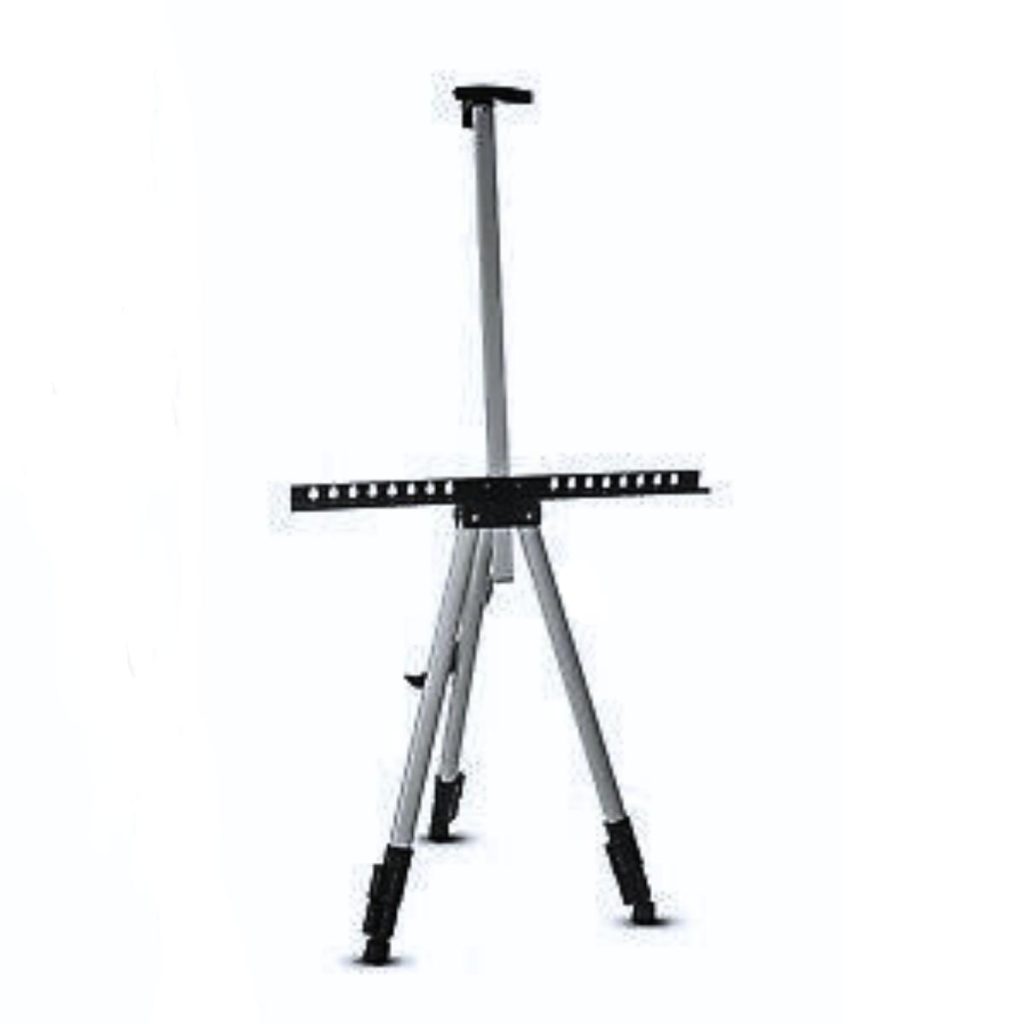
Just as pastel paper comes in different varieties, so do easels. When it comes to pastel work, certain easels are specifically designed to accommodate the unique requirements of the medium.
Consider factors such as the size of your artwork and the flexibility of the easel. Tabletop easels are perfect for smaller pieces or artists with limited space, offering a compact and portable option.
Standing easels are better suited for larger artworks, providing stability and adjustability to accommodate varying working heights. Select an easel that complements the size and weight of your chosen pastel paper, ensuring a harmonious setup for your creative process.

Tabletop easel
Standing easel
Preparing the Easel
Before attaching the pastel paper, it’s crucial to prepare your easel properly. This involves cleaning the surface and ensuring stability for an optimal working environment.
Cleaning the Easel Surface
Begin by thoroughly cleaning the surface of your easel. Remove any dirt, dust, or residue that may interfere with the quality of your artwork. A clean surface will provide a smooth and even foundation for attaching the pastel paper.
Ensuring Stability and Adjustment
Check that your easel is stable and properly adjusted to your preferred working height. Stability is crucial to avoid any unwanted movement or accidents while creating your artwork. Adjust the easel’s height and angle according to your comfort and the specific requirements of your artistic process.
Consider Additional Support
Depending on the type of pastel paper you’re using, it may be beneficial to provide extra support. Backing boards or clips can be utilized to reinforce the paper and prevent any unwanted bending or warping during the creative process.
Preparing the Pastel Paper
Now that your easel is ready, let’s prepare the pastel paper for attachment. Proper preparation ensures that the paper is in optimal condition and ready for your artistic endeavors.
- Selecting the Right Size: Choose a pastel paper size that matches your desired artwork dimensions. This prevents excessive trimming, maintains composition integrity, and provides ample space for expression.
- Removing Protective Coverings: Carefully peel away any protective coverings, such as cellophane or wax paper, without disturbing the paper’s texture. This reveals a pristine canvas ready for your creativity.
- Trimming if Necessary: If the paper is too large for your easel, trim it with scissors or a precision cutter, ensuring not to damage the edges or alter proportions. Precision is key for a perfect fit.
- Arranging Loose Sheets: If using loose sheets, arrange them thoughtfully to enhance the flow and visual impact of your artwork. Experiment with different sequences before finalizing.
How to Attach Pastel Paper to Easel
Now that you have your pastel paper prepared and your easel ready, it’s time to bring them together and securely attach the paper to the easel.
There are three ways to attach the pastel paper to the easel. Proper attachment ensures stability and allows you to work with confidence.
Attaching with Clips:
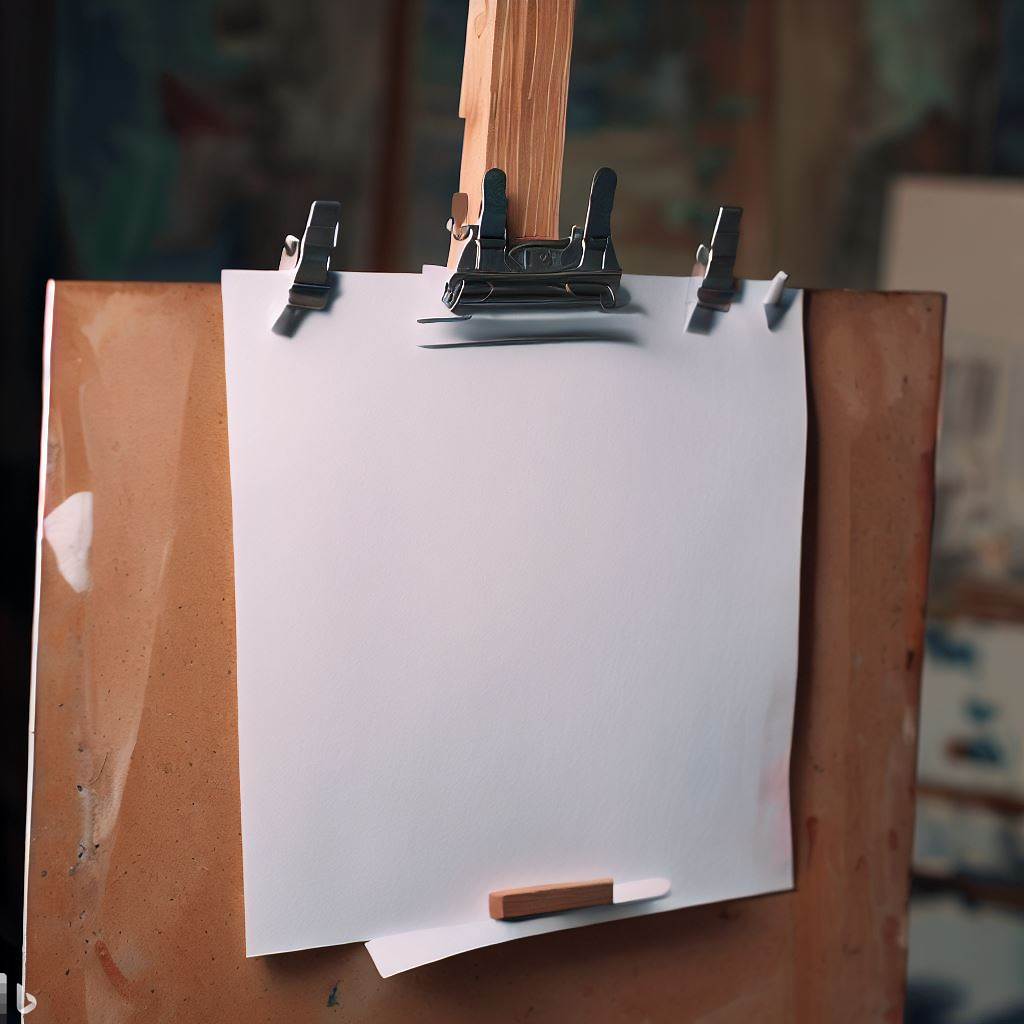
Attached with clips
- Position the prepared pastel paper on the easel surface, aligning it according to your desired composition.
- Take a clip and gently open it, ensuring it is wide enough to accommodate the thickness of the paper.
- Carefully position the clip along one edge of the paper, ensuring it securely grips the paper and easel.
- Repeat the process with additional clips along the remaining edges of the paper, distributing them evenly for balanced support.
- Adjust the clips as necessary to achieve a secure and even attachment. Be mindful not to overtighten, as this could potentially damage the paper.
- Step back and confirm that the clips hold the paper firmly in place, with no sagging or movement.
Attaching with Tape:

Attached with tape
- Place the prepared pastel paper onto the easel surface, aligning it to your desired position.
- Cut strips of artist tape or low-tack masking tape to match the length of each edge of the paper.
- Carefully affix the tape strips along the edges of the paper, pressing them down gently to ensure secure adhesion to the easel surface.
- Smooth out any wrinkles or air bubbles to achieve a flat and even attachment.
- Check that the tape is securely holding the paper, providing stability and preventing any movement during your artistic process.
- When removing the tape, peel it off slowly and gently to avoid any damage to the paper or easel surface.
Attaching with Magnets:

Attached with magnets
- If you have a metal easel surface, place the prepared pastel paper onto the easel, aligning it as desired.
- Position magnets at the corners or along the edges of the paper, ensuring they make proper contact with the metal surface.
- Adjust the magnets if needed to achieve a secure attachment, ensuring the paper remains flat and stable.
- Test the stability of the paper by gently nudging it to ensure it does not shift or fall off the easel.
- Confirm that the magnets hold the paper securely in place without causing any damage or warping.
FAQs
- Should I use a protective sheet when attaching pastel paper to the easel?
It’s a good practice to use a protective sheet or paper cover to prevent accidental smudges or smears on your artwork. This extra layer of protection can help preserve the quality of your pastel paper.
- Can I attach multiple sheets of pastel paper to the easel?
Yes, if you’re working with loose sheets, you can arrange them in the desired order and attach each sheet individually to the easel. Ensure they are securely fastened to avoid any movement while working.
- How can I prevent the pastel paper from curling or warping?
To prevent curling or warping, consider using a backing board or heavyweight paper as a support behind the pastel paper. This provides added stability and helps maintain a flat surface throughout your artwork.
- How often should I replace the pastel paper on my easel?
The frequency of replacing pastel paper depends on your usage and preferences. Replace the paper when it becomes damaged, or worn, or if you desire a fresh surface for your artwork. It’s recommended to have spare sheets or pads on hand for a seamless transition.
- How can I avoid accidental smudges when attaching the pastel paper?
To avoid smudges, handle the pastel paper with clean hands or wear gloves. Be mindful of your movements and avoid touching the surface of the paper. Additionally, using a protective sheet or cover while attaching the paper can provide an extra layer of protection.
Final Thoughts
Mastering the art of how to attach pastel paper to an easel is a vital skill for any pastel artist.
Following the steps outlined in this guide, you can confidently prepare your easel and pastel paper, select the right attachment method, and ensure a stable and secure working surface for your artwork.
Remember the importance of choosing compatible paper and easel, securing the paper for stability, and adjusting the angle to suit your preferences.
Additionally, be mindful of avoiding smudges and smears, especially when handling the paper. With these techniques in your repertoire, you can unleash your creativity and create stunning pastel artwork with confidence and ease.
So go ahead, attach your pastel paper to the easel, and let your imagination soar. Happy creating!
Securing your pastel paper to the easel is essential, but so is protecting your finished artwork. Find out how to seal soft pastels for lasting results.