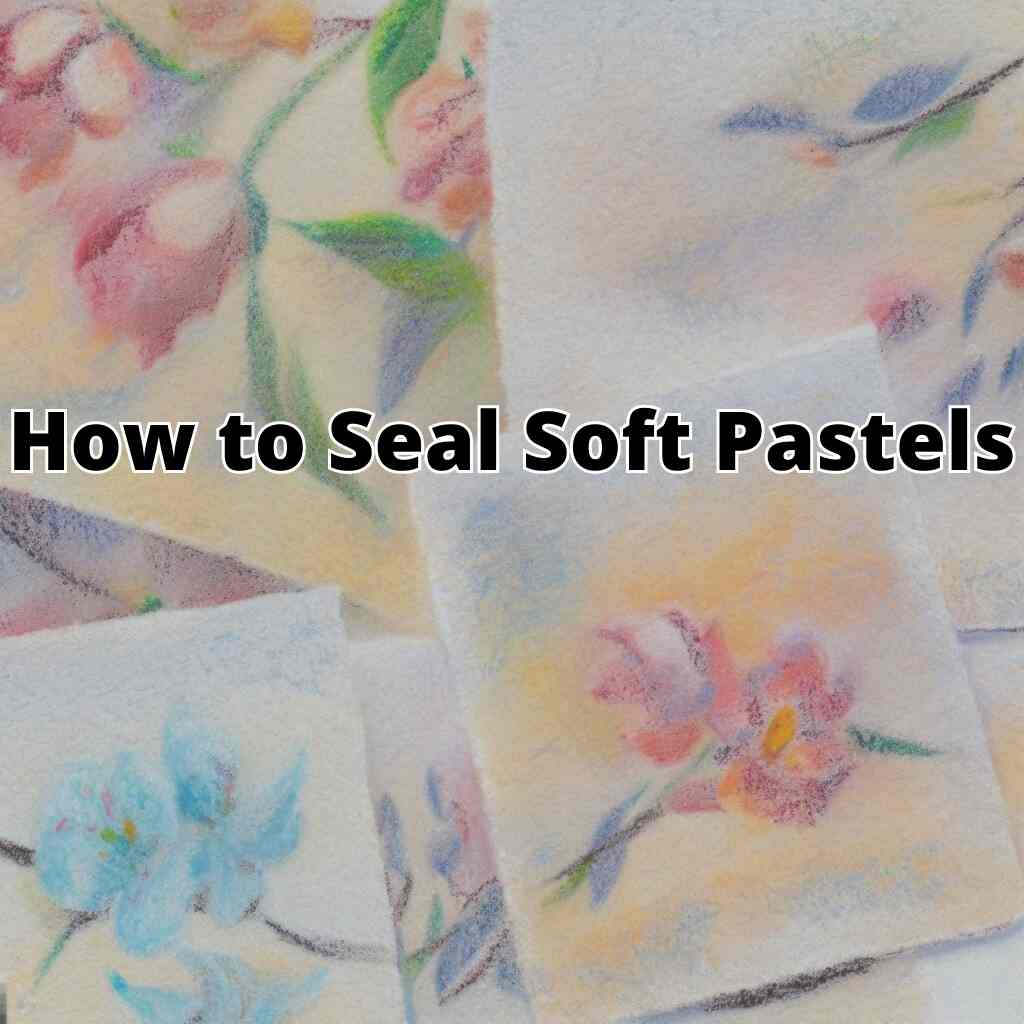
Are you an artist who loves working with soft pastels? The velvety texture, vibrant colors, and blendability of soft pastels make them a favorite medium for many creatives.
However, there’s one challenge that pastel artists often face: the delicate nature of the medium. How to seal soft pastels becomes a crucial question that arises during the artistic process.
The last thing you want is to see your masterpiece smudged or the colors fading over time. But fret not!
In this guide, we will explore the ins and outs of sealing soft pastels.
Get ready to unlock the secrets of sealing soft pastels and elevate your artistic practice to new heights!
Materials Needed for Sealing Soft Pastels
To effectively seal soft pastels, you will need the following materials:
Fixative spray options:
There are various fixative sprays available on the market, specifically formulated for pastel artworks. Look for fixatives that are designed to provide a protective layer without altering the colors or texture of the pastels.
Choosing the right fixative for your artwork:
Consider the desired finish and level of protection when selecting a fixative. Some fixatives offer a matte finish, while others provide a glossy or satin finish.
Additionally, there are fixatives that offer UV protection, safeguarding the artwork from harmful sun rays.
Other materials required for the sealing process:
You’ll need a clean, well-ventilated workspace, preferably outdoors or in a properly ventilated area. It’s essential to have a horizontal surface to lay the artwork during the sealing process.
A soft brush or compressed air can be used to remove excess dust from the artwork before sealing.
Preparing the Artwork for Sealing
Before sealing your soft pastel artwork, it’s crucial to prepare the surface adequately. Follow these steps to ensure the best results:
Evaluating the artwork’s readiness for sealing:
Examine the artwork closely to ensure that all layers of pastel are thoroughly dry. If there are any areas that appear moist or smudged, allow them to dry completely before proceeding.
Cleaning the artwork’s surface:
Use a soft brush or a gentle compressed air source to remove any loose or excess pastel dust from the surface of the artwork.
Cleaning the artwork’s surface with a soft brush
This step helps to prevent dust particles from getting trapped under the sealant.
Making necessary touch-ups before sealing:
Take this opportunity to make any final adjustments or touch-ups to your artwork. Use pastel sticks or pencils to refine details or add additional layers of color if desired.
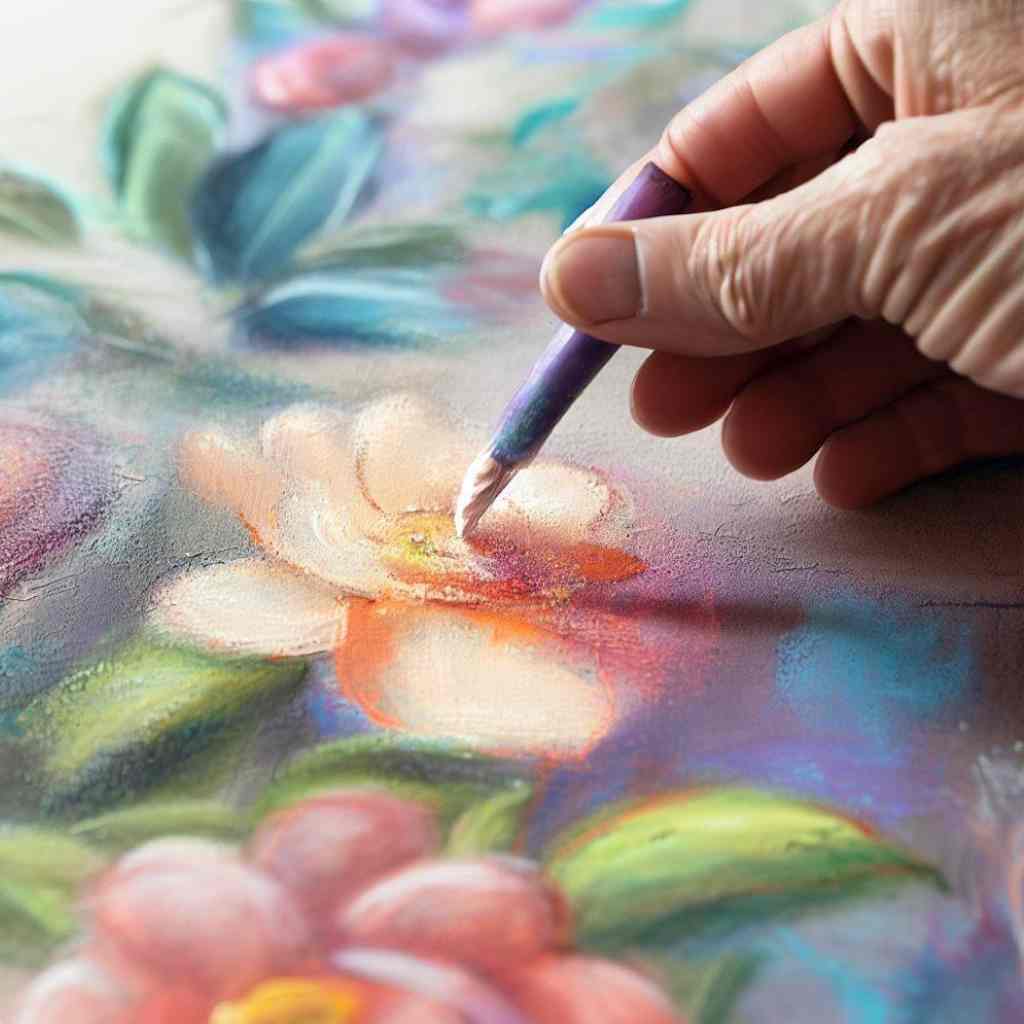
Last touch-up
Ensure that these touch-ups are thoroughly dry before proceeding to the sealing process.
How to Seal Soft Pastels on Paper
The process of sealing soft pastels on paper follows a similar approach to sealing on other surfaces. However, the paper has unique characteristics that require some specific considerations.
When sealing soft pastels on paper, it’s crucial to ensure that the paper is properly supported and doesn’t buckle or warp during the sealing process. Place the artwork on a clean and flat surface, preferably a drawing board or a rigid backing.
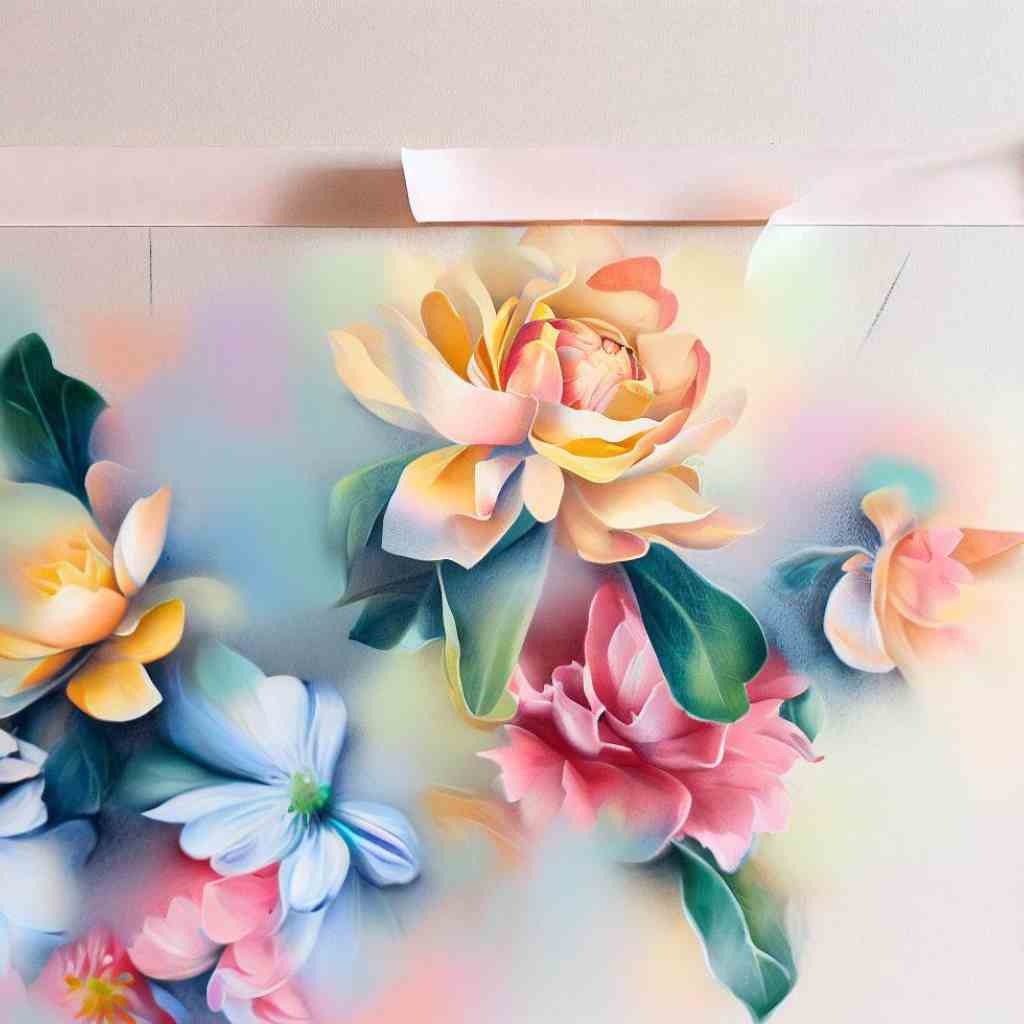
Edges secured with masking tape
Secure the edges of the paper with masking tape to prevent it from shifting or curling. This will help you achieve an even application of the sealant and ensure the artwork stays flat.
How to Seal Soft Pastels on Canvas
Sealing soft pastels on canvas requires a slightly different approach compared to paper. Canvas has a textured surface, which may require a more generous application of the sealant to penetrate and protect the pastel particles effectively.
Before sealing, ensure that the canvas is stretched tightly and free from any loose threads or debris. Place the canvas on a clean and stable surface, ensuring that it doesn’t move or sag during the sealing process.
Consider using additional support, such as foam boards or blocks, to elevate the canvas and provide a stable working area. This will allow for an even application of the sealant and prevent pooling or uneven drying.
How to Seal Soft Pastels: Step-by-Step Guide
To seal soft pastels, there need to follow two steps. Applying the fixative and drying and curing. Both steps need to be done carefully.
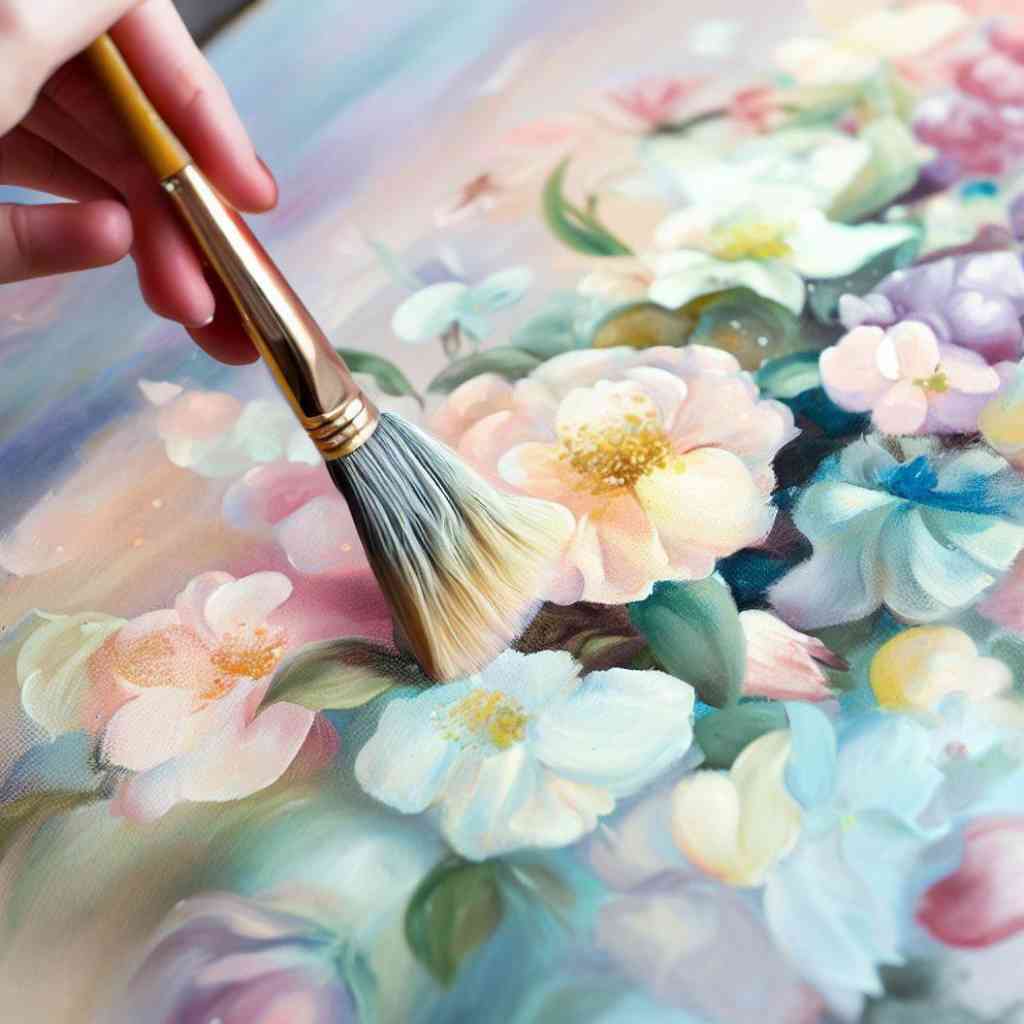
Applying the Fixative
Sealing soft pastels requires careful application of the fixative spray. Follow these steps for effective sealing:
Shaking the fixative canister well
Shake the fixative canister well to mix the contents thoroughly. This helps to ensure that the fixative sprays evenly and provides consistent coverage.
Holding the canister at an appropriate distance from the artwork
Hold the fixative canister at an appropriate distance from the artwork, typically around 12-18 inches (30-45 cm).

Holding the canister at a distance
This distance may vary depending on the specific fixative brand and instructions, so refer to the product label for guidance.
Applying light, even coats of fixative
Apply light, even coats of fixative across the entire surface of the artwork. Use a sweeping motion to cover the artwork from top to bottom, ensuring that no areas are left unsealed.
Remember to keep the canister in motion while spraying to avoid over-applying in any particular area.
Waiting for each layer to dry before applying the next
Allow each layer of fixative to dry completely before applying additional coats.
This drying time can vary depending on the brand and atmospheric conditions, so refer to the product instructions for specific recommendations.
Drying and Curing
After the final layer of fixative has been applied, allow the artwork to dry thoroughly in a well-ventilated area.
The drying time can range from a few minutes to several hours, depending on the fixative and environmental conditions. This drying period ensures that the fixative forms a protective layer and securely adheres to the soft pastel surface.
To ensure proper curing, it’s advisable to let the artwork sit undisturbed for at least 24 to 48 hours before handling or framing the sealed artwork. During this time, the fixative will fully bond with the pigments and form a durable seal.
Additional Tips for Sealing Soft Pastels
Consider these tips to enhance the effectiveness of the sealing process and achieve the best results for your soft pastel artwork:
- Testing the fixative on a small sample first:
If you are using a new fixative brand or trying a different finish, it’s recommended to test it on a small sample piece before applying it to your main artwork.
This allows you to assess the compatibility and ensure that the desired effect is achieved.
- Applying fixative in multiple layers for better protection:
Instead of applying a single heavy coat of fixative, it’s more effective to apply multiple light layers.
This technique helps to build up the protective seal gradually, reducing the risk of oversaturation or alteration of the artwork’s appearance.
- Using different fixatives for different effects:
Some fixatives offer specific properties, such as providing additional tools for further pastel layering or creating a workable surface for reworking.
Experiment with different fixatives to achieve unique effects and enhance your artistic process.
- Properly storing the artwork after sealing:
Once your soft pastel artwork has been sealed, it’s important to store it properly to maintain its longevity.
Place the sealed artwork in a protective sleeve or wrap it in acid-free paper to prevent dust accumulation or potential damage during storage.
Common Mistakes to Avoid
To ensure the successful sealing of your soft pastel artwork, avoid these common mistakes:
- Applying too much fixative at once:
Over-applying fixative can result in an excessive buildup of sealant on the artwork, leading to a glossy or uneven appearance.
It can also compromise the delicacy of the pastel layers. Aim for light, even coats to achieve the desired protection.
- Holding the fixative canister too close to the artwork:
Holding the fixative canister too close to the artwork can result in overspray and uneven coverage. Maintain the recommended distance to ensure an even distribution of the fixative across the entire surface.
- Not allowing sufficient drying time between coats:
Rushing the drying process can interfere with the proper bonding of the fixative layers and compromise the overall effectiveness of the seal.
Be patient and allow each layer to dry completely before applying additional coats.
Alternatives to Fixative Sprays
While fixative sprays are commonly used to seal soft pastels, there are alternative methods to consider:
- Using workable fixative for reworking the artwork:
Workable fixatives are specifically designed for pastel and charcoal artworks. Unlike permanent fixatives, workable fixatives allow you to rework or modify the artwork even after sealing.
Apply a thin layer of workable fixative to set the pastel layers, and then continue working on the artwork as desired.
- Applying glassine paper or vellum as a protective layer:
Instead of using a fixative, you can protect your soft pastel artwork by placing a sheet of glassine paper or vellum over it.
These translucent materials create a barrier between the pastel layers and external elements, preventing smudging and dust accumulation.
Ensure the glassine paper or vellum is acid-free to avoid any chemical interactions with the pastel.
- Framing the artwork with UV-protective glass:
Framing soft pastel artwork with UV-protective glass offers an additional layer of protection against fading caused by sunlight or other sources of UV radiation.
The glass acts as a shield, preserving the colors and integrity of the artwork.
After Sealing: Caring for Sealed Soft Pastel Artwork
To ensure the longevity and continued beauty of your sealed soft pastel artwork, follow these care guidelines:
- Displaying the artwork properly:
When displaying your sealed soft pastel artwork, avoid placing it in direct sunlight or areas with high humidity or extreme temperature fluctuations.
UV rays and environmental factors can still affect the artwork over time, even with sealing.
- Cleaning and maintaining the sealed artwork:
Use a soft brush or compressed air to gently remove any dust that may accumulate on the surface of the sealed artwork.
Avoid using wet cleaning methods, as moisture can damage delicate pastel layers.
Removing Sealant from Soft Pastel Artwork
There may be instances where you need to remove the sealant from your soft pastel artwork. Here are some techniques to safely remove the sealant:
- When and why to remove sealant:
Sealant removal may be necessary if the artwork requires reworking or if the sealant has become discolored or compromised over time.
Removing the sealant allows for fresh layers of pastel to be added or for adjustments to be made to the artwork.
- Techniques for safely removing sealant:
One method to remove sealant is by lightly brushing the surface of the artwork with a clean, soft brush.
Another technique involves using a specialized sealant removal product or mild solvent applied with a soft cloth or a cotton pad. Gently rub the sealed surface in a circular motion to loosen and lift the sealant.
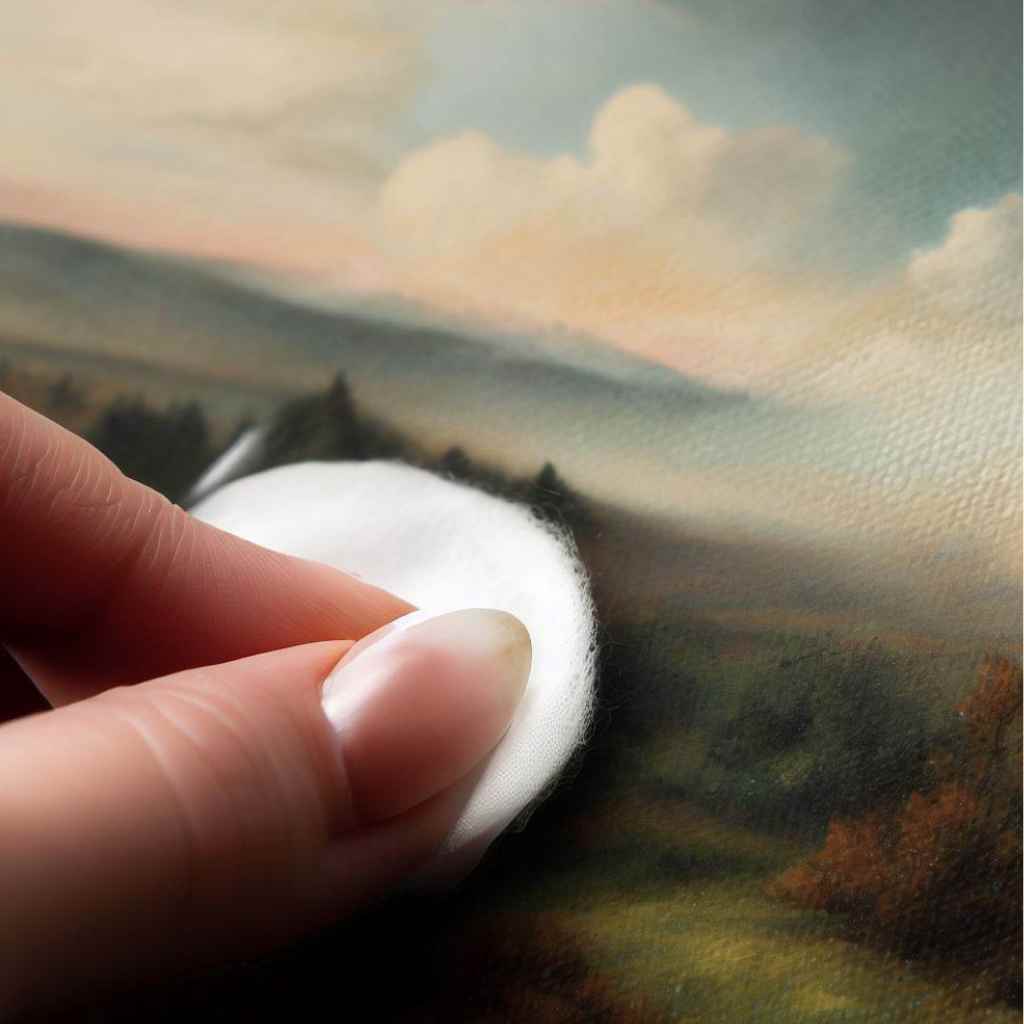
Removing sealant
Take care not to apply excessive force or scrub vigorously, as it can damage the pastel layers. Always test any removal method on a small, inconspicuous area of the artwork first.
FAQs
- Can I seal soft pastels on different surfaces?
Yes, you can seal soft pastels on various surfaces, including paper and canvas. However, it’s important to follow the appropriate techniques and use compatible materials for each surface.
- Can I use any fixative spray to seal soft pastels?
It is recommended to use fixative sprays specifically designed for soft pastels. These sprays have formulations that are compatible with pastel pigments and provide the best results in terms of protection and longevity.
- How many layers of fixative should I apply to seal soft pastels?
It is advisable to apply fixatives in multiple layers for better protection. Start with a light coat, allowing it to dry completely, and then apply additional coats as needed. Avoid applying too much fixative at once, as it can cause the colors to become dull or alter the texture of the artwork.
- Can I use a hairdryer to speed up the drying process after sealing soft pastels?
It is not recommended to use a hairdryer to speed up the drying process after sealing soft pastels. The heat from the hairdryer can potentially damage delicate pastel pigments. It is best to allow the artwork to air dry naturally to ensure proper curing.
- Will sealing soft pastels completely prevent smudging?
While sealing soft pastels helps minimize smudging, it does not provide absolute protection against smudging. It creates a barrier that reduces the likelihood of accidental smudging, but it is still important to handle the artwork with care.
- Can I seal soft pastels with a varnish instead of a fixative spray?
It is not recommended to seal soft pastels with varnish meant for other mediums, as it may not provide the desired results. Varnish can alter the appearance of soft pastels and may not offer the same level of protection as a fixative spray formulated for pastels.
- Can I seal soft pastels without using any fixative or sealant?
While using a fixative or sealant is highly recommended for the long-term preservation of soft pastel artwork, it is possible to skip this step. However, bear in mind that the artwork will be more susceptible to smudging, dusting, and color fading over time.
Wrapping Up
As we’ve reached the final strokes of our artistic journey on how to seal soft pastels. Sealing soft pastels is a crucial step in preserving the beauty and longevity of your artwork.
By applying a fixative spray, you create a protective barrier that guards against smudging, fading, and damage.
We’ve dived into the importance of protecting your delicate creations, explored the benefits of sealing, and walked through the step-by-step process of preserving your soft pastel artwork.
Now, armed with this knowledge, you have the power to elevate your artistry and safeguard your masterpieces for years to come.
Remember, sealing is not just a necessary step, but a transformative one. It enhances the longevity and visual appeal of your soft pastel creations, allowing them to shine in all their glory.
So, go forth, embrace the art of sealing, and unleash the full potential of your soft pastel artworks. Happy creating!
To complement your sealing techniques, understanding how to frame pastel paintings can provide additional protection and enhance the display of your artwork.