Are your acrylic paintings lacking the vibrant and solid colors you desire? Do you find yourself struggling to achieve the desired opacity in your artwork? Look no further, as we delve into the captivating world of how to make acrylic paint more opaque.
In this comprehensive guide, we will unlock the secrets to enhancing the richness and intensity of your acrylic paintings.
Whether you’re a seasoned artist or just starting your creative journey, understanding the concept of opacity and its importance in certain art techniques is crucial.
Get ready to unleash the true potential of your acrylic paints and infuse your artwork with breathtaking depth and brilliance.
Choosing the Right Acrylic Paint Colors
When selecting acrylic paints, pay attention to the pigment characteristics. Certain pigments inherently possess higher opacity levels than others. Look for paints labeled as “opaque” or those containing pigments like titanium white, cadmium colors, or earth tones for excellent coverage.
Opaque acrylic paint colors
Many brands offer a range of opaque acrylic paints that provide solid coverage with just one or two layers.
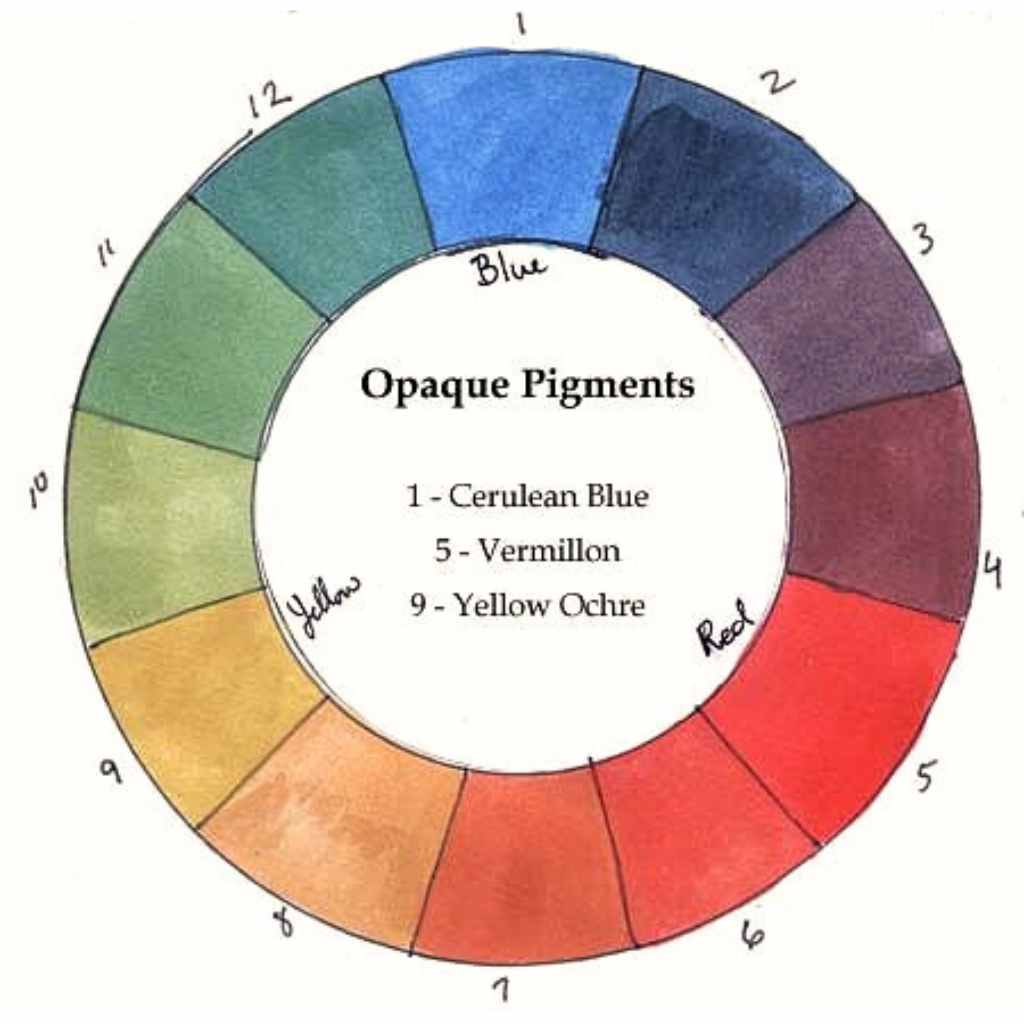
Experiment with colors like opaque yellow, red, blue, and other shades that exhibit high opacity. These paints can be your go-to choice for achieving a solid, non-translucent finish.
Mixing opaque colors to create custom shades
Take advantage of the versatile nature of acrylic paints by mixing opaque colors to create custom shades with increased opacity.
By combining opaque pigments, you can tailor your palette to meet specific opacity requirements for your artwork. Experimentation is key to finding unique combinations that suit your style.
Working with Different Acrylic Mediums
Acrylic mediums are valuable tools that can modify the properties of paint. They come in various forms, such as gels, pastes, and fluids, and can be mixed with paint to enhance opacity, texture, and other characteristics.
Familiarize yourself with different acrylic mediums to expand your creative possibilities.
Matte mediums for increasing opacity
Matte mediums are excellent options for increasing the opacity of acrylic paint. These mediums have a milky appearance when wet but dry to a matte, translucent finish.
By mixing matte medium with your paints, you can add opacity without altering the color significantly, allowing for controlled layering.
Using gel mediums to enhance opacity
Gel mediums, available in different consistencies, offer a range of benefits in acrylic painting. When aiming for increased opacity, consider using heavy gel mediums.
These thick gels not only add body and texture to your paint but also increase its opacity. Experiment with different gel mediums to find the right balance for your desired effect.
Other specialty mediums for opacity
In addition to matte and gel mediums, there are various specialty mediums designed specifically to enhance opacity. These mediums often have unique properties that can transform your acrylic paint.
Explore options like opacifying mediums, which are specifically formulated to increase the opacity of transparent or semi-transparent paints.
Techniques for Increasing Opacity
When it comes to achieving captivating and opaque acrylic paintings, mastering the right techniques is key.
Here is a range of powerful techniques for increasing opacity in your artwork-
1. Layering technique for building up opacity
Layering is a tried-and-true method that allows you to gradually build up opacity. Here’s how to do it-
- Applying multiple thin layers
Building opacity through layering involves applying several thin layers of paint. Rather than attempting to achieve full coverage in one stroke, start with a translucent layer and gradually build up opacity with subsequent layers. This technique allows for better control and ensures a more even and solid finish.
- Allowing proper drying time between layers
It’s crucial to allow each layer to dry completely before adding the next one. This practice prevents colors from blending or becoming muddy and ensures that each layer retains its opacity. Patience is essential when employing layering techniques.
2. Dry brushing technique for opaque effects
The dry brushing technique involves using a minimal amount of paint on a dry brush, resulting in a textured and opaque effect. When aiming for opacity, dry brushing with opaque colors can be particularly effective.
By lightly brushing the surface with feathery strokes, you can build up layers gradually, achieving both texture and opacity. Dry brushing can also be used to add highlights and textures, further enhancing the overall visual impact of your artwork untouched, creating an intriguing play of light and shadow.
3. Sgraffito technique to reveal opaque layers beneath
Unleash your creativity with the sgraffito technique. Apply a layer of opaque paint, let it partially dry, and then gently scratch or scrape the surface with a palette knife or brush handle. This reveals the opaque layers beneath, adding depth and visual interest to your artwork.
4. Impasto technique for thick and opaque texture
The impasto technique involves applying thick layers of paint to create texture and opacity. If you crave texture and opaqueness, the Impasto technique is perfect for you.
Using a palette knife or a stiff brush, apply thick layers of paint to create a three-dimensional texture. This technique not only enhances opacity but also adds a tactile quality to your artwork.
Enhancing Opacity with White Paint
When it comes to enhancing the opacity of your acrylic paintings, one powerful tool at your disposal is white paint. There are various techniques to make the most of this versatile pigment and achieve the desired level of opacity in your artwork-
- Using titanium white for increasing opacity: Titanium white is a highly opaque pigment that can significantly enhance the opacity of other colors.
By incorporating small amounts of titanium white into your paint mixtures, you can achieve a solid and opaque finish. However, exercise caution not to overuse it, as it can alter the hue and value of your colors.
- Blending white with other colors for opaqueness: Instead of relying solely on titanium white, consider blending it with other colors to enhance opaqueness.
This approach allows you to maintain the integrity of the original color while increasing its opacity. Gradually add white to your desired hue until the desired level of opacity is achieved.
- Avoiding over-reliance on white paint: While white paint is a valuable tool for increasing opacity, it’s important not to rely on it too heavily.
Overusing white can result in a chalky appearance and diminish the vibrancy of your colors. Strive for a balanced approach, exploring other techniques and mediums to achieve opacity without sacrificing color quality.
Experimenting with Acrylic Gels and Additives
To push the boundaries of opacity in your acrylic paintings, it’s time to delve into the realm of acrylic gels and additives. There are versatile substances that can help you achieve new levels of opacity and texture-
Opacifying agents for increasing opacity
Opacifying agents are specifically designed additives that can increase the opacity of transparent or semi-transparent acrylic paints.
These substances alter the light transmission properties of the paint, resulting in enhanced coverage and opaqueness. Explore different opacifying agents and follow the manufacturer’s instructions for optimal results.
Exploring different gels and additives
Acrylic gels and additives offer a wide range of opportunities for altering the characteristics of your paint. From texture gels to opacifying gels, there is a vast selection to experiment with.
Additionally, you can mix in granular substances such as pumice or glass beads to create unique textural effects with increased opacity.
Adding texture and opacity simultaneously
Why settle for just opacity when you can also add captivating texture to your artwork? Combining texture and opacity can result in captivating artwork.
Heavy body gels and molding pastes are excellent choices for achieving both texture and opacity. These products allow you to create visually interesting surfaces while ensuring the desired level of opaqueness.
The Role of Underpainting in Opacity
When it comes to achieving opacity in acrylic paintings, the role of underpainting should not be underestimated. Underpainting serves as the solid foundation upon which subsequent layers are built, allowing for increased depth and opacity in the final artwork-
Applying an opaque underpainting for a solid foundation
To begin, applying opaque underpainting is key. This initial layer sets the stage for the rest of the painting by establishing a solid base of opacity. By using an opaque color as your underpainting, you ensure that the underlying layers are not visible, creating a clean and vibrant surface.
Choosing colors for underpainting that enhance opacity
When selecting colors for your underpainting, it is important to choose hues that enhance opacity. Opt for colors with strong pigmentation and good coverage. Deep, rich tones often work well for this purpose.
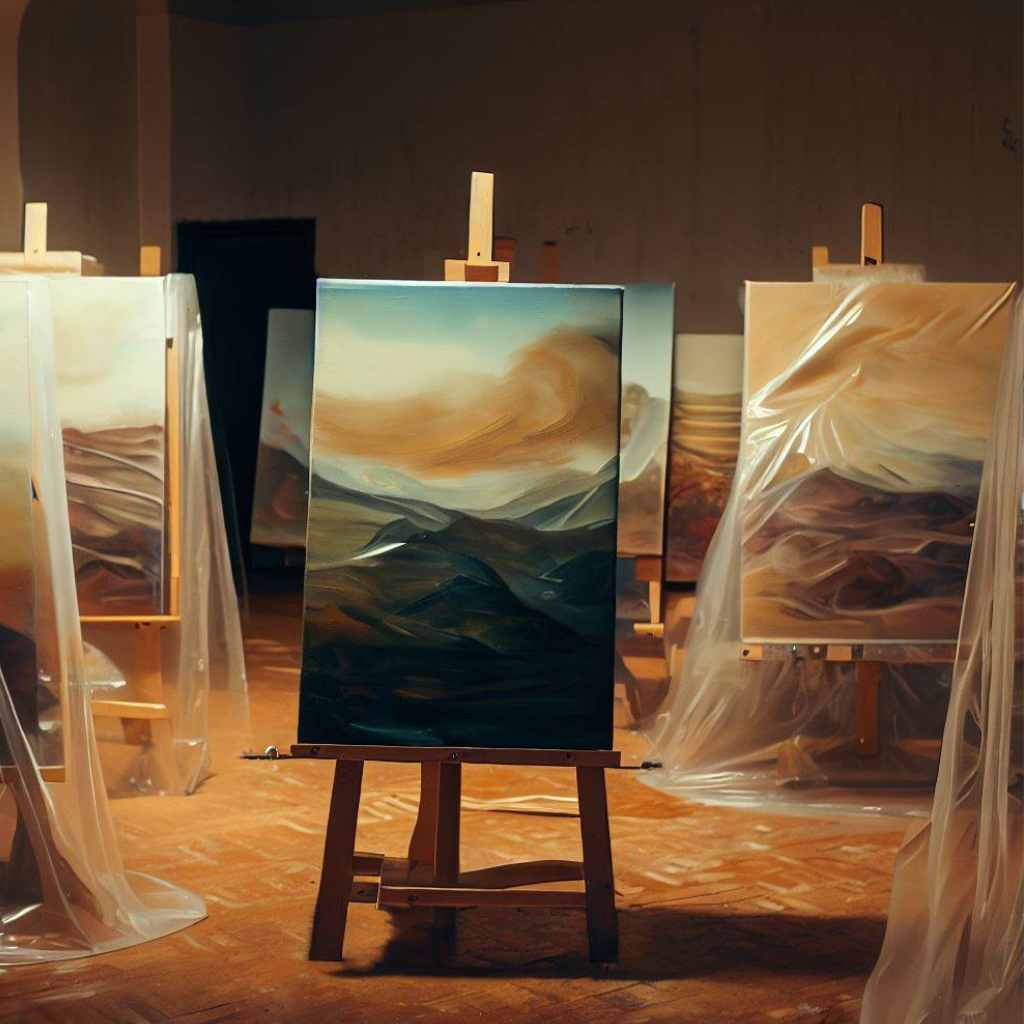
For natural landscapes, you can consider using earthy tones such as raw sienna, burnt umber, or cerulean blue for underpainting, depending on the predominant colors in the scene.
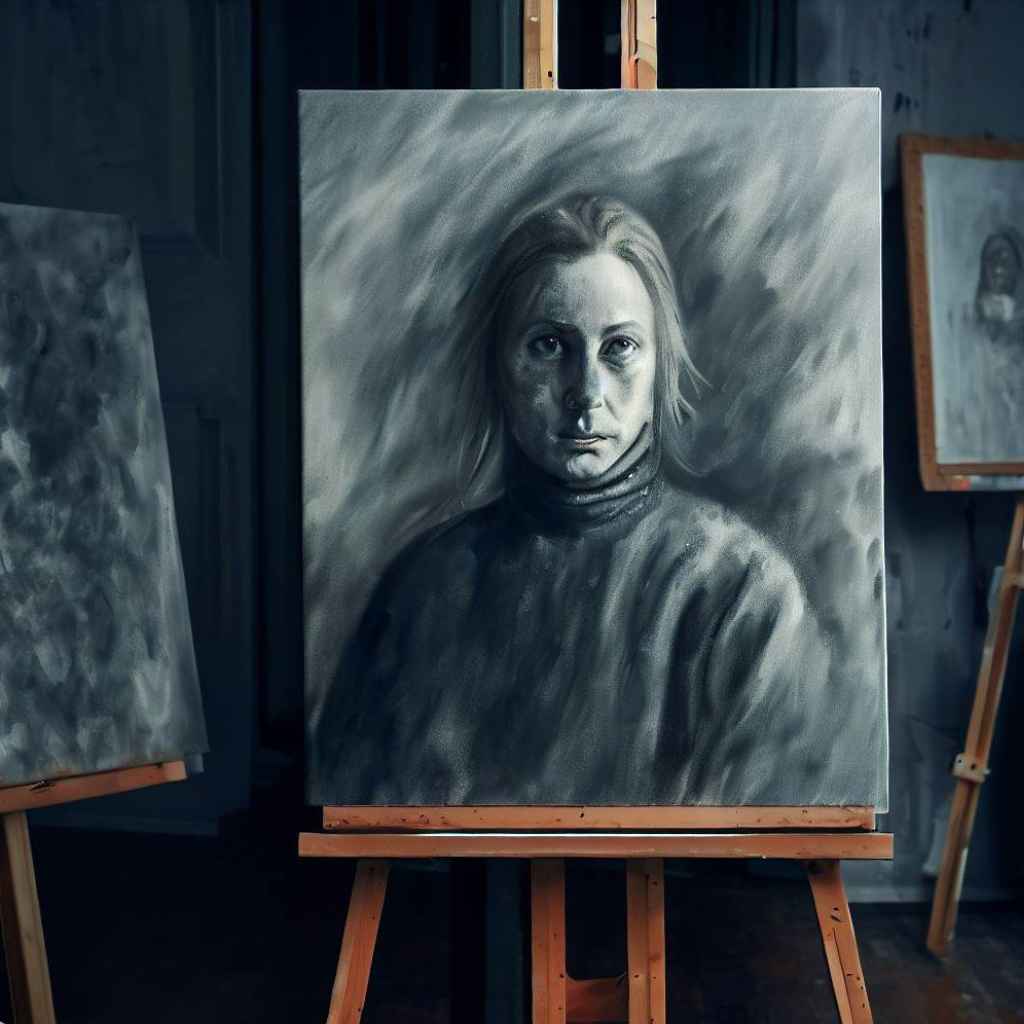
For portraits opt for neutral flesh tones like raw umber or a mix of burnt sienna and titanium white for the underpainting to establish the basic values and form. You can also use grayscale colors for portrait underpainting.
And for still life choose underpainting colors that complement the objects in your composition. For example, if your still life contains predominantly warm colors, you can use a warm color like burnt sienna as the underpainting base.
By using colors that possess inherent opacity, you can achieve a more solid and robust appearance in your final piece.
Building layers on top of the underpainting for increased depth and opacity
Once the underpainting is applied, it becomes the groundwork for subsequent layers. Building upon the underpainting allows for the creation of depth and opacity.
With each layer added on top, the colors become richer and more opaque, resulting in a visually striking composition. It is important to consider the interplay between the underpainting and the layers above.
By strategically choosing colors for subsequent layers that interact harmoniously with the underpainting, you can achieve a cohesive and unified artwork. This careful layering process ensures that the opacity of the underpainting is preserved and enhanced throughout the painting.
Mastering Opacity in Specific Art Styles
Opacity plays a crucial role in various art styles, and mastering its application can greatly enhance the visual impact of your artwork.
Here is how to achieve opacity mastery in specific art styles, allowing you to elevate your artistic expressions to new heights-
Still life painting techniques for opacity
In still-life painting, capturing solid forms and creating a sense of depth is essential.
To enhance opacity, focus on layering techniques and opt for pigments with high opacity, like cadmiums and titanium white.
Pay attention to highlights and shadows to create a three-dimensional effect that emphasizes the solidity of your subjects. Apply opaque light colors for highlights and dark colors for shadows.
Practice controlled blending techniques for smooth transitions between opaque colors. Use impasto techniques or textured brushes to enhance solidity.
By incorporating these techniques, you can bring solidity, depth, and realism to your still-life paintings. Experiment and develop your own style within the realm of still life.
Portrait painting techniques for opaque skin tones
When it comes to portraits, achieving opaque skin tones is key to capturing lifelike features.
Gradually build up layers of paint, starting with a base tone and adding highlights and shadows to create volume. Utilize opaque flesh-toned colors and carefully blend them to achieve smooth transitions and a realistic, opaque appearance.
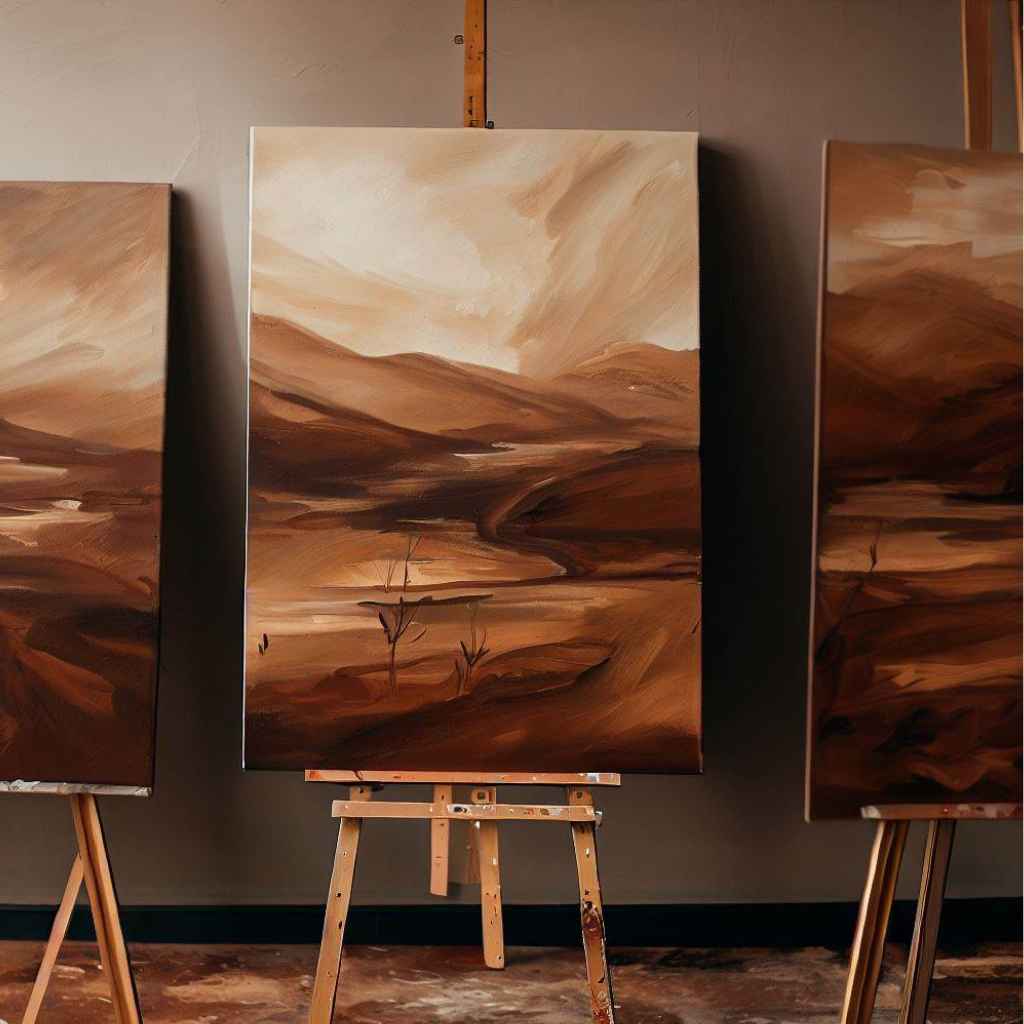
Landscape painting techniques for solid forms
In landscape painting, capturing the solidity of natural elements is paramount. Use opaque colors to depict rocks, mountains, or buildings, emphasizing their three-dimensional qualities.
Experiment with layering techniques and apply thick impasto strokes to create texture and enhance opacity, giving your landscapes a solid and tangible feel.
Abstract painting techniques with opaque elements
In abstract art, opaque elements can add visual interest and create focal points within your composition. Combine opaque colors with translucent or transparent layers to establish contrast and depth.
Experiment with bold and contrasting colors for the underpainting, allowing the colors to interact and create interesting textures and depth. Use techniques like dry brushing or sgraffito to reveal opaque layers beneath, adding texture and intrigue to your abstract creations.
Troubleshooting Opacity Issues
Opacity issues can sometimes arise during the acrylic painting process.
Here are some effective troubleshooting techniques to overcome these challenges and ensure your artwork achieves the desired level of opacity-
- Dealing with transparent or semi-transparent paints: If you find that your paints are too transparent, consider layering techniques to build up opacity.
Apply multiple thin layers of paint, allowing each layer to dry before adding the next. Gradually build up the desired opaqueness, adjusting the paint consistency as needed.
- Strategies for correcting uneven opacity: Uneven opacity can be frustrating, but there are solutions. If certain areas appear more translucent than others, carefully assess your painting techniques.
Ensure consistent paint application by using even brushstrokes and maintaining a consistent paint-to-medium ratio. Adjusting your brush pressure can also help achieve a more uniform opacity.
- Troubleshooting opacity in specific projects: Each artwork may present unique opacity challenges. If you encounter opacity issues in a specific project, evaluate your techniques and materials.
Experiment with different paint colors, additives, or mediums to achieve the desired level of opaqueness. Don’t be afraid to seek inspiration and guidance from experienced artists or art communities to find tailored solutions.
Tips and Tricks for Opacity Mastery
Opacity mastery is a valuable skill for any acrylic artist seeking to create impactful and visually captivating artwork.
Here are some essential tips and tricks that will help you elevate your opacity game and achieve stunning results-
- Working with a limited color palette for better control: Limiting your color palette allows you to have better control over opacity. By focusing on a select range of opaque colors, you can ensure consistent coverage and avoid unnecessary complications. This approach also encourages color harmony and cohesion within your artwork.
- Gradually layering from light to dark for optimal opacity: When building up opacity, it’s often best to start with lighter colors and gradually layer darker shades.
This technique ensures that the underlying layers contribute to the overall opaqueness while maintaining the richness and depth of your artwork. Be patient and allow each layer to dry before applying the next for optimal results.
- Utilizing glazing techniques for translucent layers: While our focus is on opacity, incorporating translucent layers strategically can add depth and luminosity to your artwork.
Utilize glazing techniques by applying thin, translucent layers of paint over opaque areas. This can create subtle shifts in color and enhance the overall visual impact of your painting.
FAQs
- Can I achieve opacity with acrylic paint on different surfaces?
Yes, acrylic paint can achieve opacity on a variety of surfaces. Whether you’re working on canvas, wood, paper, or other suitable surfaces, the techniques for achieving opacity remain the same. Proper layering, using opaque pigments, and employing suitable mediums or additives can help you achieve the desired level of opaqueness on different surfaces.
- What is the role of drying time in achieving opacity?
Allowing proper drying time between layers is crucial for achieving opacity in acrylic painting. Rushing the drying process can result in the mixing of wet layers, leading to a loss of opaqueness and potentially uneven coverage. Patience is key, as allowing each layer to dry completely before applying the next ensures better control over opacity and promotes a more consistent and solid result.
- How can I maintain the vibrancy of opaque colors over time?
To maintain the vibrancy of opaque colors in your acrylic paintings, it is essential to protect them from direct sunlight, excessive humidity, and extreme temperature fluctuations. Displaying your artwork away from direct sunlight and using archival-quality materials, such as UV-resistant varnishes or framing, can help preserve the colors’ intensity and longevity. Regular cleaning and proper handling of the artwork also contribute to its long-term vibrancy.
- Are there any specific brushes or tools that can help increase opacity in acrylic painting?
While the technique plays a significant role in achieving opacity, using certain brushes or tools can also aid in the process. Stiff-bristle brushes are ideal for applying thick and opaque layers of paint, allowing for more coverage and texture. Palette knives, with their ability to apply paint in a thick and textured manner, are another valuable tool for creating opaque effects. Additionally, sponges or stippling brushes can be used to create interesting textures and enhance opacity in specific areas of the artwork.
- How can I incorporate opaque elements in mixed media artwork?
When working with mixed media, incorporating opaque elements can bring richness and depth to your composition. You can use acrylic paint to create opaque layers and incorporate other materials such as collages, pastels, or even opaque markers. By combining these elements, you can create a dynamic interplay of opacity and transparency, adding dimension and intrigue to your mixed media artwork.
Conclusion
Throughout this comprehensive guide, we’ve delved into the depths of how to make acrylic paint more opaque, equipping you with a treasure trove of techniques, tips, and tricks.
Opacity mastery in acrylic painting is not just a mere aspiration; it is an attainable skill that empowers artists to breathe life into their creations with depth and impact.
Embrace the layering technique, experiment with white paint, delve into the realm of acrylic gels and additives, and master opacity in different art styles.
Now it’s time to unleash your imagination, push boundaries, and embrace the exhilarating journey of acrylic artistry. The world awaits your masterpieces, where opacity reigns supreme.