Are you ready to take your artwork to the next level? If you’re seeking to add depth, intrigue, and a touch of artistic magic to your creations, then look no further.
How to use gesso for texture is the secret weapon you’ve been searching for.
Whether you’re a seasoned artist or just starting on your creative journey, understanding the power of gesso in creating beautiful textures is essential.
In this article, we’ll reveal the mysteries of gesso, exploring its composition and the various techniques that can be employed to achieve stunning textured effects.
Get ready to unlock a world of artistic possibilities as we dive into the exciting realm of gesso and its role in adding mesmerizing texture to your art.
What is Gesso
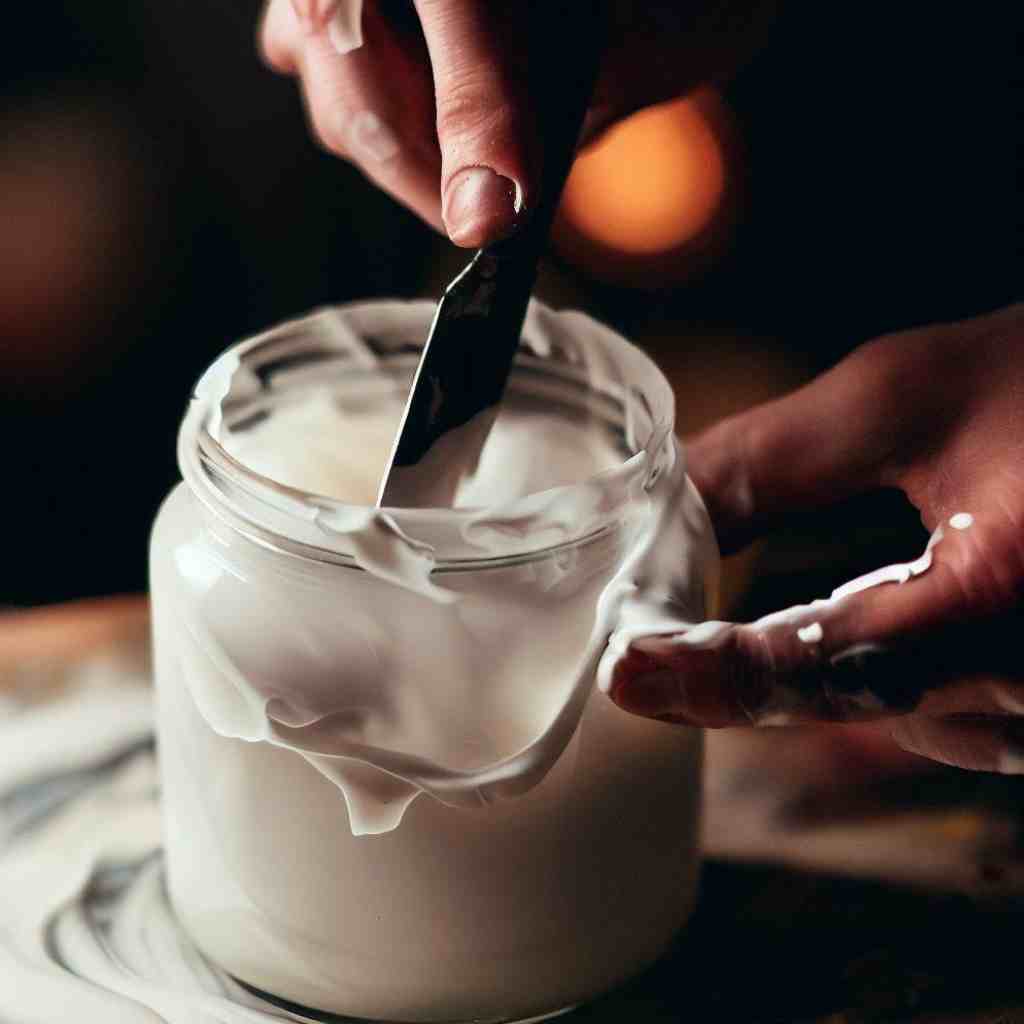
Gesso, a fundamental component in the world of art, is more than just a primer. It is a mixture of binder, pigment, and filler that acts as a preparatory layer for painting surfaces.
Its primary purpose is to create a smooth, even foundation for paint application, but it also presents an opportunity to introduce texture and depth.
Different types of gesso (acrylic gesso, oil-based gesso, clear gesso)
When it comes to gesso, there are different types available, each with its unique properties and applications. The most commonly used type is acrylic gesso, renowned for its versatility and quick drying time.
Artists who work with oil paints may opt for oil-based gesso, which offers a more traditional feel and caters specifically to the needs of oil painting techniques.
For those seeking a transparent surface, clear gesso is a perfect choice, allowing the underlying surface to shine through while still providing a textured foundation.
Also, Making your own DIY gesso is a cheap and easy way to get your canvas ready for painting, and you can customize it for textured art.
Preparing the Surface
Preparation is key when it comes to achieving the desired results in your artwork. A well-prepared surface ensures proper adhesion, longevity, and a smooth canvas for your artistic vision.
Start by thoroughly cleaning the surface. Remove any dust, dirt, or debris that might hinder the application of gesso.
A clean surface allows the gesso to adhere properly and ensures a flawless finish. Consider using a soft cloth or a gentle brush to remove any particles.
Once the surface is clean, it’s time to sand it. Sanding helps create a slightly roughened texture, allowing the gesso to adhere better. Use fine-grit sandpaper and gently sand the surface in circular motions.
Be mindful not to apply excessive pressure or create deep grooves— the goal is to create a smooth and slightly textured surface.
How to Use Gesso for Texture: Techniques
There are some basic techniques to use gesso for texture. These basic techniques for adding texture with gesso have the power to transform artwork into a multisensory experience.
- Dry brushing technique:
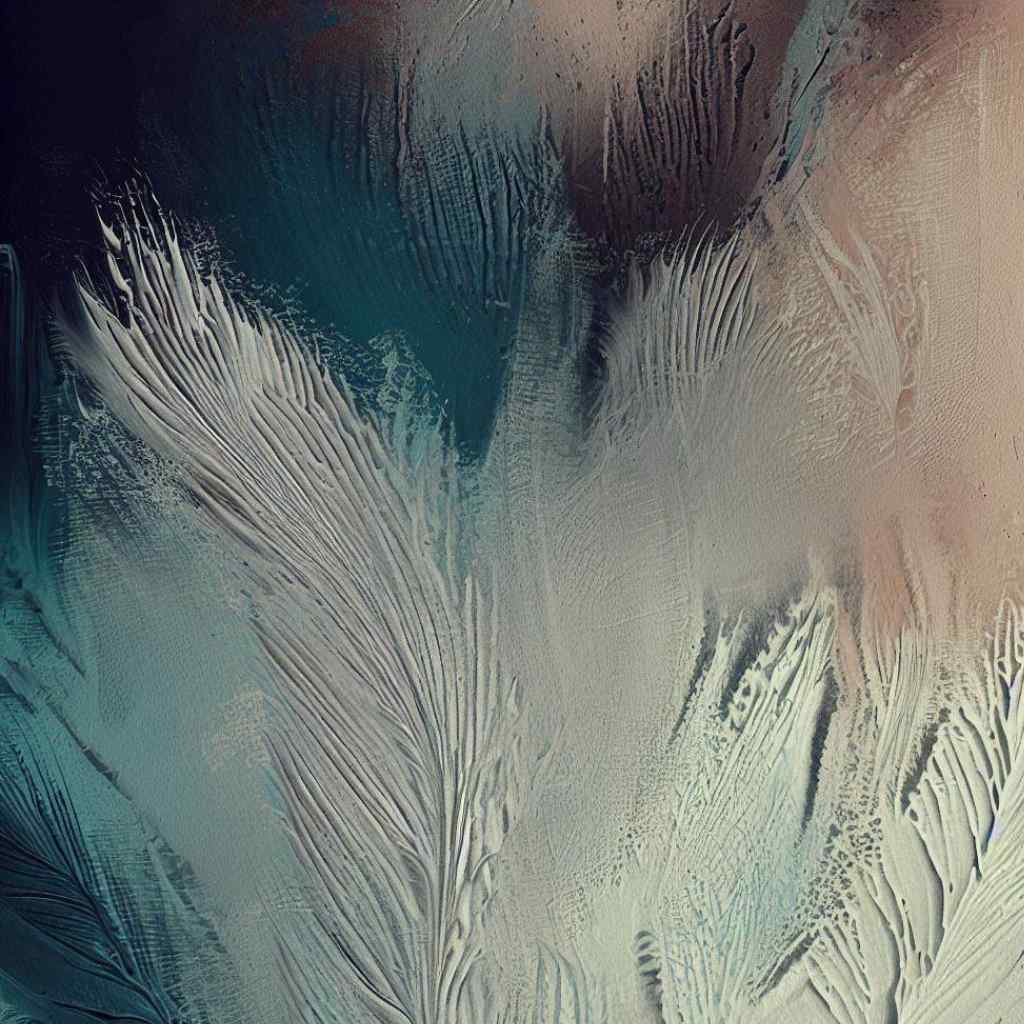
The dry brushing technique involves using a dry brush with minimal paint or gesso to create subtle and delicate textures.
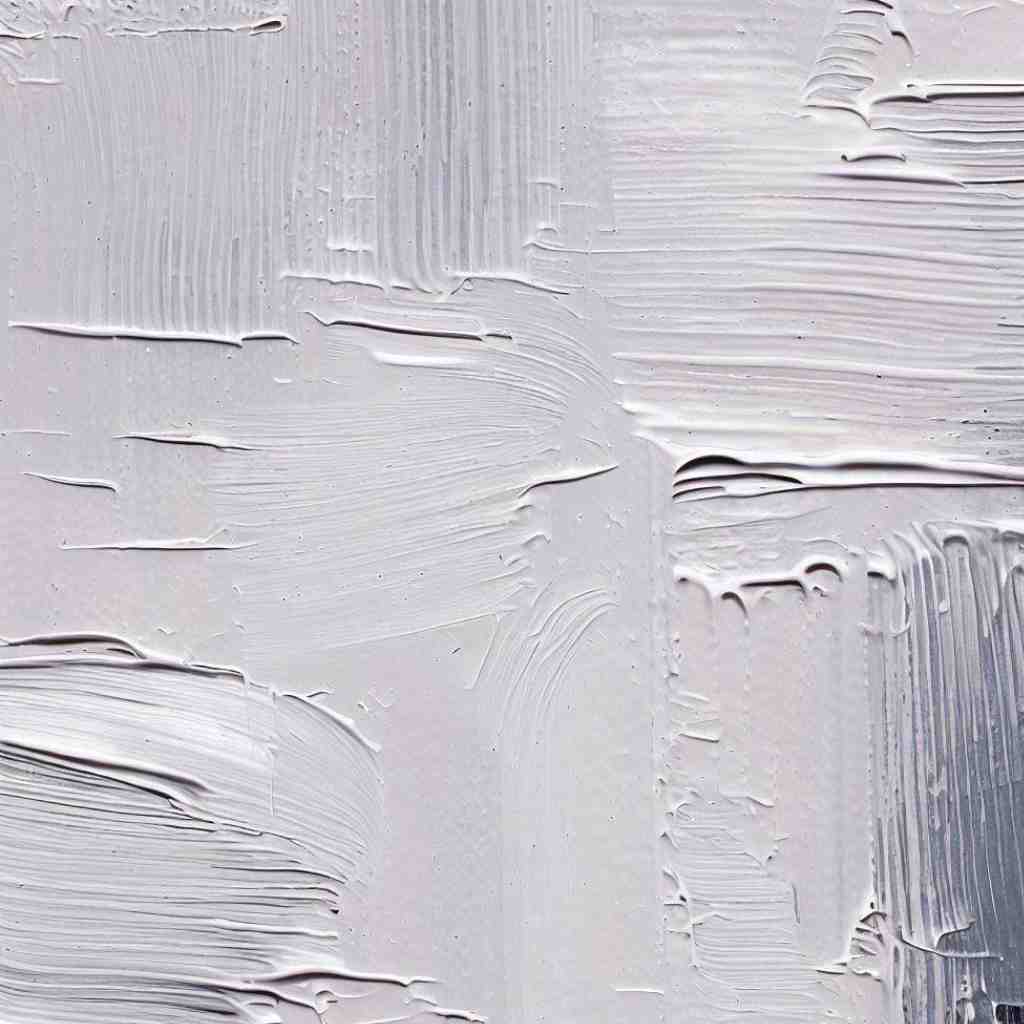
With a light touch, gently drag the brush over the surface, allowing the bristles to catch the raised areas, leaving behind a hint of texture. This technique is perfect for adding soft, feathery strokes or creating a weathered, aged effect.
- Impasto or Palette knife technique:
If you crave bold and pronounced textures, the impasto or palette knife technique is your go-to choice.
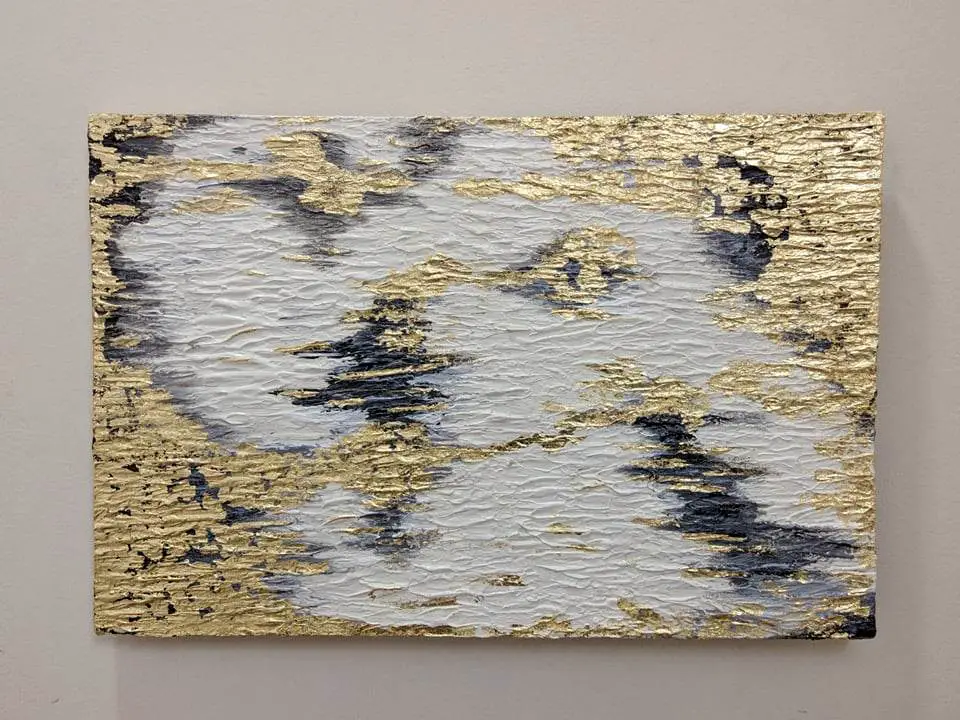
Load the palette knife with a generous amount of gesso and apply it to the surface with sweeping motions. Use the palette knife to sculpt the gesso, creating dynamic peaks and ridges.
This technique adds a three-dimensional quality to your artwork, making it visually striking and tactile.
- Stippling technique:
Stippling involves using a stippling brush or even the end of a brush handle to create a pattern of dots or small marks with gesso.
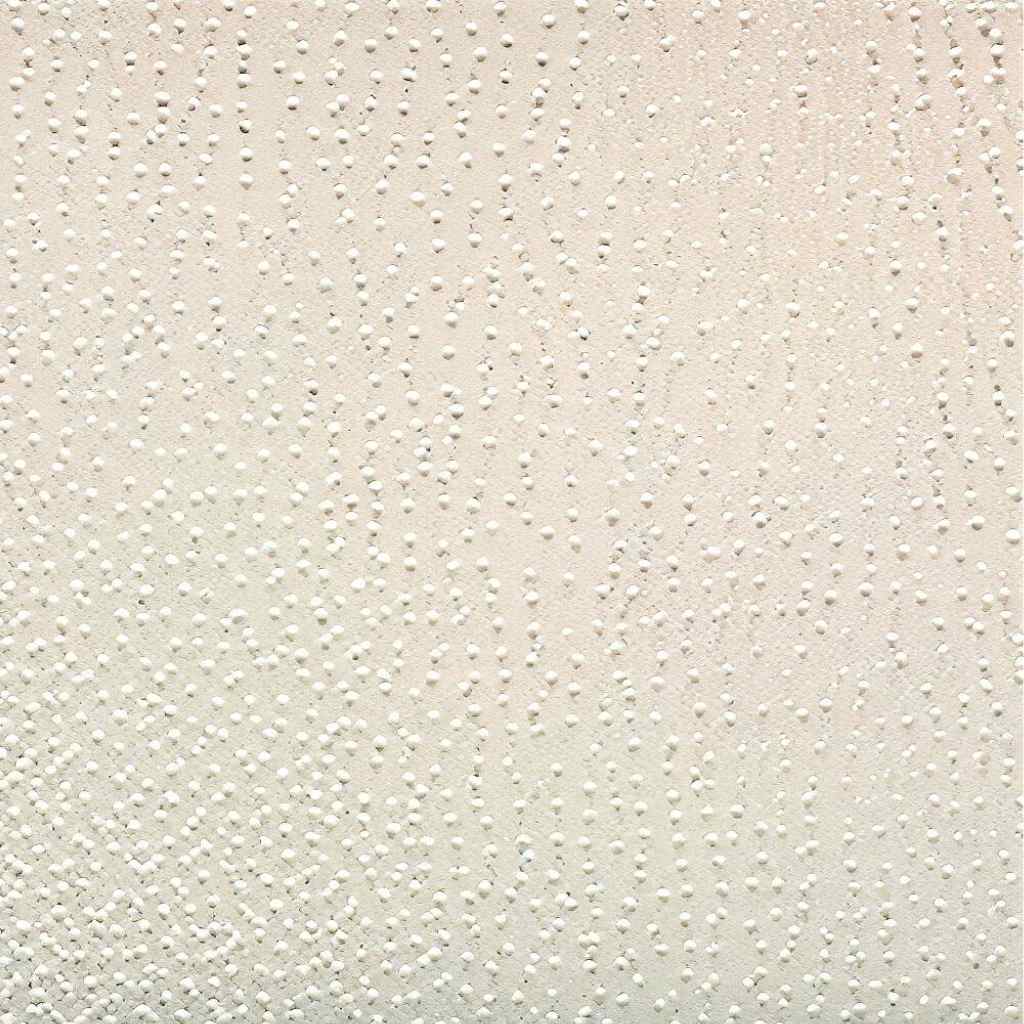
By varying the pressure and density of the dots, you can achieve a range of textures, from subtle speckles to dense, textured surfaces. Stippling is excellent for creating organic textures, such as the texture of foliage or the surface of rocks.
- Combining techniques for unique effects:
Don’t limit yourself to just one technique—experimentation is the key to unlocking endless possibilities!
Combine different techniques to create unique and captivating textures. Try layering dry brush strokes over impasto areas or stippling over a palette knife texture.
The combinations are limited only by your imagination, allowing you to create truly one-of-a-kind textures that bring your artwork to life.
Creating Texture with Additional Materials
While gesso alone can work wonders in adding texture to your artwork, combining it with additional materials opens up a whole new world of creative possibilities.
Using texture mediums with gesso (pumice gel, molding paste, fiber paste)
Texture mediums are specially formulated gels or pastes that can be mixed with gesso to create unique textures. Some popular texture mediums include pumice gel, molding paste, and fiber paste.
These mediums can be mixed with gesso in varying ratios to achieve different levels of texture. Pumice gel, for example, adds a gritty and grainy texture, while molding paste allows for sculptural effects.
Experiment with different texture mediums to find the ones that suit your artistic vision and desired texture.
Incorporating natural elements (sand, coffee grounds, crushed shells)
Nature provides us with a vast array of textures waiting to be incorporated into our artwork.
Consider incorporating natural elements such as sand, coffee grounds, or crushed shells into your gesso textures. Mix these materials directly into the gesso or sprinkle them onto the wet gesso surface for added interest.
Sand can create a gritty texture reminiscent of sandy beaches, coffee grounds offer a rich and textured appearance, and crushed shells provide a touch of the ocean’s beauty.
By incorporating these elements, you not only add texture but also infuse your artwork with a sense of nature’s wonders.
Exploring unconventional materials for texture (fabric, paper, wire)
Why limit yourself to traditional art supplies when there is a whole world of unconventional materials waiting to be explored? Consider incorporating materials like fabric, paper, or wire into your gesso-based textures.
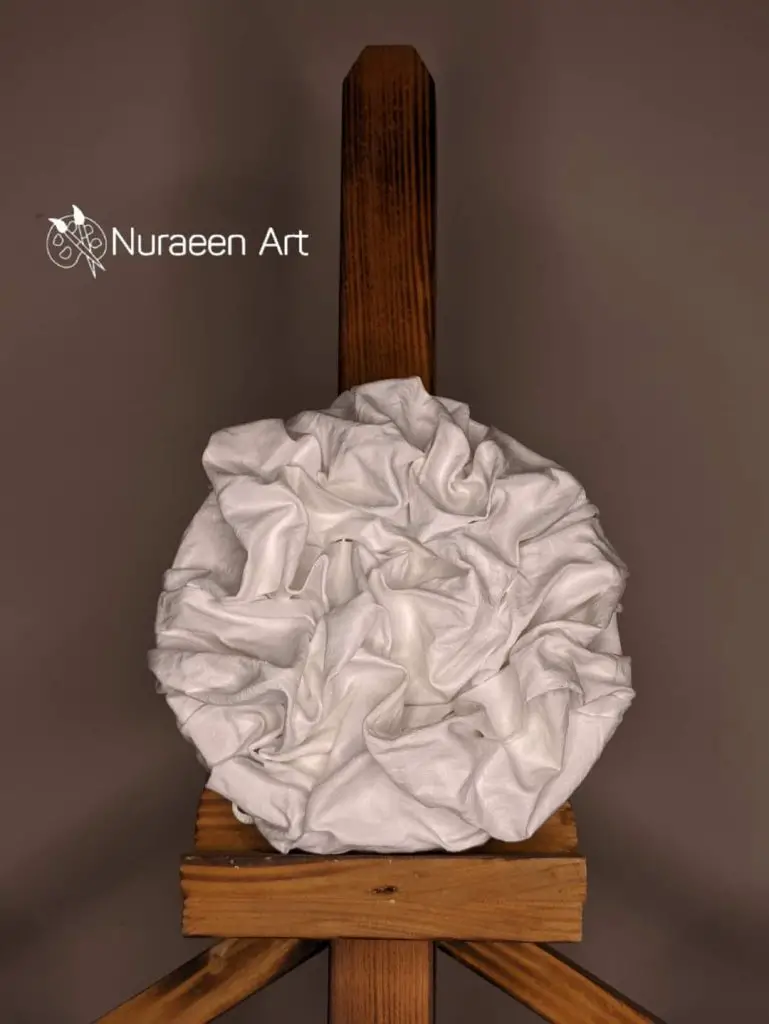
Adhere fabric or paper to the surface with gesso, allowing the texture of the material to show through. Wire can be shaped and embedded into the gesso to create intricate designs and raised patterns.
These unconventional materials add an unexpected twist to your textures, allowing for truly unique and captivating artwork.
Experimenting with Tools for Texture
When adding texture to your artwork, the tools you use can make all the difference.
Texturing with brushes (bristle brushes, fan brushes, stippling brushes)
Brushes are a staple tool in any artist’s toolkit, and they can be incredibly versatile when it comes to creating texture with gesso.
Different types of brushes, such as bristle brushes, fan brushes, and stippling brushes, offer unique textures and effects.
Bristle brushes can be used to create rough, textured strokes, while fan brushes produce soft and feathery textures. Stippling brushes, with their short, stubby bristles, create a stippled or speckled texture.
Experiment with different brush types and sizes to achieve various textures and surface effects.
Using non-traditional tools (cards, sponges, toothbrushes)
Non-traditional tools can yield surprisingly interesting textures when paired with gesso. Consider using items like cards, sponges, or toothbrushes to create unique effects.
A card can be used to scrape or drag gesso across the surface, producing intriguing lines and patterns. Sponges can create a mottled or sponge-like texture when dipped in gesso and dabbed onto the surface.
And a toothbrush, when flicked or splattered with gesso, can create a fine splatter texture.
Don’t be afraid to think outside the box and explore the textures that these unconventional tools can bring to your artwork.
Exploring household items for texture (forks, combs, bubble wrap)
Your household is a treasure trove of potential texture-creating tools. Everyday items like forks, combs, and bubble wrap can be repurposed to add unique textures to your gesso-based artwork.
Dragging a fork through wet gesso creates distinctive parallel lines while combing gesso can produce textured patterns. Bubble wrap, when pressed into the gesso, imparts a bubbled texture that adds depth and visual interest.
Take a look around your home and let your imagination guide you as you discover new and exciting ways to use household items for creating texture.
Layering and Building Texture
One of the most exciting aspects of working with gesso is the ability to layer and build texture in your artwork. Layering allows you to create depth, dimension, and a richly textured surface.
Building up layers with gesso
Gesso serves as a foundation for your artwork, and by applying multiple layers, you can gradually build up texture and visual interest.
Start with a thin layer of gesso and let it dry completely before adding another layer. Repeat this process, gradually increasing the thickness and texture with each layer.
By layering gesso, you can create a sculptural effect, giving your artwork a three-dimensional quality.
Experiment with different brush strokes, application techniques, and layering styles to achieve the desired texture and visual impact.
Creating depth and dimension through layering
Layering gesso not only adds texture but also allows you to create depth and dimension in your artwork.
Apply thicker layers of gesso in specific areas to create raised textures or focal points. Use a palette knife to sculpt the gesso, creating peaks and valleys that add visual interest.
By strategically layering gesso and varying its thickness, you can simulate the look of objects protruding from the surface or create an illusion of depth within your artwork.
Play with light and shadows to enhance the three-dimensional effect, adding depth and realism to your textured masterpiece.
Blending and manipulating textures for desired effects
Once you have built up layers of gesso and created a textured surface, you can further enhance and manipulate the textures to achieve the desired effects.
Blend different textures together by softly brushing or stippling gesso over the existing texture. This blending technique can create a smooth transition between different textures, resulting in a harmonious and cohesive surface.
Additionally, you can use tools like palette knives or brushes to manipulate the texture, sculpting and shaping the gesso to create specific patterns or designs.
Techniques for Manipulating Gesso Texture
Gesso texture can be manipulated in unique and captivating ways by employing these techniques:
- Carving into gesso for intricate designs:
Gesso provides a firm surface that can be carved or etched to create intricate designs.
Use a sharp tool, such as a carving knife or a needle, to carefully carve into the gesso, revealing the layers beneath. This technique allows for precise detailing and the creation of intricate patterns, adding a unique touch to your artwork.
- Scraping and scratching techniques:
Scraping and scratching techniques involve using tools like palette knives or sandpaper to remove or scrape away layers of gesso.
By selectively scraping or scratching the surface, you can create textured areas, reveal underlying colors, or add a distressed look to your artwork. Experiment with different tools and pressures to achieve a variety of scraping and scratching effects.
- Creating patterns and textures with stencils:
Stencils are a fantastic tool for adding patterns and textures to your gesso surface. Place a stencil over the gesso and use a brush or a sponge to apply the gesso or remove it from specific areas.
This technique allows for precise and repeatable patterns, providing a wide range of creative possibilities. Explore various stencil designs and experiment with different application techniques to achieve captivating patterns and textures.
Incorporating Color into Gesso Texture
Incorporating color into gesso texture adds another layer of depth and visual interest to your artwork. By utilizing various techniques, you can infuse vibrant hues and create captivating effects that enhance the textured surface.
Tinting gesso with acrylic paints
One way to introduce color to gesso texture is by tinting the gesso itself. Mix acrylic paints of your choice into the gesso to create custom colors.
Experiment with different ratios to achieve the desired intensity or create unique shades by combining multiple colors.
Tinted gesso can be applied as a base layer or added to subsequent layers, allowing the color to interact with the texture and adding a dynamic element to your artwork.
Blending colors for a gradient effect
Blending colors seamlessly across the gesso texture can produce stunning gradient effects.
Start with two or more colors of acrylic paint and apply them to the textured surface. Use a soft brush or sponge to blend the colors together, creating a smooth transition from one hue to another.
This technique adds depth, visual flow, and a sense of movement to your artwork.
Applying washes and glazes over textured gesso surfaces
Washes and glazes can be applied over textured gesso surfaces to enhance the color and create intriguing visual effects.
Dilute acrylic paints with water to create a translucent wash or mix them with a medium to create a glaze. Apply the wash or glaze to the textured surface, allowing it to settle into the crevices and recesses.
This technique highlights the texture and adds a layer of depth while tinting the surface with a transparent or semi-transparent color.
Fixing and Finishing Textured Gesso
After creating textured gesso surfaces, it’s essential to ensure their longevity and preserve their visual appeal.
Sealing and protecting the gesso texture
To safeguard the texture and prevent it from getting damaged, it’s crucial to seal and protect the gesso surface.
Apply a clear sealer or varnish specifically designed for acrylic or oil-based paints. This protective layer acts as a barrier, shielding the texture from moisture, dust, and UV rays.
Select a sealer that doesn’t alter the appearance of the texture, ensuring it remains visually intact.
Varnishing options for textured surfaces
Varnishing textured gesso surfaces adds a professional touch and enhances their overall appearance.
Choose a varnish that is compatible with the gesso and the medium used in the artwork, whether it’s acrylic or oil-based. Opt for a matte, satin, or glossy finish based on your desired aesthetic.
Apply the varnish evenly using a brush or spray, following the manufacturer’s instructions for best results.
Troubleshooting common issues with textured gesso
Textured gesso may encounter certain challenges that require troubleshooting. Some common issues include cracks, flaking, or uneven texture.
To address these problems, consider sanding down the affected area and applying additional layers of gesso to smoothen the texture.
If cracks or flaking persist, it may be necessary to remove the gesso completely and start the texturing process afresh.
FAQs
- Can gesso texture be used in both traditional and contemporary art forms?
Yes, gesso texture is versatile and can be used in both traditional and contemporary art forms. It offers a wide range of possibilities for adding texture to various art styles and mediums.
- Is it possible to remove or modify textured gesso once it’s applied?
Yes, it is possible to remove or modify textured gesso. If you wish to remove the texture completely, you can gently sand or scrape it off the surface. If you prefer to modify the texture, you can add additional layers of gesso or use tools to manipulate the existing texture.
- Are there any specific drying or curing times for gesso texture?
The drying or curing time for gesso texture depends on factors such as the thickness of the layers applied and environmental conditions. Generally, gesso dries within a few hours to a day. However, it’s recommended to allow ample time for each layer to dry completely before adding additional layers or working on the textured surface.
- Can gesso texture be used for both abstract and realistic art styles?
Yes, gesso texture can be used for both abstract and realistic art styles. In abstract art, gesso texture can add depth, dimension, and visual interest to the artwork. In realistic art, gesso texture can be used to mimic the texture of various surfaces, such as skin, fabric, or architectural elements.
- How can I incorporate gesso texture into mixed media collage projects?
Gesso texture can be a valuable addition to mixed media collage projects. You can apply gesso to various elements of your collage, such as paper, fabric, or found objects, to create textured surfaces. This can add depth and tactile interest to your collage composition, making it visually engaging and unique. Experiment with different application techniques and combine gesso with other mediums to achieve the desired texture in your mixed media collages.
Conclusion
In conclusion, mastering the art of using gesso for texture opens up a world of creative possibilities.
By understanding how to prepare the surface, experimenting with different tools, layering gesso, and incorporating additional materials, you can achieve beautiful textures that bring your artwork to life.
Whether you prefer a subtle and delicate texture or a bold and pronounced one, gesso offers the versatility to express your artistic vision. Embrace the power of gesso and unleash your creativity.
So grab your brushes, explore new techniques, and let gesso be your guide on the journey to creating textured masterpieces.