Do you spend hours creating stunning masterpieces, pouring your heart and soul into each stroke of the brush?
Then, my fellow artist, you know the agony of seeing your hard work ruined by dust during the drying process. It’s a common problem that plagues many artists, leaving them frustrated and disheartened.
But there is a solution! In this article, we will explore the art of protecting oil paintings from dust while drying.
So, get ready to unlock the ultimate guide on how to protect oil painting from dust while drying.
Setting up the Workspace

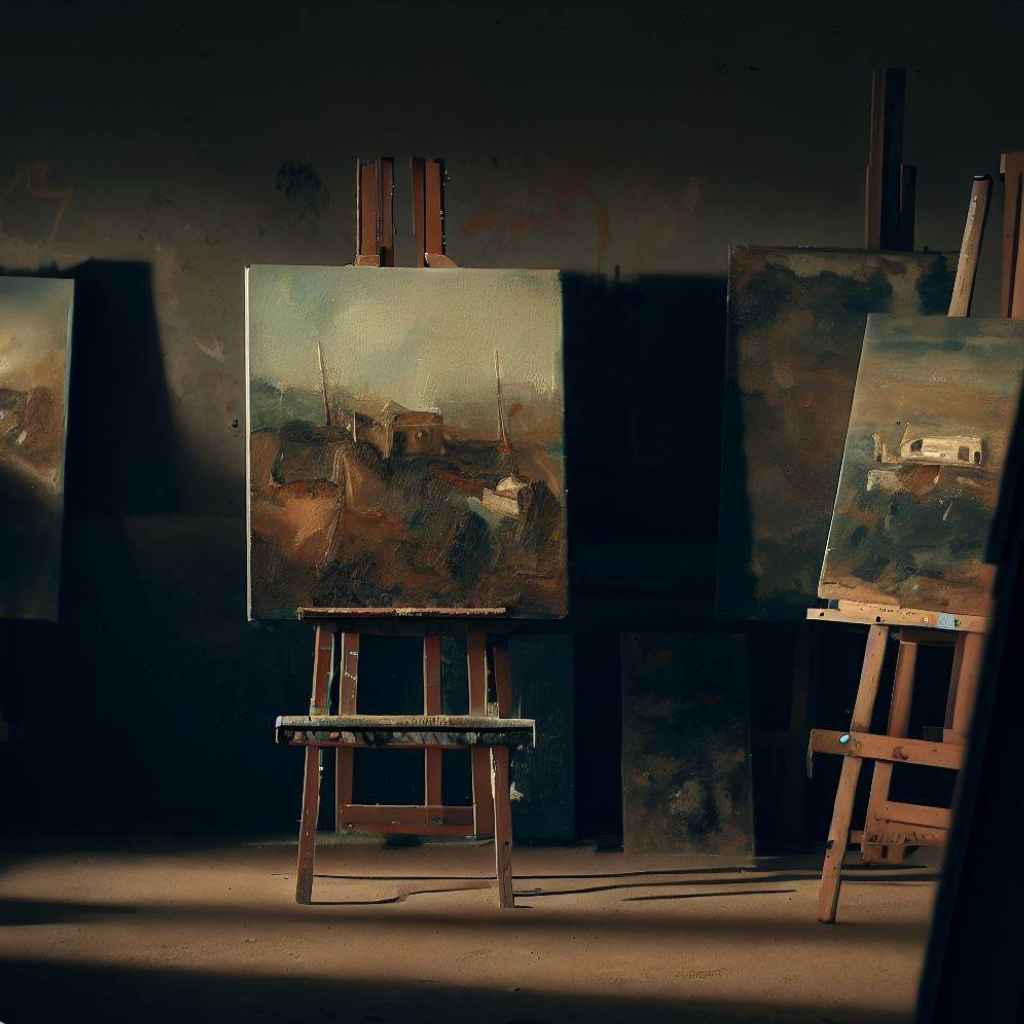
Before starting a painting, setting up the studio or the workspace is important to minimize dust contamination –
- Choosing an appropriate location: Select a well-ventilated area away from high-traffic zones or places prone to excessive dust accumulation. A dedicated space will minimize the chances of dust settling on your artwork.
- Cleaning the workspace: Before you begin the painting process, thoroughly clean the entire workspace, including the floors, walls, and furniture. Regular dusting and vacuuming will help eliminate any pre-existing dust particles.
- Minimizing air circulation: To prevent airborne dust from settling on your paintings, close windows, and doors to minimize drafts. Consider using air purifiers or air filtration systems to maintain a clean environment while allowing for adequate ventilation.
How to Protect Oil Paintings from Dust While Drying: Covering the Painting
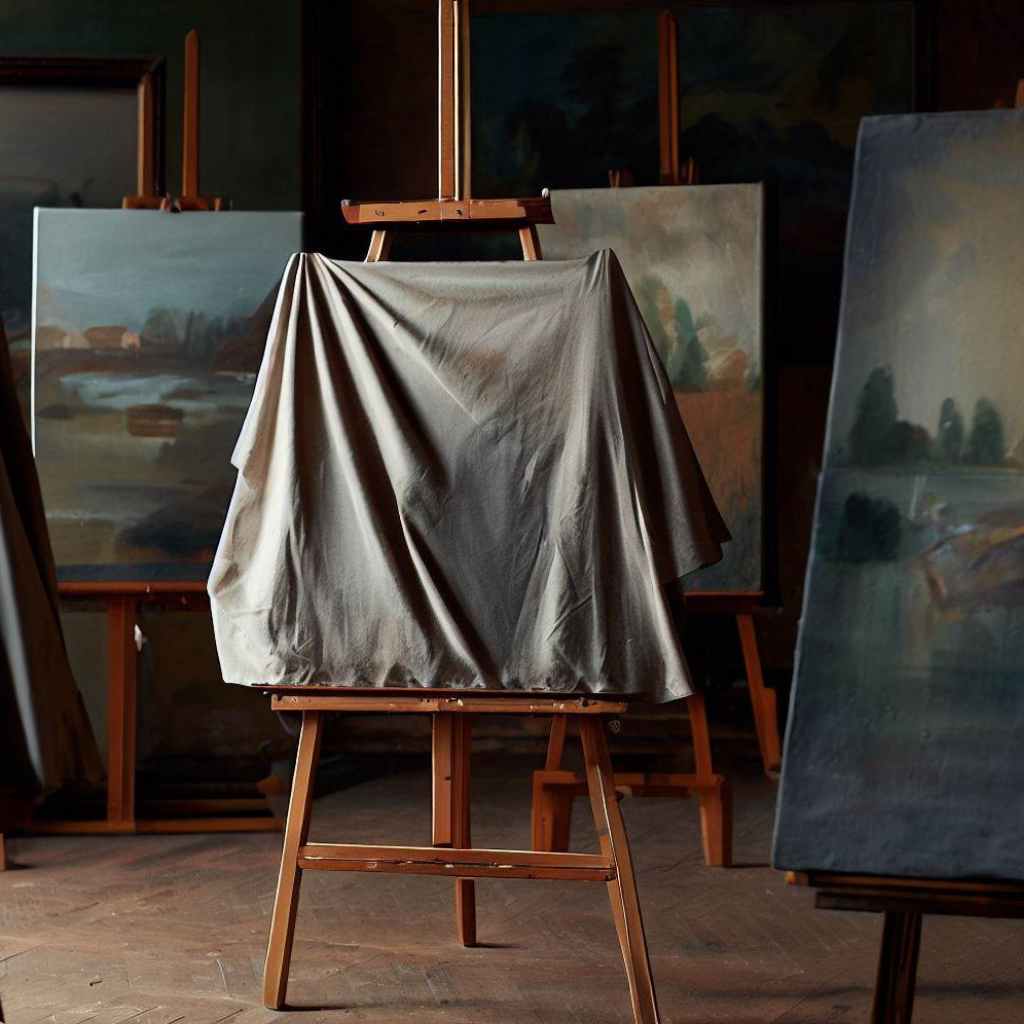
Covering your oil painting while it dries can provide an additional layer of protection against dust contamination. It acts as a barrier, preventing particles from settling on the paint surface.
Using a breathable cover:
Opt for a breathable cover that allows air to circulate while providing protection. This prevents moisture buildup that could potentially damage the drying oil paint. Glassine paper, plastic wrap, acrylic sheets, or soft cotton cloths are viable options for covering your artwork.
Options for covering:
There are a few options for covering the painting with like glassine paper, plastic wrap, or acrylic sheets:
- Glassine paper, a transparent and non-stick material, is commonly used for covering artwork.
- Plastic wrap, though less breathable, can also serve as a temporary cover.
- Alternatively, acrylic sheets offer a sturdy and transparent solution, providing both protection and visibility.
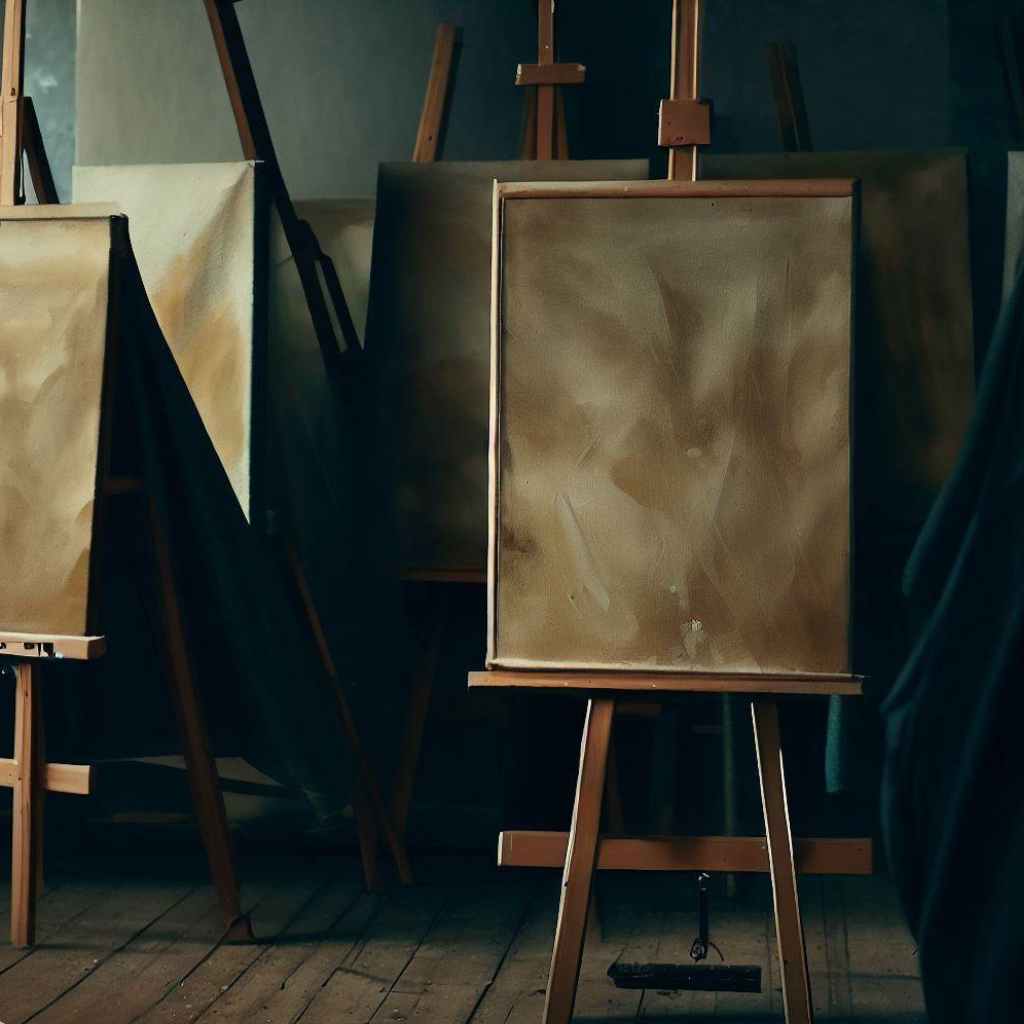
Proper Drying Time and Conditions:
Each layer of oil paint requires adequate drying time to ensure proper curing. Rushing the drying process can lead to a variety of issues, including dust entrapment.
Follow the manufacturer’s guidelines or consult an expert to determine the recommended drying time for your specific paints.
Ideal temperature and humidity levels:
Maintaining a controlled environment with suitable temperature and humidity is crucial for the proper drying of oil paintings. Aim for a temperature range of 65-75°F (18-24°C) and a relative humidity level between 40% and 60% to promote optimal drying conditions.
Avoiding direct sunlight or extreme heat:
Protect your artwork from direct sunlight or extreme heat sources, as these can cause premature drying and result in cracks or other forms of damage. Find a stable, shaded area to allow the paint to dry naturally.
Reducing Airborne Dust:
Regularly clean the painting area and surrounding space to minimize dust and debris. Dust surfaces, sweep floors, and use a damp cloth to wipe down furniture, keeping the environment as dust-free as possible.
Minimizing foot traffic:
Limiting movement around the drying paintings will reduce the disturbance of settled dust. Restrict access to the painting area to prevent accidental contamination.
Using air purifiers or dust collectors:
Consider using air purifiers or dust collectors equipped with HEPA filters. These devices can help capture airborne dust particles, ensuring a cleaner environment for your paintings to dry.
Techniques for Dust-Free Painting
There are a few techniques you can follow to keep your painting dust-free while painting and drying-
- Wet-on-wet vs. layering techniques: Adopt painting techniques such as wet-on-wet or direct painting to minimize dust exposure. These techniques involve applying wet paint onto wet surfaces, reducing the chance of dust particles settling onto the drying layers.
- Using mediums to slow drying time: Mixing a slow-drying medium with your oil paints can extend the drying time, providing a larger window for the paint to settle and reducing the likelihood of dust entrapment.
- Proper brush and palette management: Regularly clean your brushes and palettes during painting sessions to prevent the buildup of dried paint particles. Keep your palettes covered when not in use to avoid dust settling on the paint mixes.
Sealing the Painting
Once your oil painting has fully dried, consider applying a protective varnish. Varnishing not only enhances the painting’s appearance but also acts as a barrier against dust and pollutants, making it easier to clean the surface in the future.
Benefits of varnishing
Varnishing provides a protective layer that shields the painting from dust, UV rays, and minor abrasions. It also enhances color saturation and provides a consistent finish to the entire artwork.
Different varnish options
There are various varnish options available, including spray varnishes and brush-on varnishes. Research the characteristics and application techniques of each type to determine the most suitable option for your specific painting.
Tips for Protecting Large-Scale Paintings
Large-scale paintings are a bit harder to protect than comparatively small-size paintings. So, here are a few tips for protection-
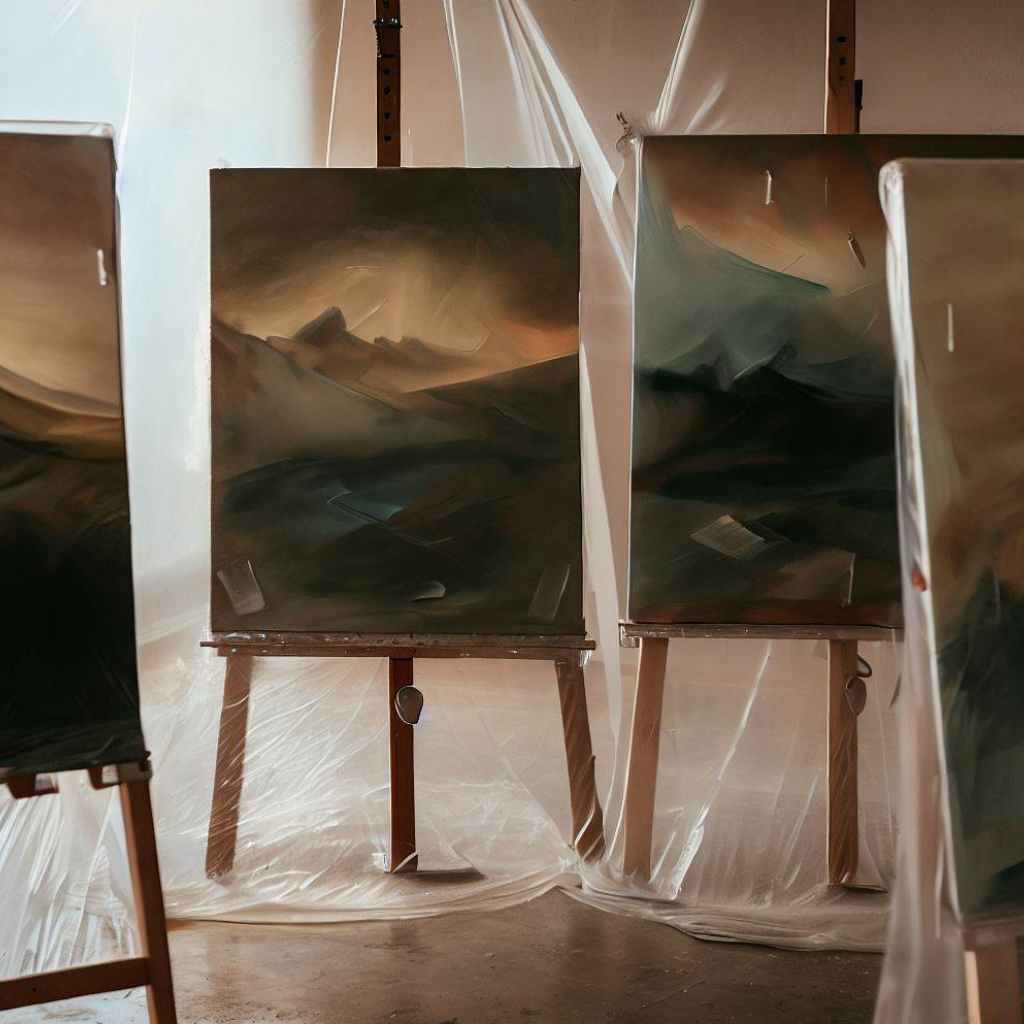
- Creating a temporary clean room: For large-scale paintings, consider creating a temporary clean room or enclosure. This can be achieved by using plastic sheeting to seal off an area, minimizing dust exposure during the drying process.
- Using portable air filtration systems: Utilize portable air filtration systems equipped with HEPA filters to maintain clean air quality within the temporary clean room. These systems help capture airborne dust particles, creating a more favorable environment for large-scale paintings.
- Working in sections: When working on expansive artworks, consider dividing the painting into sections and drying them individually. This approach allows you to focus on smaller areas at a time, reducing the risk of dust settling on the entire surface.
Dealing with Accidental Dust Contamination
If your painting does get dust-contaminated during the drying process, assess the severity of the contamination before taking any action.
Examine the affected areas and determine the best course of action based on the level of dust accumulation.
Safe cleaning methods
For minor dust contamination, use a soft brush or specialized dusting tool to carefully remove the particles. Avoid excessive rubbing or abrasive cleaning techniques, as they may damage the paint surface.
Precautions for Painting Outdoors
Some precautions should be followed for painting outdoors to minimize dust contamination:
- Selecting a suitable outdoor painting location: When painting outdoors, choose a location that is relatively dust-free. Avoid areas near construction sites, busy roads, or windy environments that can introduce dust particles onto the wet paint surface.
- Protecting the artwork from environmental elements: While painting outdoors, take precautions to shield your artwork from environmental elements. Use portable easels or protective screens to create a barrier between the painting and potential dust or debris.
- Minimizing dust exposure: Keep your painting materials covered when not in use and minimize unnecessary movement around the painting area. These practices will help minimize dust exposure and reduce the risk of contamination.
Using Technology for Dust Prevention
Fortunately, advancements in technology offer effective solutions to safeguard your oil paintings from dust.
As we talked about dust covers and air purifiers before, there are some more innovative methods and techniques to protect your artwork while it dries.
- Controlled Environment Chambers: Creating a controlled environment chamber is an excellent way to shield your oil painting from dust particles. These chambers provide a sealed space with regulated temperature, humidity, and ventilation settings.
By placing your artwork inside a controlled environment chamber, you can minimize the risk of dust settling on the surface and ensure an optimal drying process.
- Negative Air Pressure System: A negative air pressure system involves using exhaust fans or blowers to create a slight vacuum within your drying area. By maintaining lower air pressure inside the space compared to the surrounding environment, dust particles are less likely to enter.
This method can be particularly useful when working in a dusty or high-traffic area, providing an additional layer of protection for your oil paintings.
- Electric Air Duster: Electric Air Duster technology offers an efficient solution for removing dust particles from your artwork without causing any damage. Specialized airflow with adjustable speed can blow away the dust particles from the painting’s surface.
This technique can be used during the drying process to gently remove any settled dust, ensuring a pristine finish.
Frequently Asked Questions
- How long does it take for an oil painting to dry?
The drying time of oil paintings varies depending on factors such as the thickness of the paint layers, the type of oil used, and the ambient conditions. Generally, oil paintings can take anywhere from a few days to several weeks or even months to dry completely.
- Can I use a hairdryer to speed up drying?
Using a hairdryer to accelerate the drying process is not recommended. It can lead to uneven drying, premature skinning of the paint surface, and potential damage to the artwork. It’s best to allow the paintings to dry naturally in a controlled environment.
- What should I do if my painting gets dusty during drying?
If your painting accumulates dust during the drying process, gently remove the dust using a soft brush or specialized dusting tool. Take care not to disturb the drying paint layers, and avoid using any cleaning solvents or liquids.
- How do I prevent brush hairs or lint from getting trapped in the wet paint during the drying process?
Before painting, thoroughly clean and inspect your brushes to ensure they are free from loose bristles or lint. Use high-quality brushes that are less likely to shed bristles during use. Avoid wearing clothing that sheds fibers, and consider using a lint roller to remove any lint or stray fibers from your clothing or workspace. Handle brushes carefully and use light, gentle strokes to avoid dislodging bristles into the wet paint. If you notice any stray hairs or lint on the painting surface, carefully remove them with a clean, soft brush or tweezers before the paint dries.
- What should I do if I accidentally touch the wet surface of an oil painting and leave behind fingerprints or smudges?
If you accidentally touch the wet surface of an oil painting and leave behind fingerprints or smudges, act quickly but gently. Use a clean and soft cloth or cotton swab to lightly dab the affected area, being careful not to smear the paint further. If the smudge is minimal, you may be able to blend it gently with a clean brush or artist’s tool to minimize its visibility. If the smudge is more pronounced or covers a larger area, it is best to consult a professional art restorer who can assess the damage and provide appropriate restoration techniques. Prevention is key. To avoid future accidents, be mindful of your hand placement and consider using a bridge or resting your hand on a support to minimize contact with the wet paint.
- Can I use a vacuum cleaner or compressed air to remove dust particles from the surface of a drying oil painting?
It is not recommended to use a vacuum cleaner or compressed air directly on the surface of a drying oil painting. Both methods can create strong suction or air pressure that may disturb or damage the wet paint layer. Instead, use a clean, soft brush specifically designed for delicate art surfaces to gently brush off any loose dust or particles. If necessary, lightly dampen the brush with a small amount of distilled water to aid in dust removal, ensuring the brush is not dripping wet. Be cautious when using water, as excessive moisture can cause smudging or running of the paint. Use sparingly and blot any excess moisture with a clean, lint-free cloth.
Conclusion
Protecting oil paintings from dust during the drying process is crucial for preserving their quality and longevity.
Throughout this blog, we have dived into the potential risks of dust contamination, provided a guide to safeguarding your artwork, and shared valuable tips and techniques to ensure a dust-free drying process.
Now armed with this knowledge, you can confidently embark on your artistic endeavors, knowing how to shield your precious oil paintings from the perils of dust.
So, go forth, create, and protect your artistic vision with the wisdom gained here.
Protecting your oil painting from dust is crucial, but so is keeping your brushes in top condition. Learn how to clean oil paint brushes between colors for best practices.