Are you an artist seeking to elevate your oil painting game? Tired of conventional mediums that lack the vibrancy and versatility your artistry demands?
Look no further, in this guide, we dive into the world of how to make your own liquin, a secret weapon cherished by master painters for centuries.
But why settle for store-bought when you can craft your very own elixir of artistic brilliance?
Join us as we unlock the doors to a realm where imagination reigns supreme and the possibilities are as vast as the canvas before you.
What is Liquin?

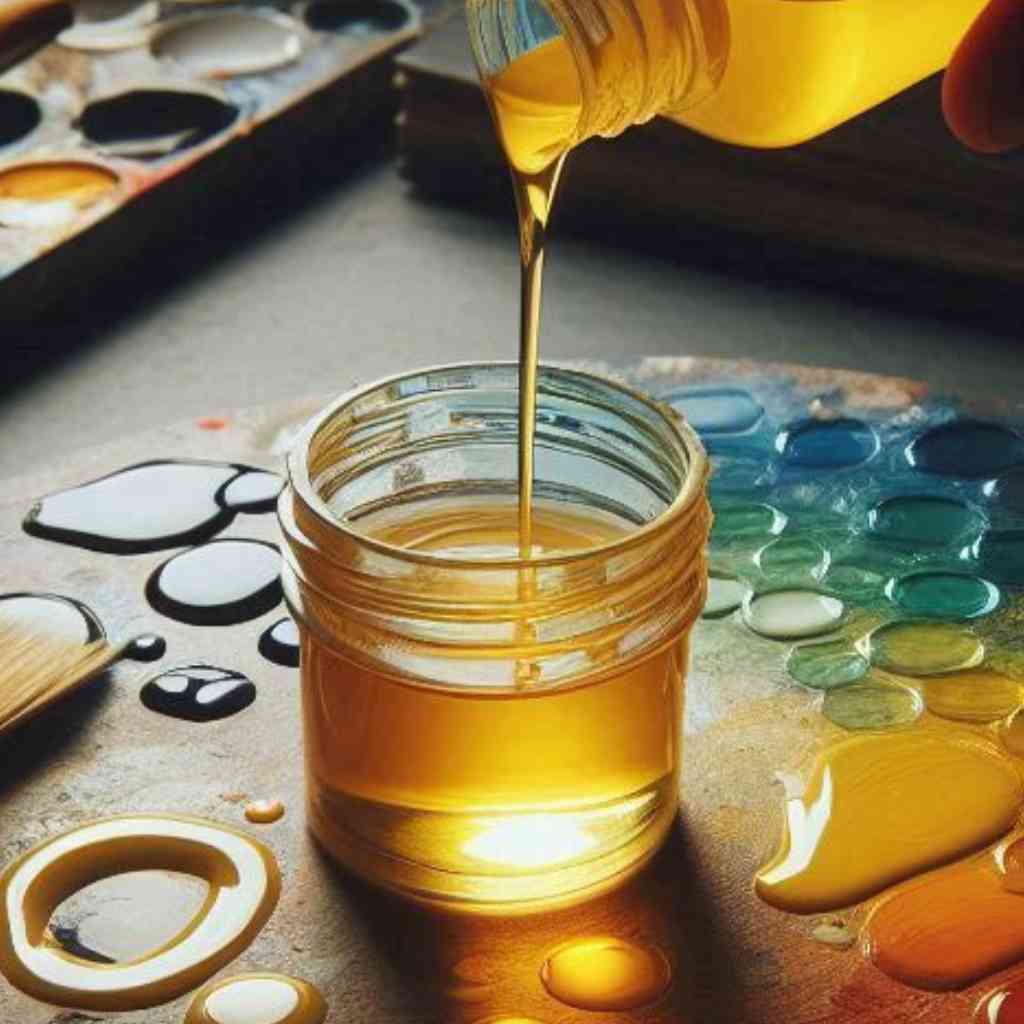
Liquin primarily consists of synthetic resins, solvents, and additives that promote drying and flow properties.
Known for its quick drying time and glossy finish, Liquin enhances color saturation and depth, making it a favored medium for artists seeking vibrant and durable results.
Apart from accelerating drying times, Liquin improves paint adhesion, reduces brush strokes, and facilitates smoother blending, resulting in professional-quality artwork.
Ingredients Needed
You’d need a few things to make your own liquin. Here they are-
- Linseed Oil
- Resin
- Solvents
- Measuring tools
- Heat-resistant containers
- Stirring implements
- Safety gear like gloves and goggles
How to Make Your Own Liquin: Step-by-Step Guide
Homemade Liquin offers artists greater control over ingredients, cost savings, and the opportunity for experimentation. Here’s the step-by-step guide-
Step 1: Measure Ingredients
Begin by precisely measuring the required ingredients for your homemade Liquin recipe. Utilize accurate measuring tools such as graduated cylinders, digital scales, or syringes to ensure precise proportions.
Typically, a basic recipe may involve combining one part linseed oil with one part resin and adjusting the solvent ratio based on personal preference and desired consistency.
For example, you might measure out 100 milliliters of linseed oil and 100 milliliters of resin, then gradually add solvents until reaching the desired fluidity.
Step 2: Heat the Linseed Oil
In a heat-resistant container, gently warm the measured quantity of linseed oil over a low flame or in a double boiler setup.
Aim to raise the temperature of the oil to around 40-50 degrees Celsius (104-122 degrees Fahrenheit) to facilitate better blending with the resin.
Avoid overheating the oil, as excessive temperatures can alter its properties and affect the final quality of the Liquin.
Step 3: Add Resin
Once the linseed oil reaches the desired temperature, slowly add the measured quantity of resin to the warmed oil while stirring continuously.
The resin should dissolve gradually into the oil, forming a smooth and homogeneous mixture.
Maintain a gentle heat during this process to aid in the dissolution of the resin particles and ensure thorough integration with the oil.
Step 4: Stir and Mix Thoroughly
After incorporating the resin, continue stirring the mixture diligently to promote even distribution and prevent the formation of clumps.
Use a sturdy stirring implement to agitate the solution thoroughly, ensuring that all components are well blended. Take care to scrape the sides and bottom of the container to incorporate any resin particles that may have settled, ensuring a consistent texture throughout the Liquin.
Step 5: Add Solvents
Gradually introduce the measured quantity of solvents into the resin-oil mixture, adjusting the ratio based on the desired viscosity and flow properties of the Liquin.
Common solvents such as odorless mineral spirits or turpentine are typically used to thin the mixture and enhance its fluidity.
Add the solvents in small increments while stirring continuously, pausing periodically to assess the consistency and make adjustments as needed.
Step 6: Final Mixing and Consistency Check
Once all the ingredients have been added, thoroughly mix the Liquin solution one final time to ensure complete integration and uniformity.
Use a clean stirring implement to scrape the sides and bottom of the container, incorporating any remaining particles or sediments into the mixture.
Assess the texture and viscosity of the Liquin, adjusting the solvent ratio if necessary to achieve the desired fluidity for your painting requirements.
Conduct a visual and tactile inspection to confirm that the Liquin is free from lumps or inconsistencies before proceeding to use it in your artwork.
Step 7:Testing the Liquin
Apply a small amount of homemade Liquin to a test surface and observe its drying time to gauge its effectiveness in accelerating paint drying.
Assess the glossiness and transparency of Liquin by applying it over dried paint layers, noting any enhancements in color vibrancy and depth.
Test the compatibility of homemade Liquin with various oil paints to ensure it performs well across different brands and formulations.
Step 8: Storing the Liquin
Transfer homemade Liquin into airtight containers made of glass or metal to prevent contamination and preserve its shelf life.
Label containers with the date of preparation and ingredients used to track shelf life and maintain quality control over time.
Store homemade Liquin in a cool, dark place away from direct sunlight and extreme temperatures, with a typical shelf life of several months to a year.
Troubleshooting Tips
Here are some troubleshooting tips to help you from getting into common problems-
- Adjusting Consistency: Modify the consistency of Liquin by adding more solvents to thin it out or incorporating additional resin to thicken the mixture as needed.
- Dealing with Sediments or Separation: If sediments or separation occur in homemade Liquin, gently heat the solution and stir thoroughly to recombine the components before use.
Be careful not to overheat the mixture, as excessive temperatures can degrade the quality of the Liquin. Once fully reintegrated, allow the solution to cool before assessing its consistency and quality.
- Preventing Yellowing or Discoloration: To prevent yellowing or discoloration of Liquin over time, store it in light-resistant containers and avoid exposure to UV radiation.
Additionally, consider adding antioxidants or UV stabilizers to the Liquin formulation to enhance its longevity and color stability.
- Enhancing Flow and Blending Properties: To improve the flow and blending properties of your oil paints, experiment with alternative additives or modifiers.
For example, adding small amounts of refined beeswax or Japan wax to the Liquin formulation can enhance its lubricating properties and improve paint handling.
Additionally, incorporating small quantities of acrylic medium or gel can impart additional body and texture to the Liquin, allowing for greater versatility in painting techniques.
- Addressing Drying Issues: Increasing the proportion of resin in the Liquin formulation or incorporating drying agents such as cobalt driers or manganese driers.
These additives can help catalyze the oxidation process of the oil binder, leading to faster and more thorough drying of the paint layers.
However, exercise caution when using drying agents, as excessive amounts can compromise the flexibility and longevity of the paint film.
Wrapping Up
Throughout this exploration into how to make your own liquin, we’ve peeled back the layers of mystery surrounding this beloved medium, revealing its powerful potential to transform your artistic endeavors.
From understanding the intricacies of its composition to mastering the delicate balance of ingredients, we’ve equipped you with the tools and insights needed to embark on your own creative odyssey.
So go forth, dear artist, and may your journey be as bold and brilliant as the colors on your palette.
Once you’ve mastered the art of making your own Liquin medium, you might be interested in learning how to thicken oil paint for different techniques.


