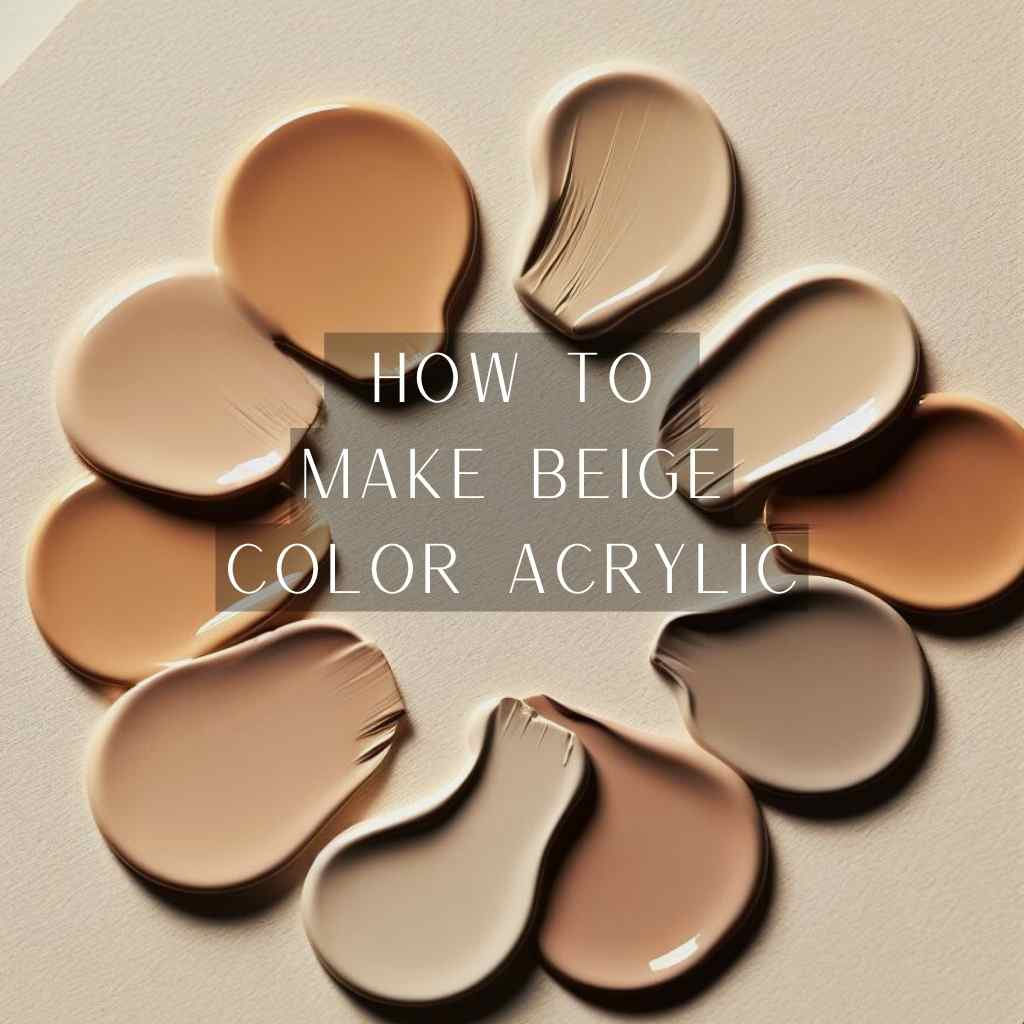
Are you ready to embark on a journey of artistic mastery? If you’ve ever wondered how to make beige color acrylic come to life on your canvas, you’re in the right place.
The world of acrylics is a vibrant realm where creativity knows no bounds. Yet, achieving that perfect beige hue can be a nuanced challenge for many. In this guide, we’ll unravel the secrets to creating bespoke beige acrylics that exude sophistication and elegance.
So, grab your brushes and embark on a journey that will transform your artistry.
Color Theory & Selecting Base Colors
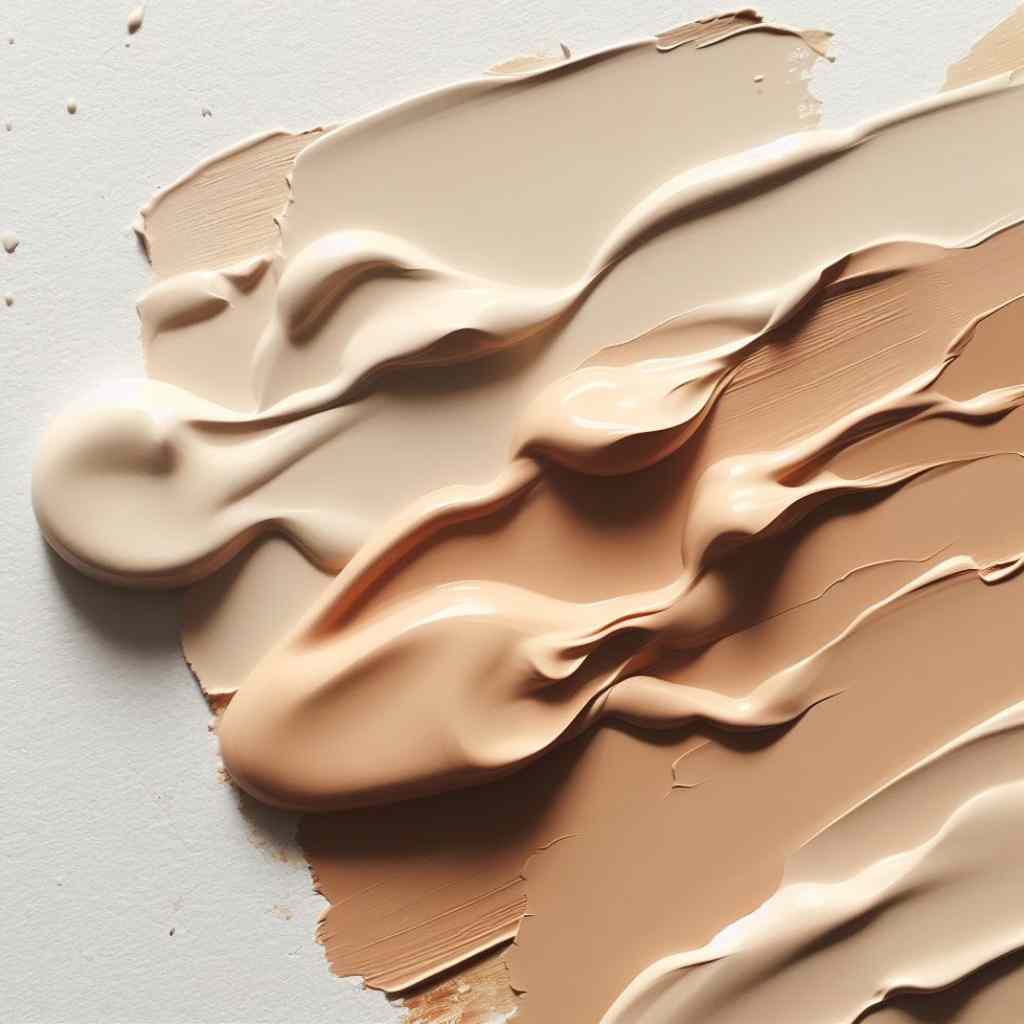
At the heart of color theory lies the indispensable tool: the color wheel. In this circular spectrum complementary colors play a pivotal role.
Beige, being a neutral tone, finds its complement in shades that are opposite on the color wheel. Comprehending complementary and contrasting colors will guide you in achieving the perfect beige shade.
Brown Hues
The selection of brown hues is the cornerstone of crafting your beige acrylic. Consider an array of browns, each with its unique undertones.
Raw Sienna exudes an earthy warmth, while Burnt Umber introduces deeper, rustic tones. Ochre, with its golden hues, adds a touch of radiance to your mix. These brown pigments will form the foundation upon which you’ll build your custom beige.
White Tones
White serves as the counterpoint to brown, imparting lightness and luminosity to your mix.
Titanium White offers a bold, opaque presence, while Zinc White lends a more delicate, translucent quality. The choice between these whites will influence the final outcome of your beige, dictating its opacity and brilliance.
Materials Needed
Acquiring the right materials is crucial for a successful venture into creating beige acrylic. Ensure you have:
- Brown Hues
- White Tones
- Mixing Palette
- Paintbrushes
- Water or Acrylic Medium
How to Make Beige Color Acrylic by Mixing Colors: Step-by-Step Guide
In the realm of acrylic artistry, here is the process of creating a bespoke beige acrylic that aligns perfectly with your artistic vision.
- Begin with Small Quantities: Start with a small amount of your chosen brown and white acrylic paints. A pea-sized portion of each is a good starting point.
- Mix Incrementally: Using a clean mixing palette, place the brown and white paints side by side. Begin by adding a tiny amount of white to the brown. Use a palette knife or brush to blend them together.
- Observe the Transformation: As the white is gradually introduced, observe how it affects the hue. Note the changes in the color’s intensity and tone. The mixture should slowly shift towards a beige shade.
- Continue Adjusting: Add more white or brown as needed, in very small increments. This gradual approach allows for precise control over the mixture’s evolution.
- Test Swatch: Periodically create a small test swatch on a scrap surface. This will give you a visual reference for how the color is developing. It’s a crucial step to ensure you’re on the right track.
- Compare with Reference: If you have a specific shade of beige in mind, compare your mixture with a reference image or sample. Adjust as necessary to get closer to your desired color.
How to Make Warm Beige Color?
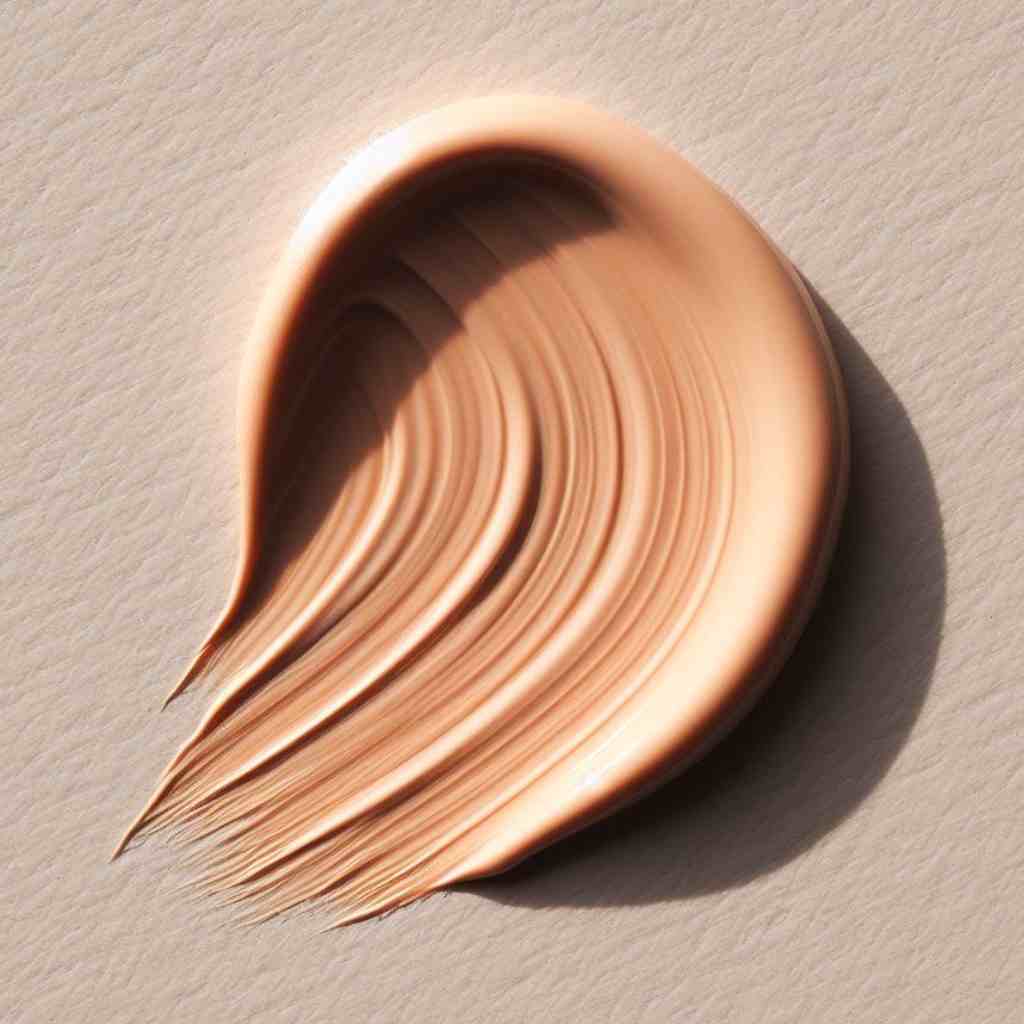
Warm beige tones exude a cozy and inviting ambiance, making them a popular choice in many artistic endeavors. Here are some artful processes of infusing warmth into your beige acrylic-
- Incorporating Red Tones: Introducing red hues into your beige mix is akin to adding a touch of sun-kissed radiance. Experiment with pigments like Venetian Red or Burnt Sienna.
- Balancing with Yellow Undertones: Infusing yellow undertones into your beige concoction imparts a cheerful and vibrant energy. Ochre or Cadmium Yellow are your go-to choices. These yellows infuse a subtle radiance, evoking feelings of sunlit warmth.
How to Make Cool Beige Color?
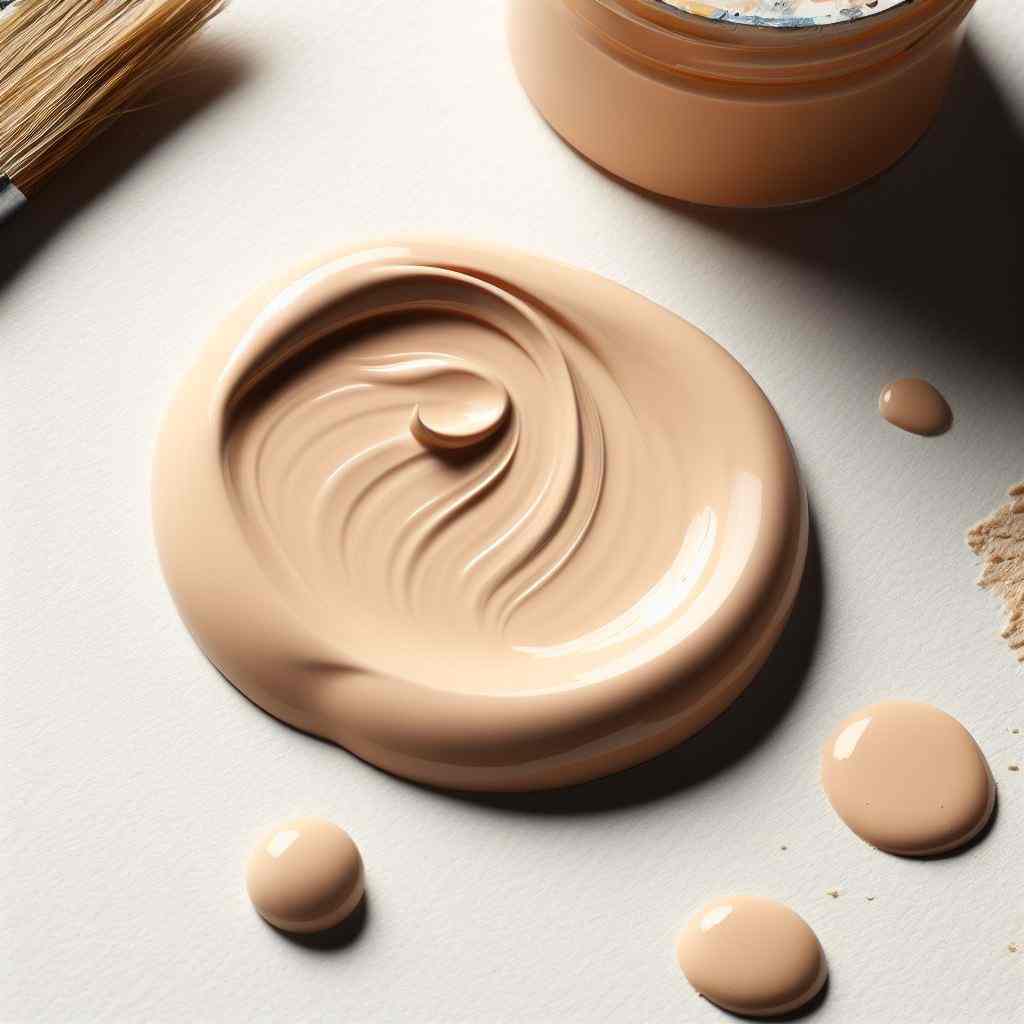
Cool beige tones exude a calm and tranquil aura, making them a sought-after choice for artists seeking a serene ambiance in their creations. Here is the intricate process of infusing a touch of coolness into your beige acrylic-
- Incorporating Blue Tones: Introducing blue tones into your beige mix is akin to a breath of fresh air. Experiment with pigments like Phthalo Blue or Cerulean Blue. These blues infuse your beige with a refreshing coolness, evoking a sense of calm and serenity in your artwork.
- Adding a Touch of Gray: Gray, with its subtle sophistication, is an invaluable tool in achieving cool beige tones. Experiment with different shades of gray, from Payne’s Gray to Neutral Gray.
These grays lend a sense of depth and subtlety to your mix, creating a nuanced coolness that resonates with viewers.
- Finding Balance in Cool Tones: Balancing cool tones can be a delicate endeavor. Test swatches and gradual adjustments are your allies in this process.
Pay close attention to the interplay between blue, gray, and beige in your mix. Strive for a seamless integration, where each tone complements the other, creating a unified and harmonious composition.
Achieving this equilibrium ensures that your cool beige tone radiates a sense of tranquility that captivates viewers.
Troubleshooting and Adjustments
When working with acrylics, encountering challenges is part of the artistic journey. Here are some common issues and solutions for a seamless painting experience-
Common Mixing Mistakes and How to Fix Them
If your beige appears streaky or uneven, revisit the gradual mixing process. Blend the colors more thoroughly, ensuring a seamless integration.
Should your beige lean too heavily towards brown or white, adjust the ratio gradually. Small, incremental changes can bring it back into harmony.
If your beige appears dull, consider adding a touch of more vibrant colors. Experiment with reds or yellows to infuse energy into your mix.
Adjusting Hue, Saturation, and Value
If your beige is veering slightly towards a different undertone, introduce a small amount of the complementary color. This will help bring it back to the desired hue.
To intensify the vibrancy of your beige, carefully add more pigment. Take it one step at a time, ensuring you don’t overwhelm the mix.
If your beige is too light or too dark, adjust the ratio of brown to white accordingly. Gradual changes will allow you to achieve the perfect value.
Rescuing Overly Dark or Light Mixes
To lighten a Dark Mix, gradually introduce more white, blending it in until the desired shade is achieved. Be patient and observe the changes.
To darken a Light Mix, slowly incorporate more brown, adjusting the ratio until you reach the desired depth. Remember, small adjustments make a big difference.
Uneven Texture and Consistency
If your beige appears grainy or textured, consider using an acrylic medium to smooth it out. Apply in thin layers, allowing each to dry before adding more.
If your mix is too thick or too thin, use water or an acrylic medium to reach the desired flow. Add in small increments, testing on a scrap surface.
Final Thoughts
Our journey into mastering the creation of beige color acrylics has been a revelation in artistic alchemy. We’ve delved into the intricacies of blending, the careful calibration of hues, and the art of achieving the perfect ratio.
Through patience and precision, you’ve learned how to make beige color acrylic that resonates with sophistication and warmth. Remember, this newfound skill is not just a technique; it’s a doorway to endless creative possibilities.
So, embrace the beauty of bespoke beige tones and let them grace your future artworks with elegance and charm.

