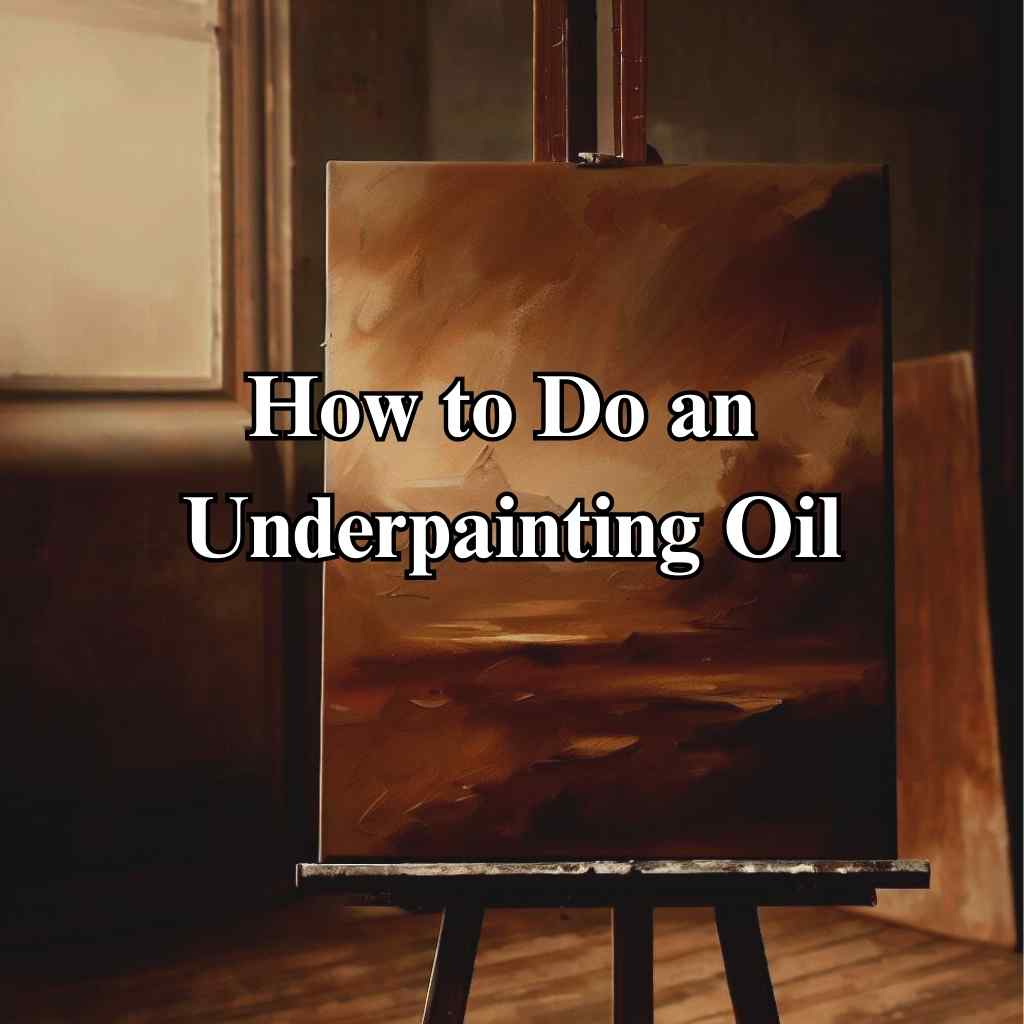
Are you ready to unlock the mesmerizing world of oil painting? Whether you’re an aspiring artist or a seasoned painter looking to add depth and vibrancy to your artwork, how to do an underpainting oil is a technique you don’t want to miss.
In this blog series, we will demystify the world of underpainting, exploring its purpose, techniques, and the profound impact it can have on your oil paintings.
Get ready to unlock the secret to breathtaking artistry as we embark on this enlightening journey together.
Underpainting
Underpainting refers to the initial layer of paint applied to the canvas before adding subsequent layers. Its primary purpose is to establish the composition, values, and overall structure of the painting.
By using a monochromatic or limited color palette, underpainting allows the artist to focus on the underlying tonal values without the distraction of color.
Different Types of Underpainting Techniques
There are several underpainting techniques to explore, each offering unique effects and possibilities. Some common approaches include:

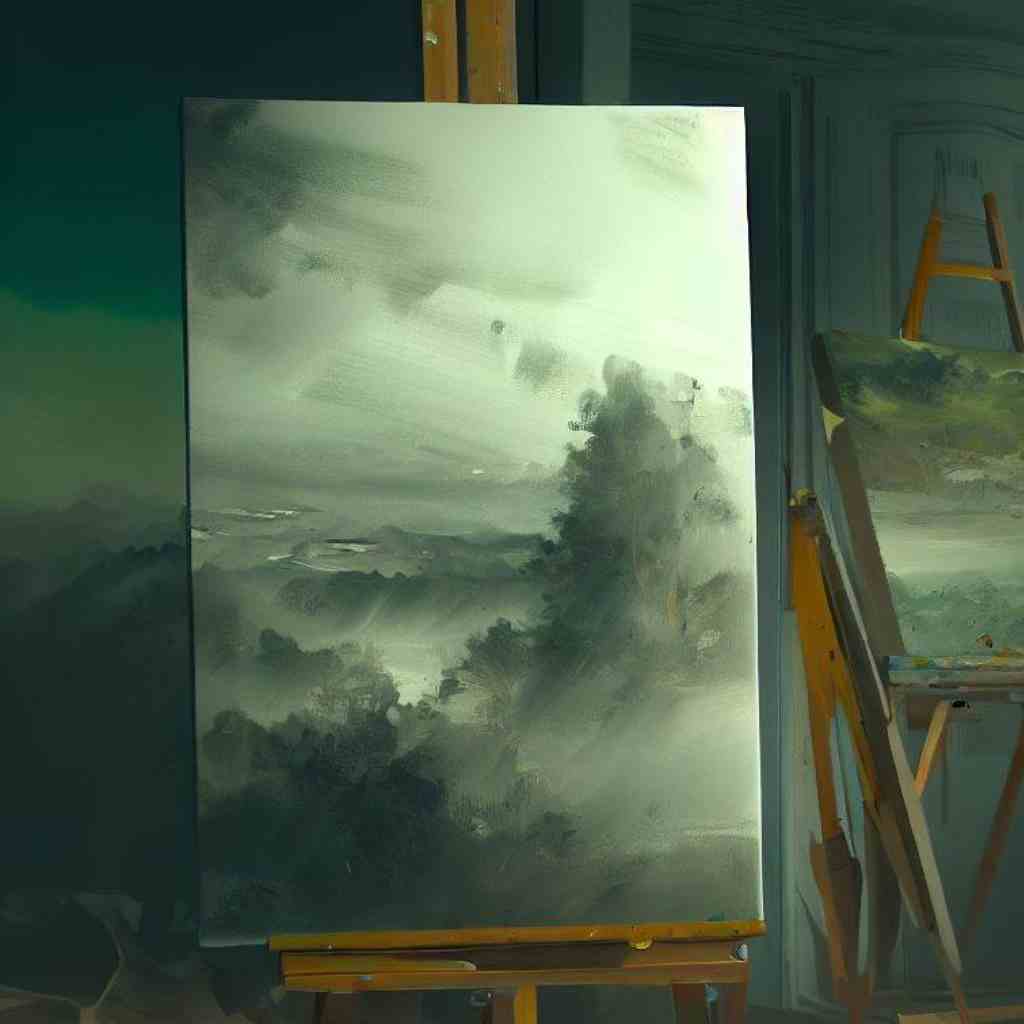
- Grisaille: A monochromatic underpainting executed solely in shades of gray. It emphasizes the values and forms of the subject, creating a strong foundation for subsequent layers.
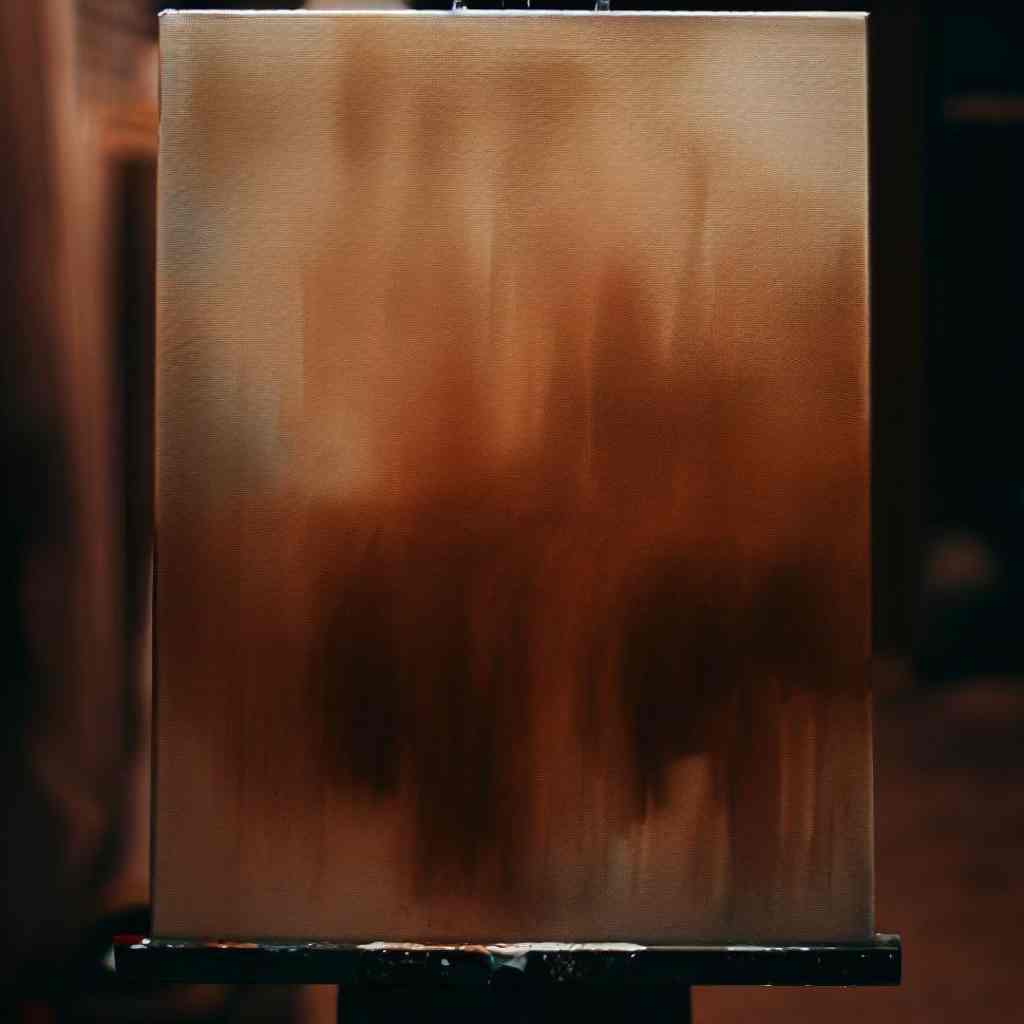
- Imprimatura: This technique involves applying a transparent, colored wash over the canvas to establish an overall tonal atmosphere. It sets the mood for the painting and influences the final color harmonies.
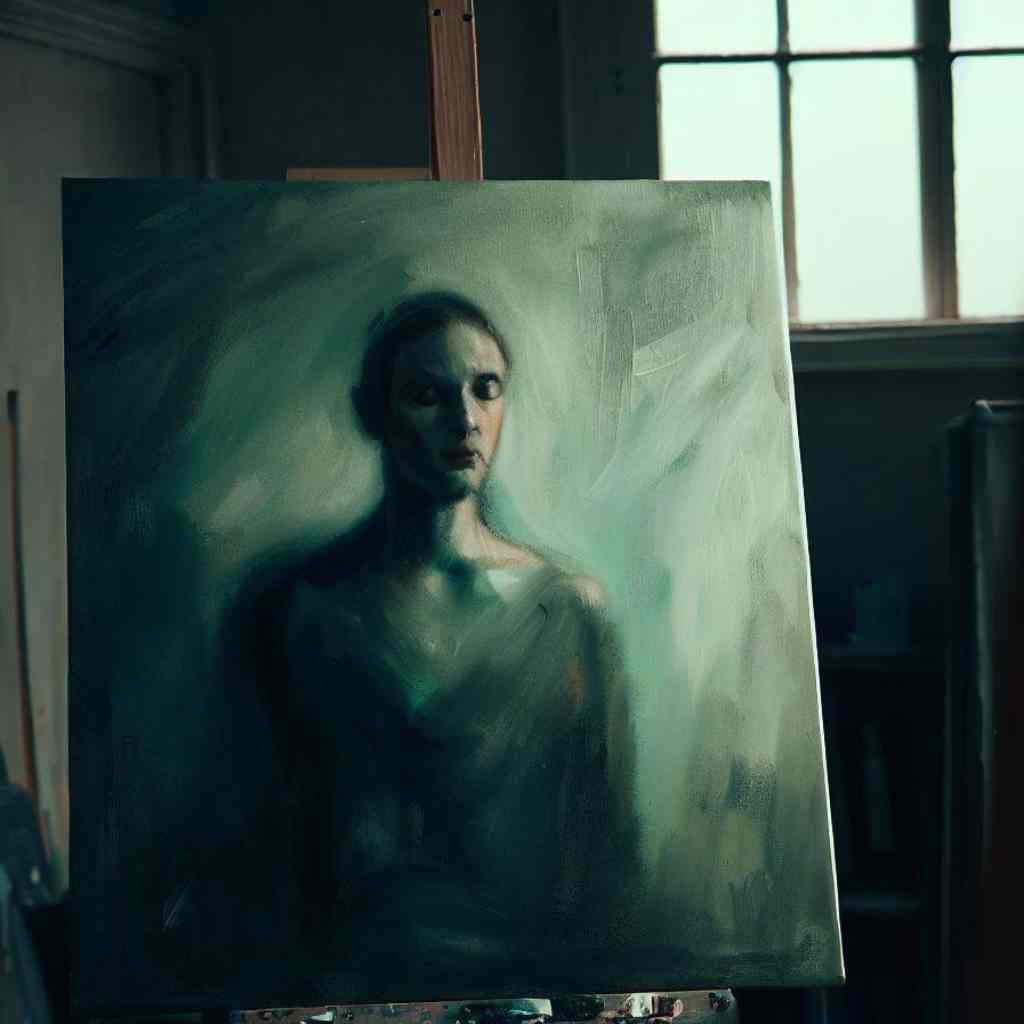
- Verdaccio: Used primarily in portraiture, verdaccio underpainting employs a greenish-gray hue. It helps to create lifelike skin tones and provides a subtle warmth to the subsequent layers.
Preparation and Planning
As you progress with your underpainting, remember that thorough preparation and planning are crucial for a successful outcome. These preparatory steps enable you to approach the subsequent stages of the painting process with clarity and confidence –
- Selection of oil paints and colors suitable for underpainting: When choosing oil paints for underpainting, consider using colors that dry quickly and offer good coverage.
Earth tones like burnt sienna, raw sienna, and raw umber are commonly used due to their transparent nature and ability to establish values effectively.
Additionally, blacks and whites can be incorporated to create a range of grays for the underpainting.
- Necessary brushes and palette knives for underpainting: Flat brushes with various sizes and stiffness levels are ideal for blocking shapes and establishing values. Palette knives can be used to create interesting textures and apply thick paint when needed.
- Additional materials, such as mediums or solvents, if required: Depending on your painting style and preferences, you may need to incorporate mediums or solvents into your underpainting process. These additives can alter the consistency, drying time, or transparency of the paint, allowing you to achieve specific effects.
Experiment with mediums like linseed oil, stand oil, or odorless mineral spirits to enhance your underpainting technique.
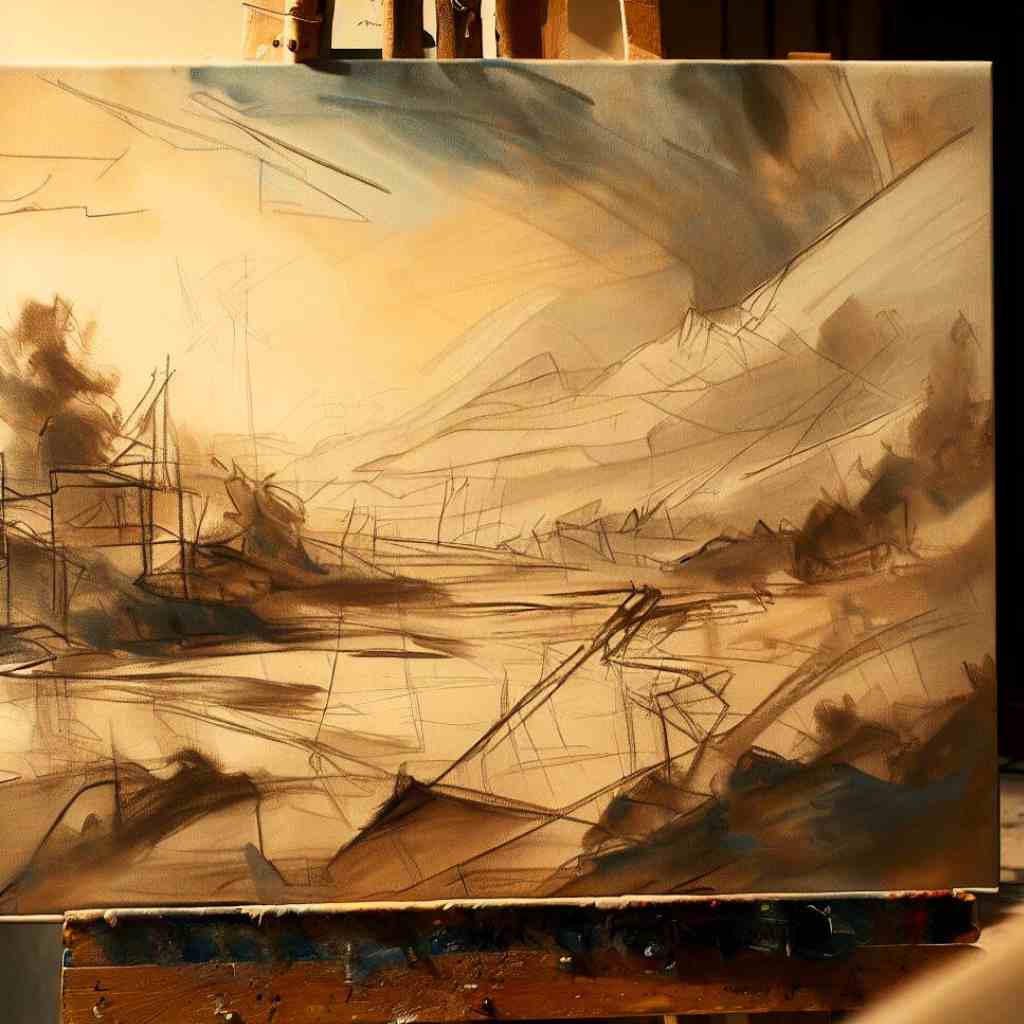
- Selecting a reference image or subject for your underpainting: Choose a reference image or subject that inspires you and aligns with your artistic vision. Consider factors such as composition, lighting, and subject matter.
Take time to study the reference and plan how you will translate it onto the canvas.
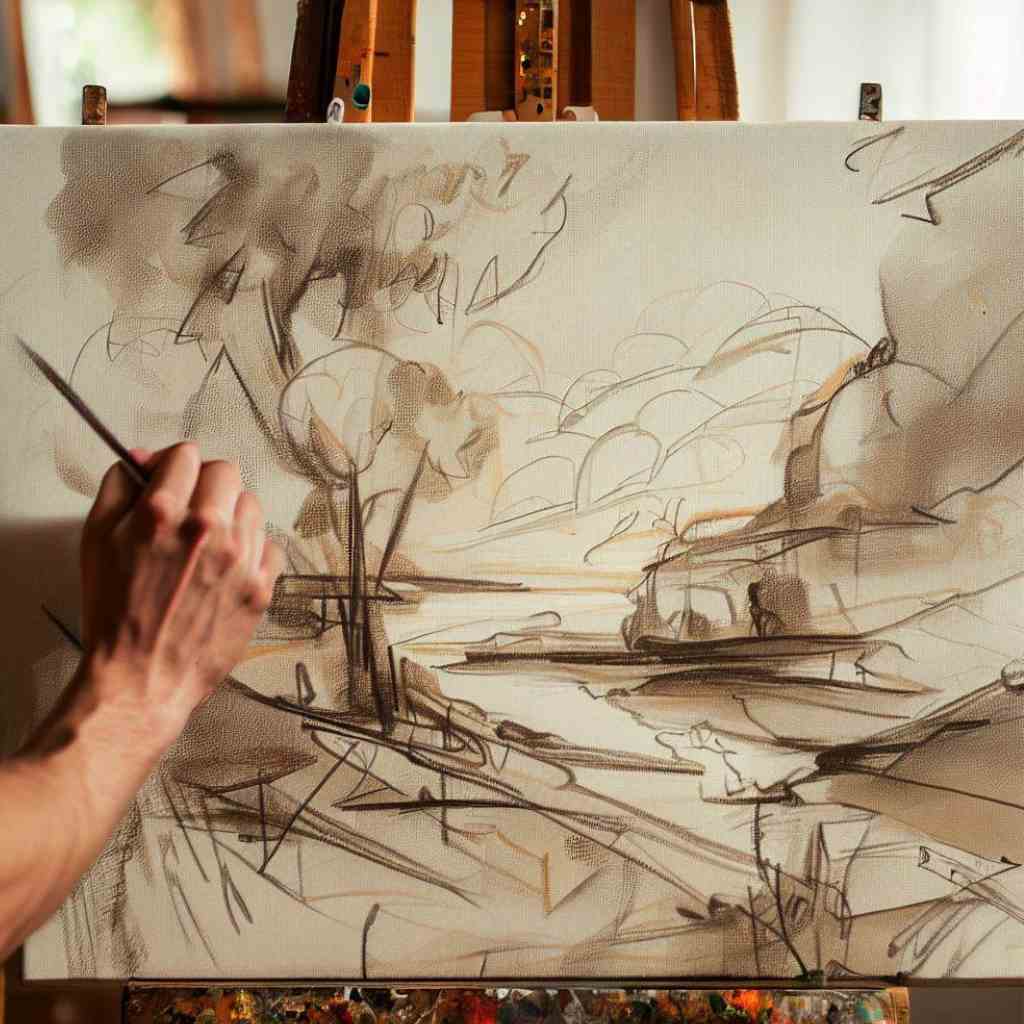
- Sketching and transferring the composition onto the canvas: To transfer the composition accurately, make a preliminary sketch on paper or directly on the canvas. Pay attention to proportions, placement of key elements, and overall balance. This initial sketch will serve as a guideline during the underpainting process.
Choosing the Color Scheme
A thoughtfully chosen color scheme will infuse life and emotion into your underpainting, laying the groundwork for a captivating and visually striking artwork-
Color schemes consider the mood and desired effect of the final painting
While underpainting is predominantly executed in monochromatic or limited color palettes, it is important to consider the overall color scheme of the final painting.
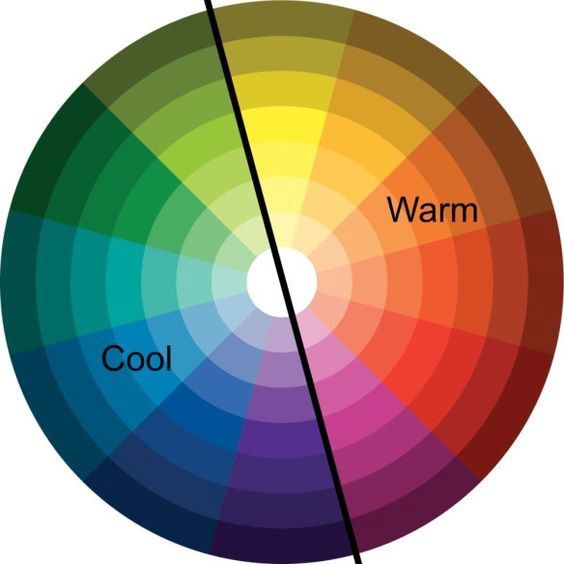
Experiment with warm or cool underpainting tones that complement the intended mood or subject matter of your artwork. Warm tones can convey energy and vibrancy, while cool tones evoke tranquility and serenity
The underpainting sets the stage for the subsequent layers of color and detail. Think about the emotions you wish to evoke in your painting and select colors that align with those intentions.
Color Mixing Tips and Techniques for Creating Harmonious Underpaintings
When mixing colors for your underpainting, aim for a range of values within your chosen color scheme. Use small amounts of paint and gradually add or adjust the tones to achieve the desired effect. Experiment with color temperature variations to create depth and visual interest.
How to Do an Underpainting in Oil
Blocking In the Underpainting
The blocking-in stage of the underpainting process is essential for establishing the overall composition and value structure of your artwork. Here are the steps-
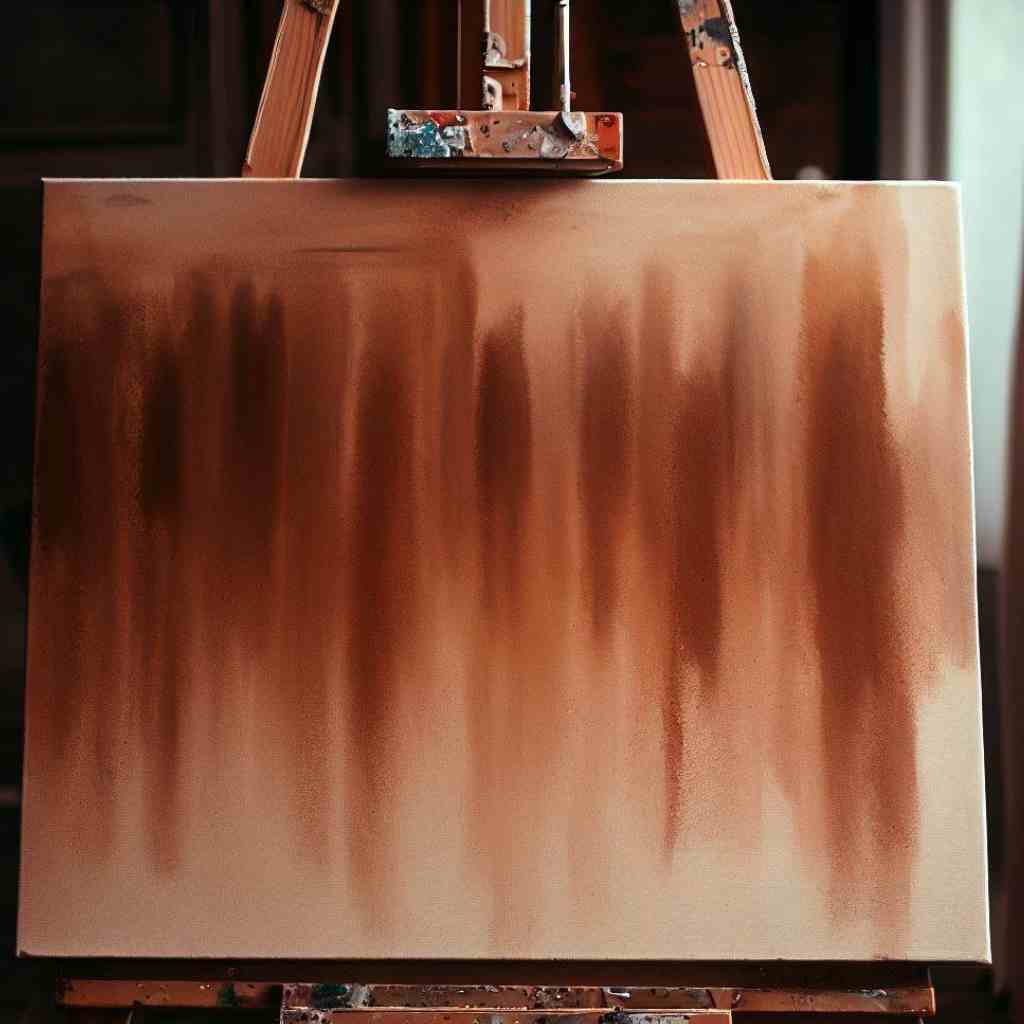
- Applying an Initial Wash or Tonal Layer to Establish Values: Start by applying a thin wash or tonal layer to establish the overall values of your composition. This initial layer helps define the light and dark areas, creating a solid foundation for subsequent layers of paint.
Use a brush or a palette knife to block in the basic shapes and establish the main elements of your painting.
- Focusing on Large Shapes and Blocking In the Main Elements of the Composition: During the underpainting stage, focus on blocking the large shapes and forms of your subject.
Avoid getting caught up in intricate details at this point. Instead, aim to capture the essence of the composition and establish a strong underlying structure.
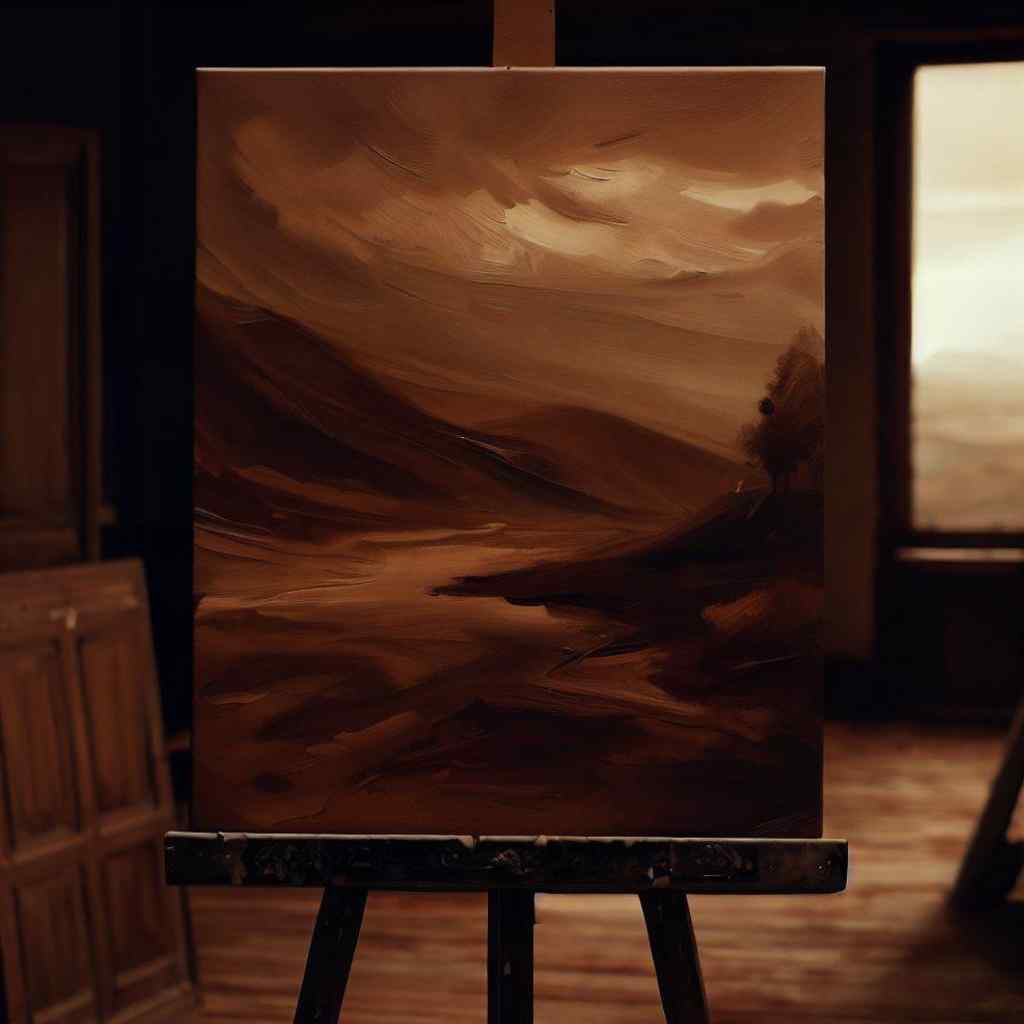
- Using Transparent or Semi-Transparent Paints to Maintain the Luminosity of Subsequent Layers: To preserve the luminosity and translucency of the subsequent layers, opt for transparent or semi-transparent paints in your underpainting.
This allows the light to penetrate the layers, creating a sense of depth and richness. Build up the values gradually, paying attention to the interplay of light and shadow.
Establishing Values and Tones
As you focus on establishing values and tones in your underpainting, take the time to carefully observe the interplay of light and shadow in your subject. Build up values gradually-
- Building Up the Values Gradually to Create Depth and Dimension: Once the initial blocking-in stage is complete, focus on refining the values and establishing a sense of depth. Use layers of paint to gradually build up the lighter and darker areas, enhancing the three-dimensional quality of your subject. Observe the play of light and shadow, and adjust the values accordingly.
- Using Light and Shadow to Define Forms and Create a Sense of Volume: Light and shadow are essential elements in creating a realistic representation of forms. Study the way light interacts with your subject and use underpainting techniques to define the shapes and create a sense of volume.
By establishing a solid foundation of values, you can enhance the illusion of depth and dimension in your painting.
- Blending and Transitioning Between Different Tonal Areas for Smooth Gradations: Achieving smooth transitions between different tonal areas is crucial for creating a cohesive underpainting. Blend the edges between light and shadow, and ensure a seamless progression of values.
Use soft brushes or gently dab with a clean, dry brush to achieve smooth gradations that enhance the overall realism and visual appeal of your artwork.
Creating Texture and Brushwork
This attention to texture and brushwork not only enhances the visual interest of your artwork but also adds depth and dimension to the overall composition-
- Incorporating Varied Brushwork Techniques to Enhance Visual Interest: Experiment with a variety of brushwork techniques to add visual interest and texture to your underpainting. Use different brush sizes and shapes to create diverse marks and strokes.
Explore techniques like stippling, cross-hatching, or scumbling to add depth, movement, and intricacy to specific areas of your painting.
- Using Different Brush Sizes and Shapes to Create Texture and Detail: The choice of brush size and shape greatly influences the textures and level of detail in your underpainting. Larger brushes are ideal for blocking in broad areas, while smaller brushes allow for more precise work and intricate details.
Vary your brush selection to create a range of textures, from smooth and soft to rough and textured.
- Experimenting with Brushstrokes to Capture the Desired Texture or Surface Quality: Brushstrokes play a significant role in conveying the texture or surface quality of your subject. Experiment with different brush techniques, such as stippling, scumbling, or dragging, to replicate various textures like fur, fabric, or foliage.
Adjust the pressure, angle, and direction of your brush to achieve the desired effect in different areas of your underpainting.
Glazing and Scumbling Techniques
Glazes enable you to modify colors and enhance depth, while scumbles add softness, highlights, and textural effects. Here are the steps –
- Adding Transparent or Translucent Glazes to Modify Colors and Enhance Depth: Glazing involves applying thin, transparent layers of paint over the underpainting to modify colors and enhance depth. Use glazes to subtly shift the hues or intensify the tonal values of specific areas.
This technique adds richness and complexity to your underpainting, creating a luminous quality that shines through subsequent layers.
- Applying Scumbles to Create a Softer, Diffused Effect or to Add Highlights: Scumbling is the technique of applying thin, opaque layers of paint to create a softer, diffused effect or to add highlights to your underpainting.
Use a dry brush or a scumbling brush to lightly and loosely apply paint, allowing the underpainting to show through. This technique adds a sense of atmosphere, texture, and luminosity to your artwork.
- Layering Glazes and Scumbles for a More Complex and Nuanced Underpainting: To achieve a more complex and nuanced underpainting, consider layering glazes and scumbles. Apply multiple layers of transparent glazes to build up color intensity and modify values, followed by scumbles to soften edges or add highlights.
This layering technique creates depth, texture, and a sense of refinement in your underpainting.
Drying and Adjustments
Taking the time to evaluate and make necessary adjustments ensures that the underpainting accurately represents your artistic vision-
- Allowing the Underpainting to Dry Thoroughly Before Proceeding to Subsequent Layers: After completing the underpainting, it is crucial to allow sufficient drying time before moving on to subsequent layers.
Oil paint dries slowly, so exercise patience to prevent unwanted smudging or blending of colors. Follow the manufacturer’s instructions regarding drying times, or consider using mediums that facilitate faster drying.
- Evaluating the Underpainting and Making Necessary Adjustments or Corrections: Take a step back and evaluate your underpainting with a critical eye. Look for any areas that may require adjustments or corrections.
This is the ideal time to make necessary refinements, such as refining shapes, adjusting values, or correcting proportions. Use a clean brush or a rag to gently blend or adjust the paint as needed.
- Blending Edges and Refining Details in Preparation for Subsequent Painting Stages: Before progressing to subsequent layers, ensure that the edges in your underpainting are smooth and well-blended. Pay attention to transitions between different elements, softening or sharpening edges as necessary.
Refine details, such as facial features, texture, or intricate patterns, to prepare the underpainting for the next stages of your painting process.
Building Layers and Finalizing the Painting
Here are the process of layering and the final touches that will bring your underpainting to its finished state-
- Working in Subsequent Layers to Refine and Add Details to the Underpainting: With the underpainting as a solid foundation, you can now begin building subsequent layers to refine and add details to your painting. Gradually introduce more colors and work towards achieving a more realistic representation of your subject.
Continue to observe light and shadow, texture, and form, adjusting values and refining the underpainting as you progress.
- Considering the Use of Different Techniques, such as Alla Prima or Indirect Painting: As you proceed with subsequent layers, consider exploring different painting techniques to achieve your desired outcome. Alla prima, or direct painting, involves completing the painting in a single session, capturing spontaneity and immediacy. Indirect painting.
On the other hand, it involves building layers gradually, allowing for more control and refinement. Choose the approach that aligns with your artistic style and the specific requirements of your artwork.
- Assessing the Completion of the Underpainting and Deciding on Further Steps: Take a moment to step back and assess the completion of your underpainting. Consider whether it has achieved the desired effect, mood, and level of detail. Reflect on the overall composition, values, and colors.
Based on this evaluation, decide on the next steps to bring your painting to completion. It could involve additional layers, refining specific areas, or transitioning to the final stages of your artwork.
Troubleshooting and Common Mistakes
To ensure a successful underpainting, be mindful of these common mistakes:
Lack of Tonal Variation
One of the most common mistakes in underpainting is failing to achieve a proper range of tonal values. This can result in a flat and lifeless appearance.
To address this, focus on observing the subject carefully and accurately representing the subtle variations in light and shadow. It’s important to select colors that complement each other and contribute to the desired mood and atmosphere of the artwork.
Pay attention to the values in your color and value study, ensuring they translate effectively onto the underpainting.
Overworking the Underpainting
It’s easy to get carried away with details and lose sight of the intended purpose of the underpainting. Overworking the underpainting can lead to a muddied and confusing composition.
To avoid this, maintain a sense of restraint and focus on establishing the overall structure and values rather than diving into intricate details prematurely. Remember that the underpainting serves as a foundation for subsequent layers.
Inaccurate Drawing and Proportions
Failing to accurately capture the proportions and drawing in the underpainting stage can create significant challenges later on.
Take the time to carefully measure and observe your subject, ensuring that the basic shapes and forms are correctly represented. Use tools like proportional dividers or sighting techniques to maintain accuracy and proportionality.
FAQs
- Can I make adjustments to the underpainting once it has dried?
Yes, you can make adjustments to the underpainting even after it has dried. Oil paint remains workable for an extended period of time, allowing artists to revisit and modify their underpainting as needed. This flexibility gives artists the opportunity to refine details, adjust values, or make any necessary corrections before proceeding with additional layers.
- Do I have to use specific color schemes for underpainting?
There are no strict rules when it comes to choosing color schemes for underpainting. It largely depends on the artist’s intent and the desired effect of the final painting. Some artists opt for monochromatic underpainting to establish values and contrast, while others may use a limited palette or explore various color harmonies. It is important to consider the mood, atmosphere, and subject of the artwork when selecting the color scheme for the underpainting.
- Should I varnish my painting after completing the underpainting?
Varnishing a painting is typically done after the completion of the entire artwork, including the final layers of paint. The purpose of varnishing is to protect the surface, enhance color saturation, and provide a uniform finish. Since the underpainting is an initial layer, it is not necessary to varnish it separately. Instead, it is recommended to varnish the entire painting once it is fully completed and thoroughly dried.
- Can underpainting be used for mixed media artworks?
Absolutely! Underpainting techniques can be incorporated into mixed media artworks, allowing artists to establish a solid foundation for their compositions. Whether you’re combining oil paint with collage, acrylics, pastels, or other mediums, the underpainting stage can help unify the different elements, establish values, and provide a harmonious base for layering additional materials and textures.
- Can I create underpaintings with a limited color palette?
Yes, working with a limited color palette for underpainting can be an effective approach. It allows artists to focus on values and tonal relationships without the distraction of a wide range of colors. By using a few well-selected colors, artists can create a strong foundation and establish the overall mood and atmosphere of the painting. The limited palette can be expanded with subsequent layers, providing opportunities for color exploration and refinement.
Conclusion
As we come to the end of this enlightening journey on how to do an underpainting in oil, we stand in awe of the transformation that has taken place on our canvases.
From a simple foundation to a masterpiece of depth and vibrancy, the underpainting technique has allowed us to unlock a new level of artistic expression.
Throughout this blog series, we’ve explored the purpose and techniques behind underpainting, delving into the world of layers, textures, and subtleties. Now, armed with this knowledge, you possess the power to elevate your oil paintings to new heights.
So, go forth, fellow artists, and embrace the wonders of underpainting. Let your creativity soar as you experiment, refine, and craft your unique artistic voice.