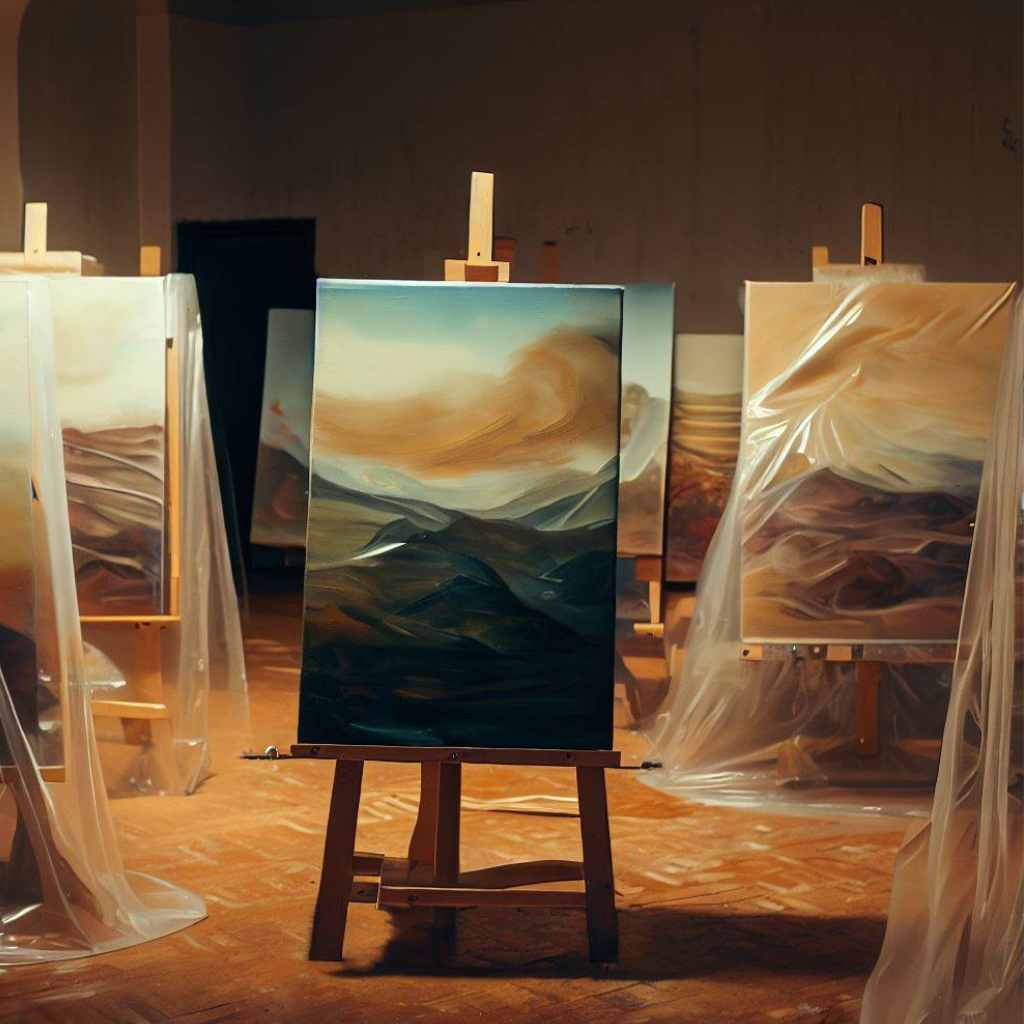
Are you ready to unlock a world of depth and vibrancy in your acrylic paintings? If you’ve ever wondered how to do an underpainting acrylic, you’re about to discover a powerful technique that will revolutionize your artistic process.
Acrylic paints can sometimes appear flat and lack the multidimensional quality you desire. That’s where the underpainting comes in. By laying a foundation of carefully chosen colors and values, you’ll create a harmonious base that enhances the richness and impact of your final masterpiece.
In this article, we’ll dive into the world of underpainting in acrylic, unraveling the secrets behind this transformative technique.
Get ready to unleash your creativity and breathe life into your acrylic paintings!
What is Underpainting?
Underpainting in acrylic refers to the initial layer of paint applied to the canvas before adding the final layers of colors and details.
Its purpose is to establish the overall composition, value structure, and color harmony of the painting. Underpainting acts as a roadmap, guiding your artistic decisions and ensuring a solid foundation for the subsequent layers.
There are various techniques and approaches to underpainting in acrylic. Artists can choose between methods like grisaille and imprimatura, each offering unique qualities and effects. These techniques provide a range of options to suit different artistic styles and desired outcomes.
Advantages of Using Underpainting
The advantages of using underpainting in acrylic are numerous. It allows for better control over values and tonal relationships, enabling the artist to establish depth and contrast effectively.
Underpainting also provides a base layer that enhances color vibrancy and luminosity, resulting in a more visually captivating final artwork.
Materials Needed for Underpainting
To get started with underpainting in acrylic, you’ll need a few essential materials and tools:
- Acrylic paints
- Brushes
- Palette or palette paper
- Canvas or painting surface
- Water container and paper towels
- Gesso or primer (If necessary)
- Additional Tools: ( Palette knife, Spray bottle)
Choosing the Right Color Palette and Planing
Color selection plays a vital role in the underpainting. It sets the foundation for the overall color scheme and harmony of your painting. Consider the following aspects when choosing colors for your underpainting:
Choosing an Appropriate Color Palette:
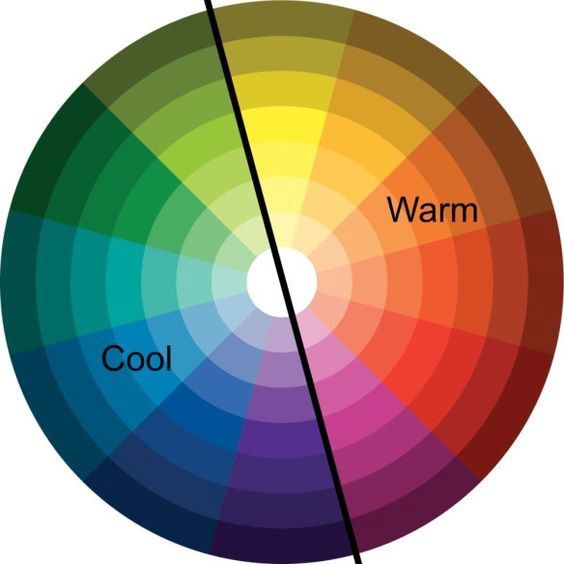
Select a color palette that complements the subject matter and desired mood of your artwork. Consider the temperature (warm or cool) and value range of the colors. Take into account the dominant hues and their relationship with each other.
Understanding Color Theory:
A basic understanding of color theory is beneficial in underpainting. Familiarize yourself with concepts such as color temperature, complementary colors, and color harmonies.
This knowledge will guide your color choices and create a visually pleasing underpainting.
Planning the Composition and Value Structure:
Developing a strong composition and value structure is essential in the underpainting. Start by creating thumbnails and sketches to explore different compositions and arrangements. Decide on the focal point, the distribution of lights and darks, and the overall balance of the painting.
Consider the direction and intensity of the light source, as it influences the placement of shadows.
Preparing the Surface
Before you begin applying the underpainting, it’s essential to prepare the surface to ensure optimal results.
Priming the canvas (if necessary)
If you’re working on a raw canvas or a porous surface, applying a layer of gesso or primer can enhance the adhesion of the paint and create a smoother working surface. Follow the manufacturer’s instructions for proper application.
Sanding and smoothing the surface
For a truly polished finish, lightly sand the primed surface to eliminate any roughness or imperfections. This step creates an ideal surface for the underpainting layers to adhere to.
Transferring or sketching the composition
To guide your underpainting, transfer your initial sketch or drawing onto the prepared surface. You can use transfer paper, grid methods, or freehand sketching to establish the basic shapes, proportions, and placement of key elements.
Selecting the Underpainting Technique
There are several underpainting techniques you can choose from, each offering unique effects and approaches to building the foundation of your artwork.
- Monochromatic underpainting
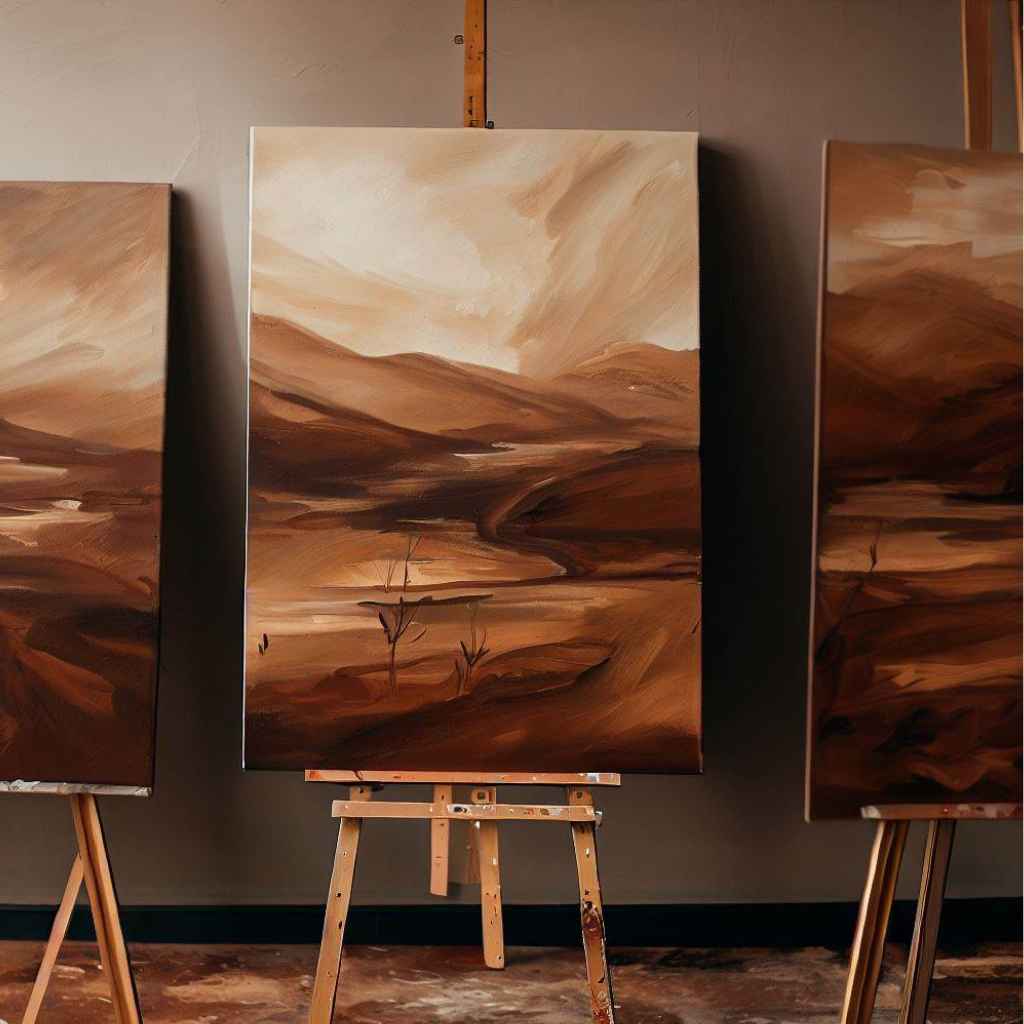
A monochromatic underpainting involves using a single color, typically a neutral gray or a color related to your intended color scheme, to establish values and tonal range. This technique provides a solid foundation and allows you to focus on value relationships before introducing color.
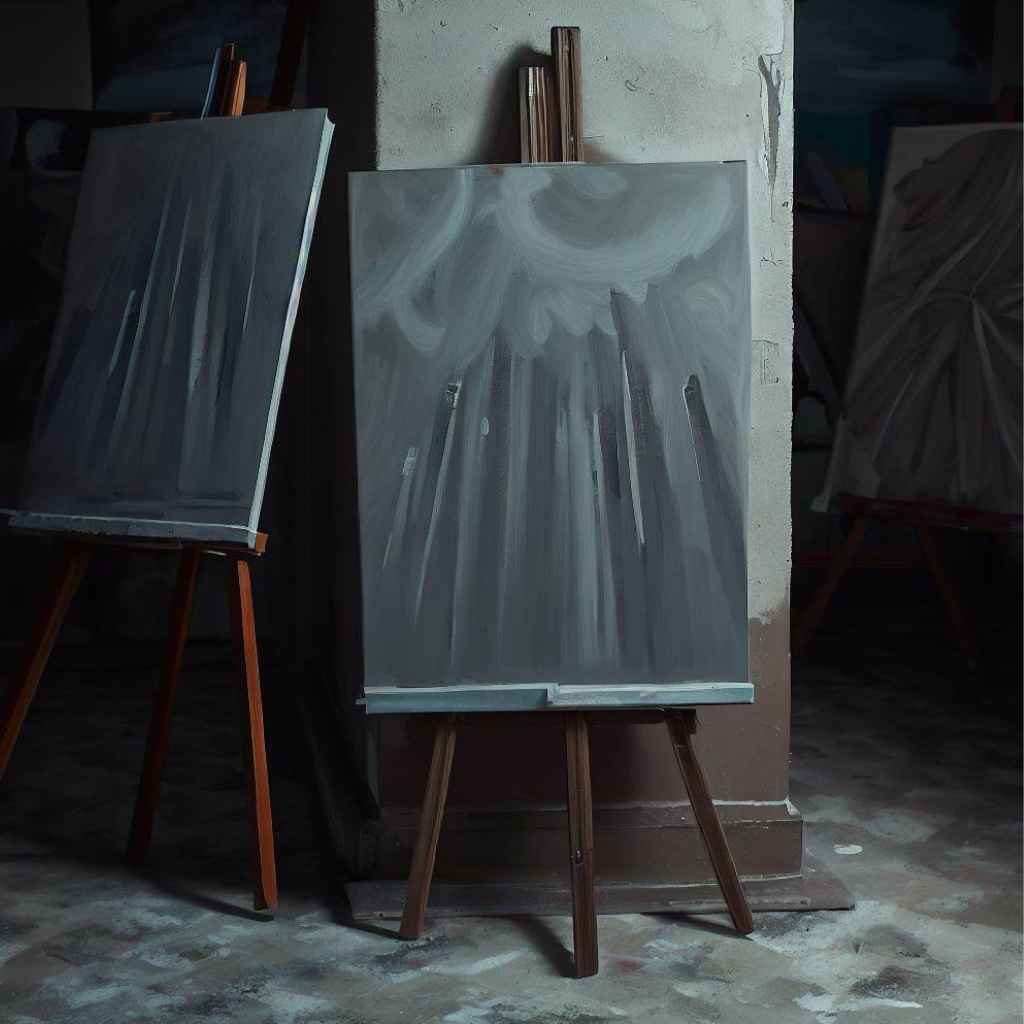
- Grisaille technique
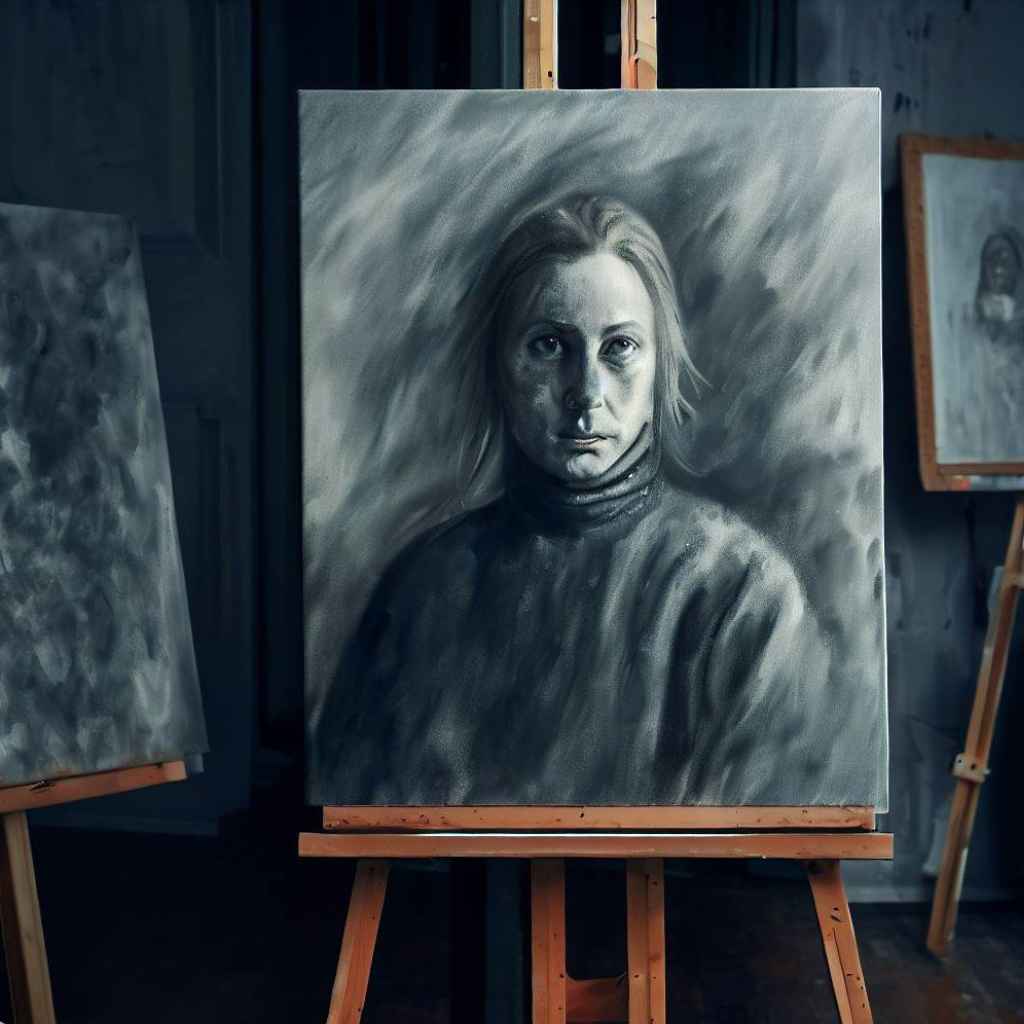
The grisaille technique, popularized during the Renaissance, involves creating a grayscale underpainting using shades of gray. This technique allows you to focus on the tonal values of your composition, creating a dramatic effect that can be later glazed with transparent colors.
- Limited palette underpainting
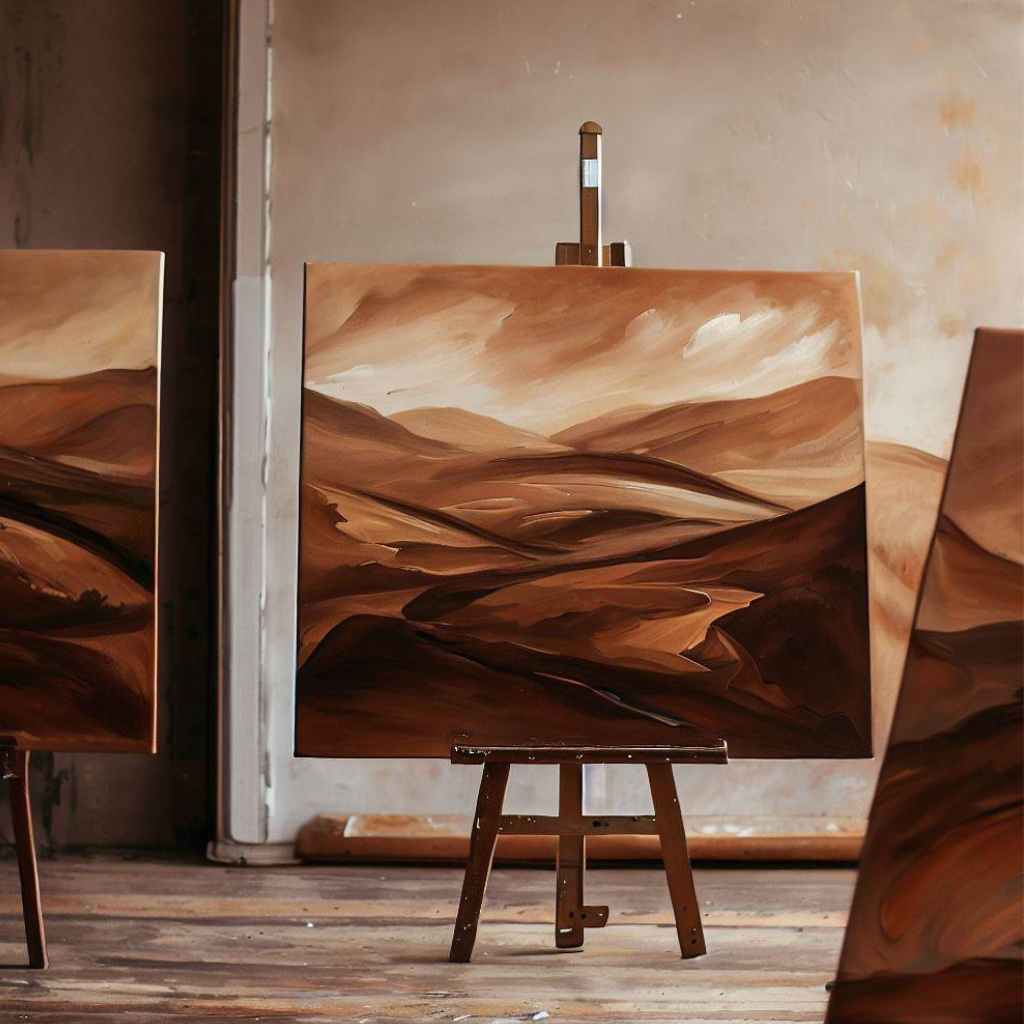
A limited palette underpainting involves using a restricted selection of colors, typically three to five hues, to establish the overall color scheme of your painting. This technique helps create color harmony and allows for easier color adjustments as you progress.
- Imprimatura technique
The imprimatura technique involves applying a thin, transparent wash of a warm or cool color over the entire canvas to establish an overall tone or mood. This technique provides a colored tint as a base for subsequent layers, allowing for a unified appearance.
How to Do an Underpainting in Acrylic: Step by Step
Now that you have your materials, color palette, and chosen underpainting technique, it’s time to start applying the underpainting itself.
Step 1: Mixing the base color
Begin by mixing your base color, whether it’s a monochromatic gray, a grayscale, or a selected limited palette. Use your palette and brushes to create the desired color consistency, adjusting as needed.
Step 2: Blocking in the main shapes and forms
Using a larger brush, block in the main shapes and forms of your composition. Focus on capturing the basic structure and proportions, ensuring the elements are in the right place.
Step 3: Establishing tonal values
As you continue to apply the underpainting, pay attention to the tonal values of different areas. Use lighter and darker shades of your base color to create depth and dimension, emphasizing the highlights and shadows.
Step 4: Adding texture and details
Once you’ve established the basic shapes and values, you can begin adding texture and details to your underpainting. Use smaller brushes and techniques such as dry brushing or stippling to create textural effects or to suggest specific elements within the composition.
Understanding Layering Techniques
Layering is a fundamental aspect of acrylic painting, and understanding how to layer effectively is crucial for successful underpainting.
Transparent and opaque layers
Acrylic paints offer the flexibility of both transparent and opaque qualities. Transparent layers allow the underpainting to show through, creating depth and luminosity, while opaque layers provide solid coverage and can be used for highlights or specific details.
Glazing and scumbling techniques
Glazing involves applying thin, transparent layers of color over dried underpainting layers to build up depth and add richness to the painting. Scumbling, on the other hand, involves applying a dry or semi-dry brush over a dry underpainting layer to create a broken, textured effect.
Building up layers for depth and dimension
Layering multiple underpainting layers can help build depth and dimension in your artwork. Gradually add layers, adjusting values and colors as you go, to create a sense of depth and bring your painting to life.
Creating smooth transitions and gradients
Blending and transitioning colors smoothly is essential for achieving cohesive and realistic underpainting. Use techniques such as blending with a brush, feathering, or glazing to create seamless transitions and gradients between different areas of your composition.
Drying and Curing Time
Acrylic paints dry relatively quickly, but it’s important to understand the drying and curing time to ensure the stability and longevity of your underpainting.
Allowing the underpainting to dry
Before proceeding to the next steps of your painting, allow the underpainting layers to dry completely. This ensures that subsequent layers won’t disturb or mix with the underpainting, maintaining the integrity of your initial work.
Understanding the different drying times of acrylics
Different brands and types of acrylic paints may have varying drying times. Follow the manufacturer’s instructions or conduct your own tests to determine how long it takes for your specific acrylic paints to dry to the touch.
Importance of proper curing before proceeding
While acrylic paints may dry to the touch relatively quickly, they require proper curing time for the chemical bonds to fully develop. Curing can take several days to a few weeks, depending on the thickness of the paint layers. Ensure you allow sufficient curing time before moving on to subsequent layers or varnishing.
Assessing the Underpainting
Once your underpainting is dry and cured, take a step back and evaluate the progress of your artwork.
- Stepping back and evaluating the composition: Take a moment to step back and view your underpainting from a distance. Assess the overall composition, balance, and visual impact. Look for any areas that may need adjustments or further refinement.
- Adjusting values and colors if necessary: During the evaluation process, you may identify areas where the values or colors need adjustment. Use glazing techniques, additional layers, or selective adjustments to refine the underpainting and ensure it aligns with your artistic vision.
- Refining details and refining the underpainting: Now is the time to refine the details of your underpainting. Pay attention to subtle nuances, highlights, and shadows, adding additional layers or touches of color to enhance the depth and realism of your artwork.
Next Steps After Underpainting
Completing the underpainting sets the stage for the subsequent layers and further development of your painting.
- Adding subsequent layers of paint
With the underpainting as your foundation, begin adding subsequent layers of paint to build up the desired colors, textures, and details. This is where your vision truly starts to come to life.
- Incorporating glazes and washes
Introduce glazes and washes to enhance the richness and luminosity of your colors. Transparent glazes can deepen shadows or add vibrancy to certain areas, while washes can create atmospheric effects or unify the overall composition.
- Developing the painting with additional techniques
As you progress beyond the underpainting, explore additional painting techniques that suit your artistic style. This may include impasto, sgraffito, or other textural effects that add interest and depth to your artwork.
- Finalizing the artwork
After adding subsequent layers and refining the painting, step back and assess the final result. Make any necessary adjustments or final touches to bring your artwork to completion.
Tips and Techniques for Successful Underpainting
To ensure a successful underpainting process, consider the following tips and techniques:
- Using thin layers for better adhesion: When applying the underpainting layers, opt for thin layers rather than thick ones. Thin layers adhere better to the surface, reducing the risk of cracking or peeling.
- Blending colors and edges effectively: Achieving smooth color transitions and soft edges is key to creating realistic underpainting. Practice blending techniques such as feathering or wet-on-wet blending to achieve seamless transitions and soft, natural edges.
- Experimenting with different brush strokes: Varying your brush strokes can add texture and interest to the underpainting. Explore different brush techniques, such as cross-hatching, stippling, or dry brushing, to achieve various effects and surface treatments.
- Keeping a consistent light source: Maintaining a consistent light source throughout the underpainting process helps establish a sense of directionality and enhances the overall realism of the painting.
Consider the position of the light source and how it influences the highlights and shadows in your composition.
Troubleshooting Common Underpainting Issues
While underpainting can be a rewarding process, it’s not uncommon to encounter certain challenges. Here are some common issues and how to address them:
- Paint drying too quickly or not adhering properly
If your paint dries too quickly, consider using a wet palette or misting your paints with water to extend their working time. If the paint doesn’t adhere properly, ensure that the surface is clean and free from any contaminants or residue.
- Uneven or patchy underpainting
To achieve an even and smooth underpainting, ensure consistent brushwork and paint application. Use thin layers, blend carefully, and make adjustments as needed to achieve a uniform appearance.
- Difficulty in achieving desired color intensity
If you’re struggling to achieve the desired color intensity in your underpainting, consider using more opaque pigments or layering multiple thin coats of paint. Experiment with glazing techniques or adjust the color ratios to achieve the desired results.
- Overworking or losing the initial spontaneity
Be mindful of overworking the underpainting, as excessive reworking can lead to a loss of spontaneity and freshness. Remember to step back periodically, evaluate the progress, and resist the temptation to continuously make adjustments. Embrace the energy and vitality of the underpainting process.
FAQs
- Can I use multiple underpainting techniques in a single painting?
Absolutely! Mixing and combining various underpainting techniques can add complexity and depth to your artwork. You can start with a monochromatic underpainting to establish values, then incorporate a limited palette underpainting for color harmony, and even use the grisaille technique for intricate details. Feel free to explore and experiment with different techniques in a single painting.
- Can I do an underpainting on a colored canvas or toned surface?
Yes, you can do an underpainting on a colored canvas or toned surface. In fact, working on a colored or toned ground can provide an interesting base for your underpainting, influencing the overall mood and atmosphere of your artwork. Just ensure that the color of the canvas or toned surface complements the colors you plan to use in your underpainting.
- What if I make a mistake in the underpainting?
Mistakes happen, and they can be part of the artistic process. If you make a mistake in your underpainting, you have a few options. You can try correcting it by adding additional layers of paint or making adjustments in subsequent layers. Alternatively, you can scrape off the mistake while the underpainting is still wet, or wait for it to dry and then sand it down before proceeding with the next steps.
- Can I skip the underpainting and achieve the same results?
While it’s possible to skip the underpainting stage and achieve satisfactory results in your acrylic painting, underpainting offers distinct advantages. It helps establish a strong foundation, improves tonal values, and adds depth to your artwork. However, every artist has their own style and preferences, so if you feel confident in your technique without underpainting, feel free to explore and experiment.
- Is it necessary to do an underpainting for every layer in acrylic painting?
Underpainting is typically done as the initial layer, setting the foundation for subsequent layers. However, it’s not necessary to do an underpainting for every layer in acrylic painting. Once the underpainting is established, subsequent layers can be built upon it to add details, and highlights, and further enhance the artwork. The frequency of underpainting throughout the painting process is a personal choice, depending on the desired effects and artistic vision.
- How can I avoid overworking my underpainting and losing its initial spontaneity?
To avoid overworking your underpainting and losing its initial spontaneity, it’s important to exercise restraint and let the underpainting breathe. Know when to stop and resist the temptation to continuously refine and add details. Remember that underpainting serves as a foundation and guide for subsequent layers. Allow the underpainting to dry and evaluate it from a distance before deciding on further adjustments. Embrace the natural energy and freshness that the initial underpainting brings to your artwork.
Wrapping Up
As we reach the final brushstroke and step back to admire our completed artwork, we are reminded of the transformative power of the underpainting technique in acrylic.
Throughout this journey of discovery, we have uncovered the problem of lackluster paintings that fail to evoke emotion and captivate the viewer. We’ve delved into the intricate details and techniques that agitate our desire for depth, vibrancy, and harmonious composition.
But fear not, for we have provided a solution that empowers you to breathe life into your acrylic creations. By mastering the art of underpainting, you have acquired the tools to create a solid foundation, establish tonal values, and build a visual narrative that enchants the beholder.
So, go forth with confidence, armed with the knowledge of how to do an underpainting in acrylic, and let your imagination soar. Let your artistry flourish as you conclude your artistic endeavors, one stroke at a time.