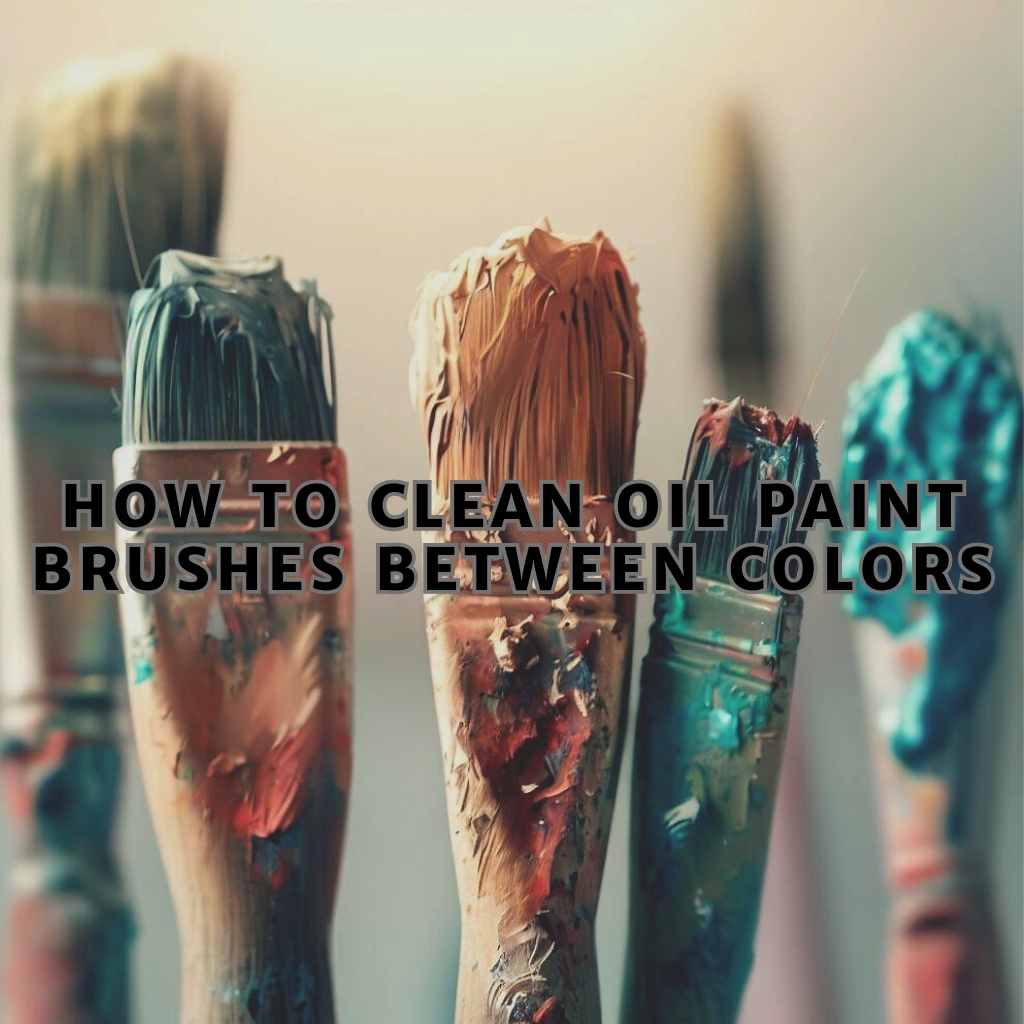
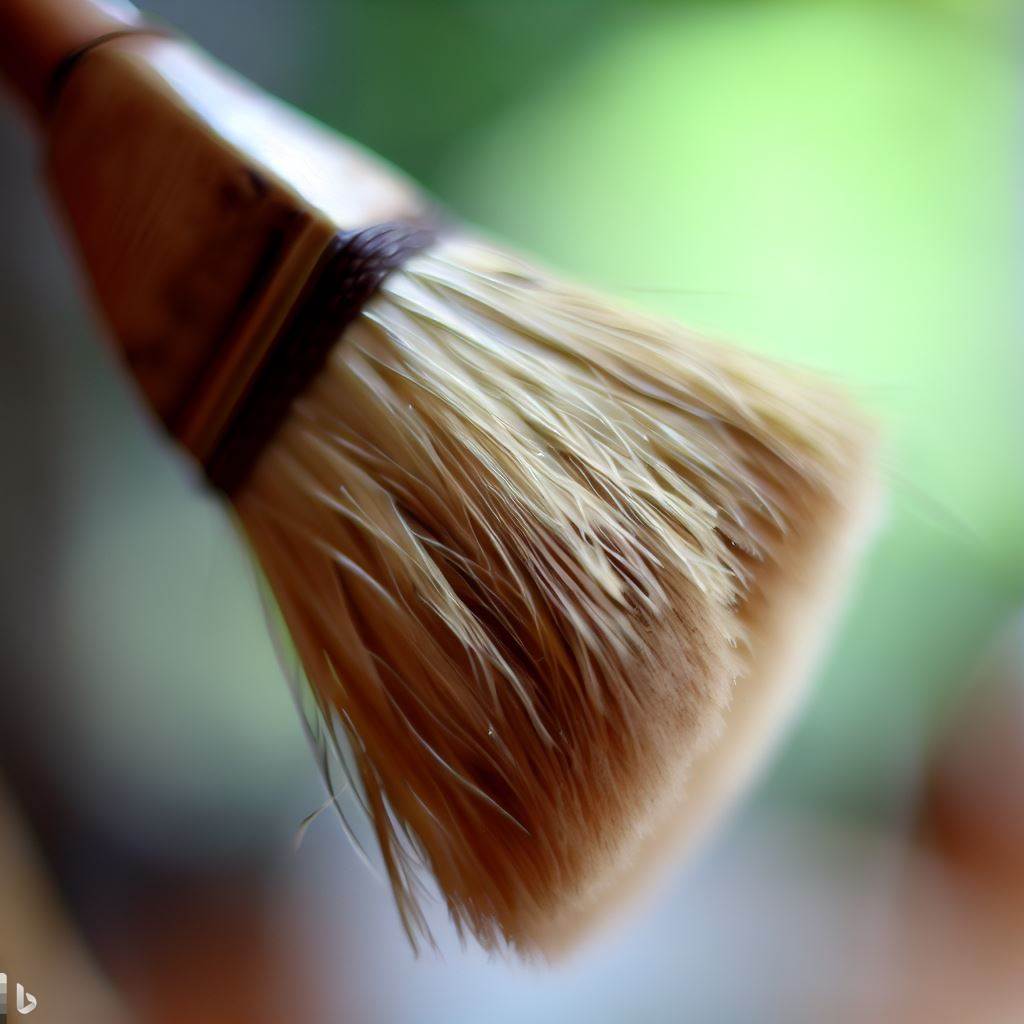
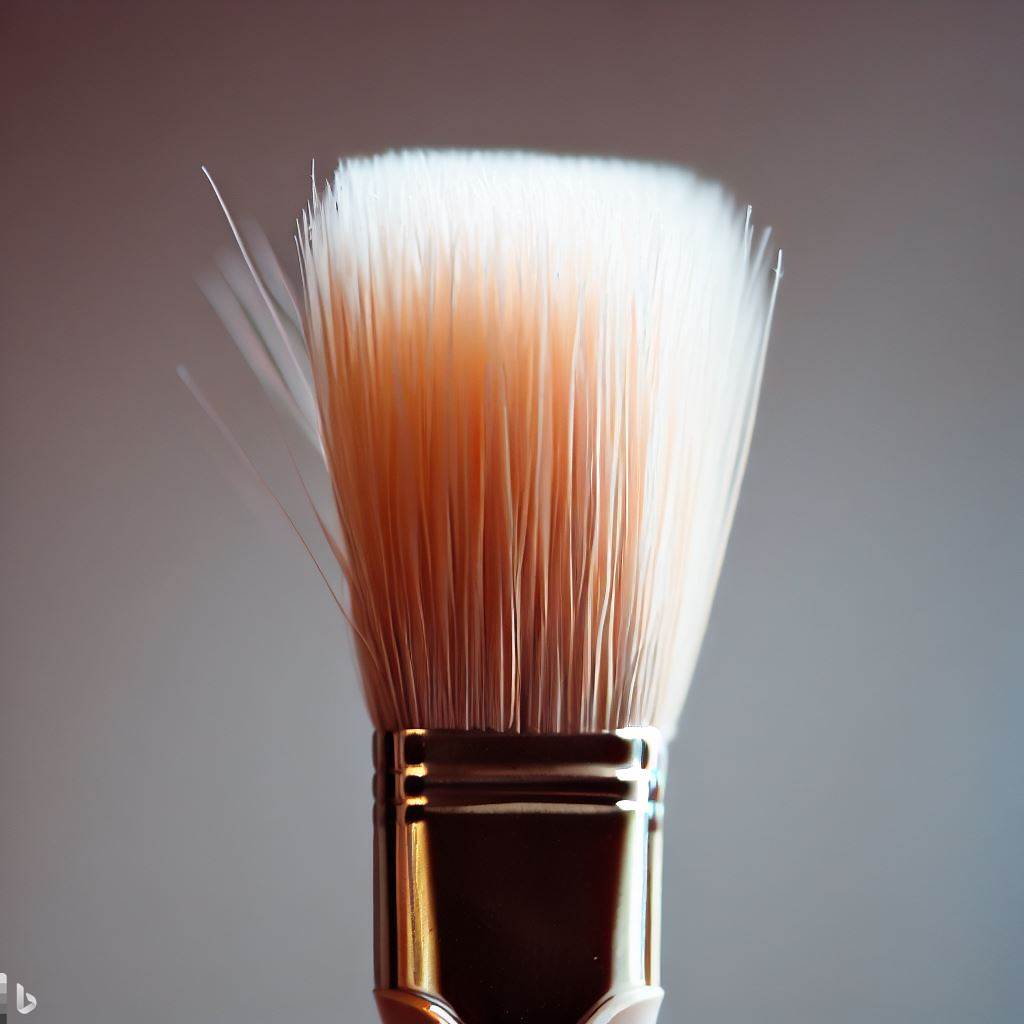
In the world of oil painting, brushes are more than just tools; they are extensions of an artist’s creativity and vision. However, cleaning oil paint brushes between colors can be a real challenge, often leading to frustration and diminished brush performance.
When you’re in the midst of a vibrant painting session, seamlessly transitioning from one color to another, when suddenly, you realize your brushes have become muddled, their bristles clogged with a murky mix of pigments.
As the colors blend on your palette, so does your frustration. But fear not, for there is a solution that will bring back the vibrancy and precision to your brushwork.
In this article, we will unravel the secrets of how to clean oil paint brushes between colors, equipping you with the knowledge and techniques to maintain pristine brushes throughout your artistic journey.
So, let’s dive in and discover the transformative power of proper brush cleaning!
Preparing for Brush Cleaning
-Before embarking on the process of cleaning oil paint brushes, gather the necessary materials for the task. You will need-
- A container or jar for holding the cleaning solution
- A palette knife or scraper for removing excess paint
- Mild soap or brush cleaner
- Warm water
- A clean cloth or paper towels for drying the brushes.
It’s crucial to set up a designated cleaning area to avoid any potential mess. Find a well-ventilated space with a flat surface, ideally near a sink. Lay down some protective material, such as a plastic sheet or old newspaper, to prevent paint splatters from staining your work area.
Oil Paint Brush Cleaning Techniques

Cleaning oil paint brushes is a crucial step in maintaining their performance and prolonging their lifespan. There are various methods you can use to clean your brushes effectively, depending on your preference and the materials you have on hand.
Here are both water-based and solvent-based cleaning solutions to ensure your brushes stay in top condition.
Water-Based Oil Paint Cleaning Techniques
For water-mixable oil paints, you can use water as a cleaning agent. But there are more-
1. Rinse and Wipe Technique:
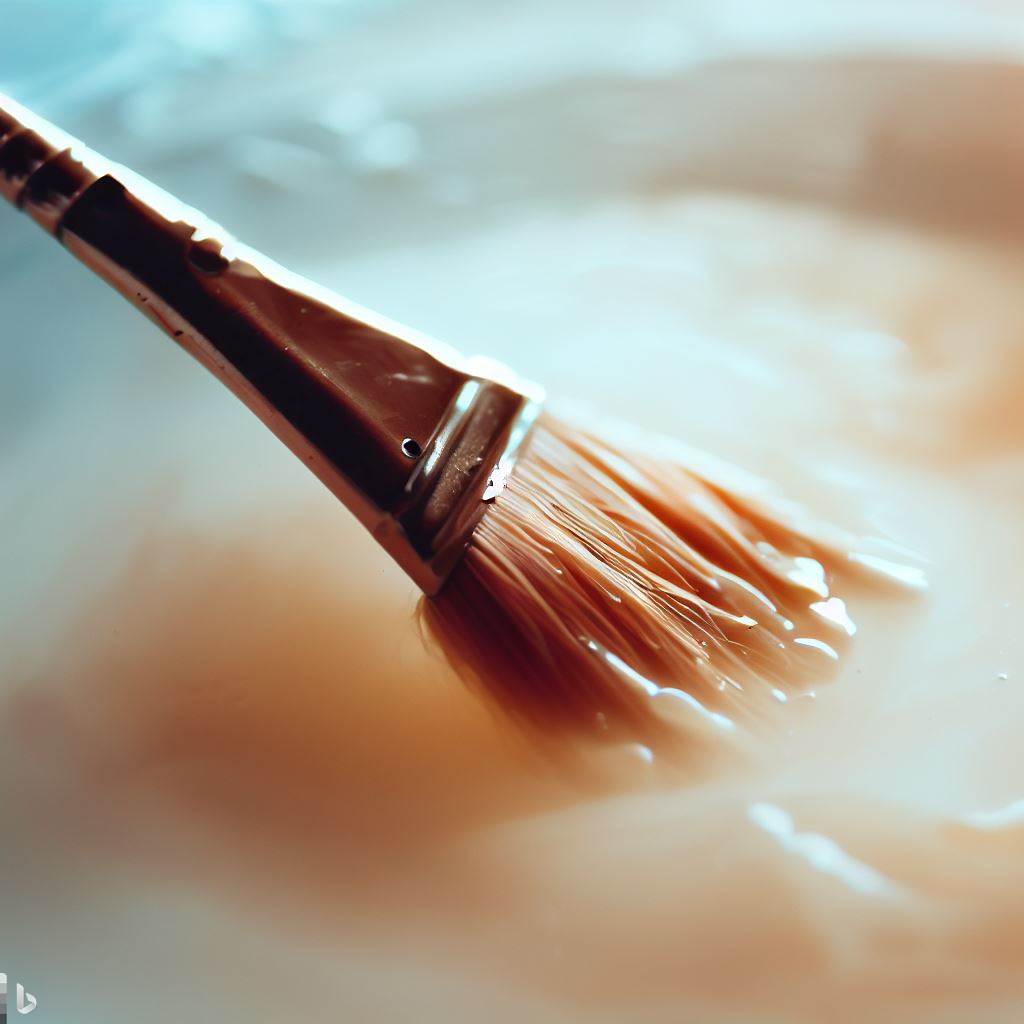
Before diving into a more thorough cleaning process, start by removing excess paint from your brushes. Prepare a rinse container filled with water and gently swirl your brushes in it to loosen the paint. Then, carefully wipe off the remaining paint on a paper towel or cloth.
2. Soap and Water Method:
For a more comprehensive cleaning, you can use a mild soap and warm water solution. Create the solution by mixing a small amount of soap with warm water in a container.
3. Brush Cleaning Stations:
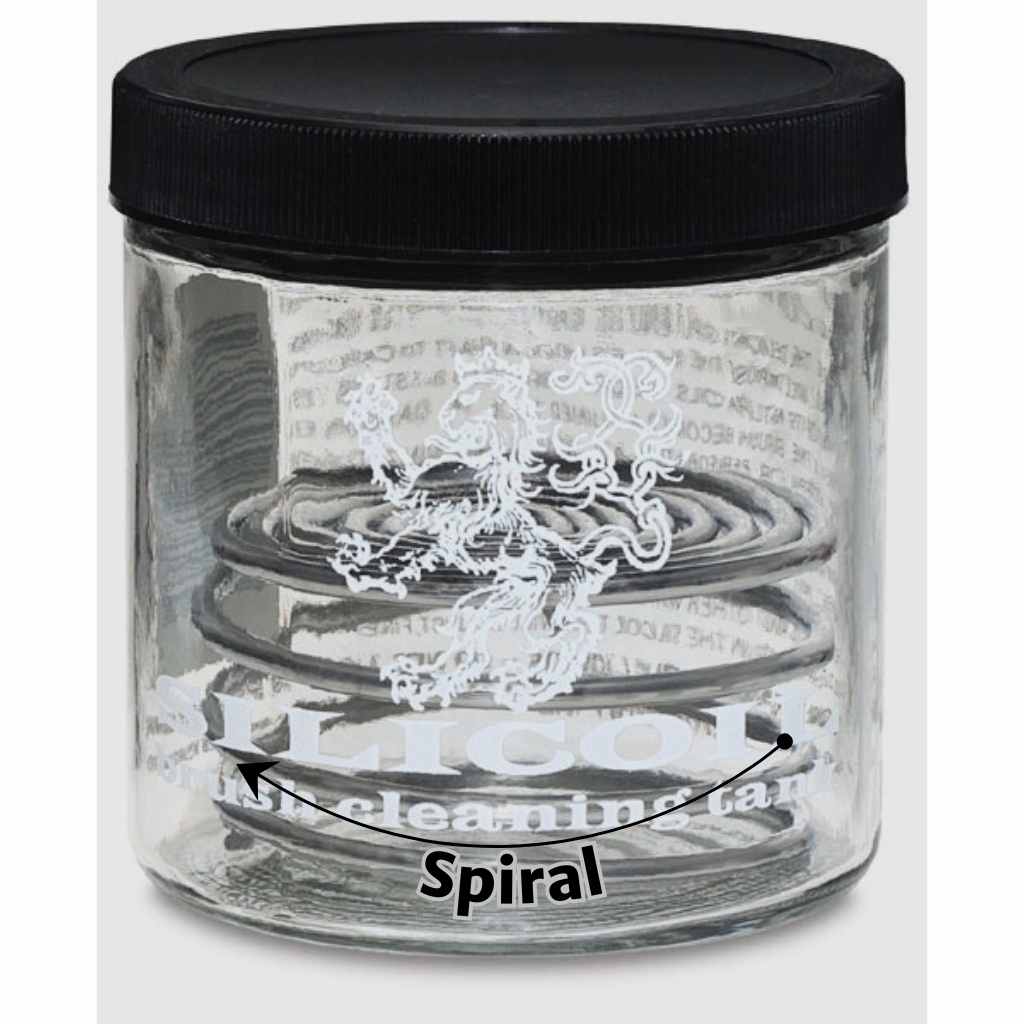
Brush cleaning stations offer a convenient and efficient way to clean your brushes. These stations typically consist of containers with ridges or textured surfaces designed to agitate the bristles and facilitate paint removal.
Solvent-Based Oil Paint Cleaning Techniques
For traditional oil paints, you can use odorless mineral spirits or turpentine as a solvent-
1. Mineral Spirits or Turpentine:
Solvent-based cleaning methods are particularly effective for removing oil-based paints. Mineral spirits or turpentine are commonly used in this process.
But while using these solutions, it’s essential to work in a well-ventilated area and follow safety precautions when handling these chemicals.
2. Alternative Solvents:
If you prefer to avoid traditional solvents or need a more environmentally friendly option, there are alternative solvents available. Some options include citrus-based solvents, vegetable oil, or specialized brush cleaners.
These alternatives can effectively dissolve oil paint and offer a safer cleaning experience. Follow the manufacturer’s instructions for proper usage, and always rinse and dry your brushes after cleaning.
How to Clean Oil Paint Brushes Between Colors
To maintain the integrity of your colors and prevent color contamination, it’s crucial to clean your brushes between color changes.
Follow these steps to effectively clean your brushes during painting sessions:
- Removing excess paint from the brush: Use a palette knife or scraper to gently scrape off any excess paint from the bristles. This step helps minimize the amount of paint that will need to be cleaned later.
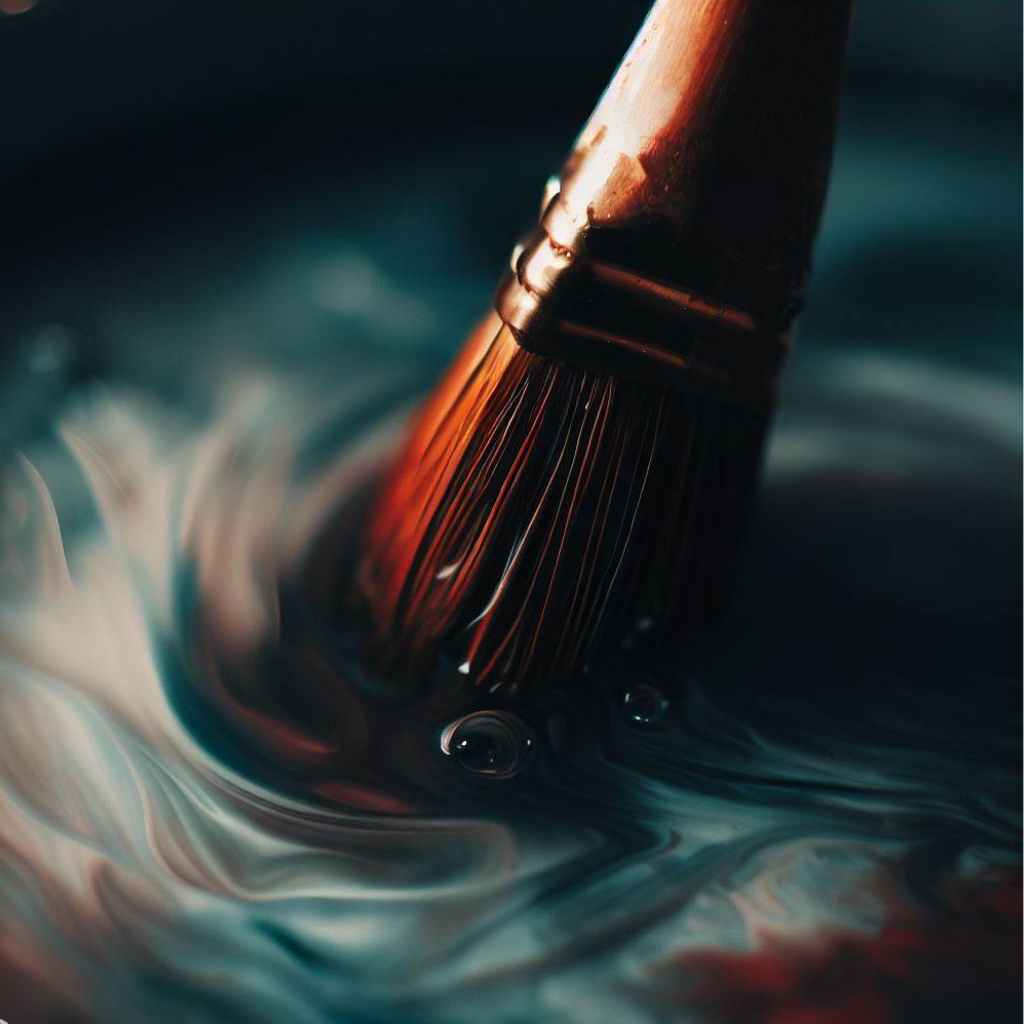
- Using a brush cleaner solution: Dip your brush into a brush cleaner solution or mild soap mixed with water. Swirl the brush around in the solution, ensuring that the bristles are thoroughly saturated. This process helps break down and dissolve the oil-based paint.
- Rinsing brushes thoroughly: Rinse the brush under warm running water while gently massaging the bristles with your fingers. Continue rinsing until the water runs clear, indicating that all the paint has been removed.
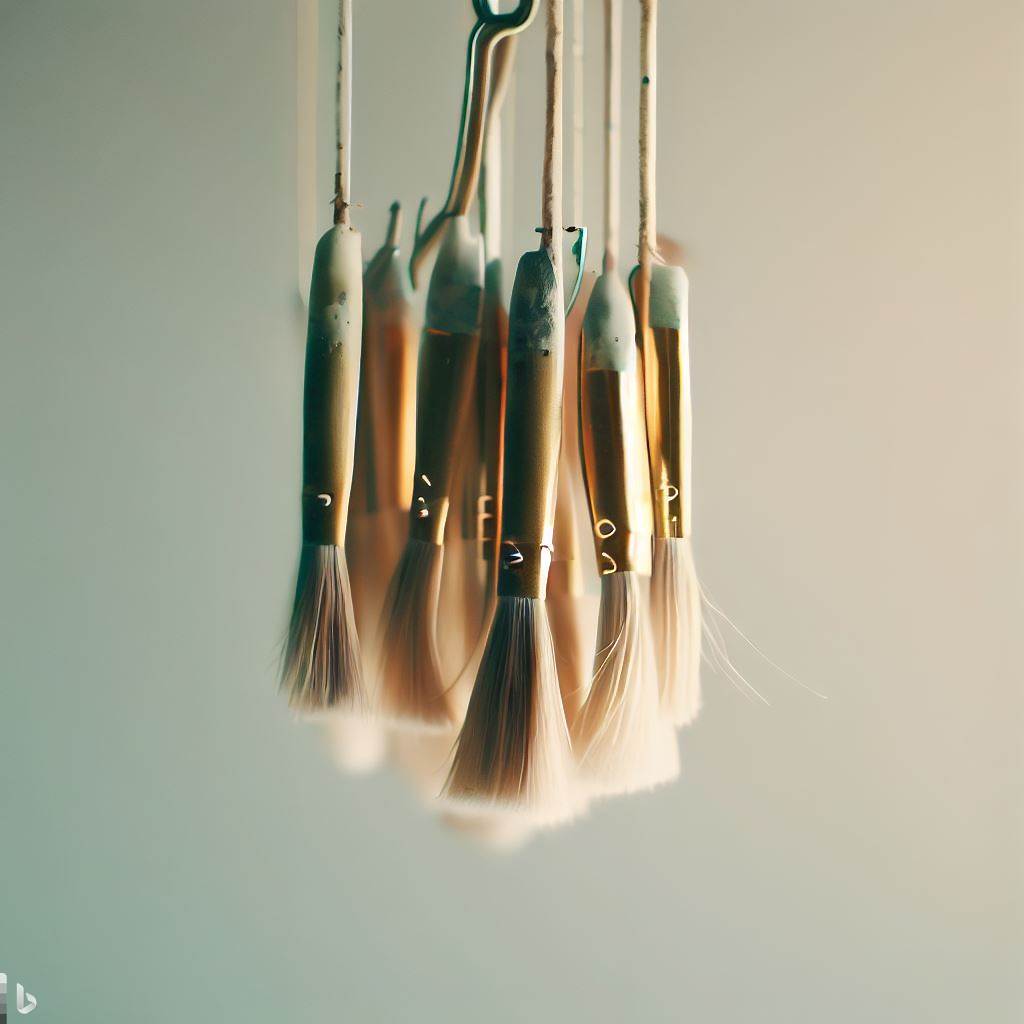
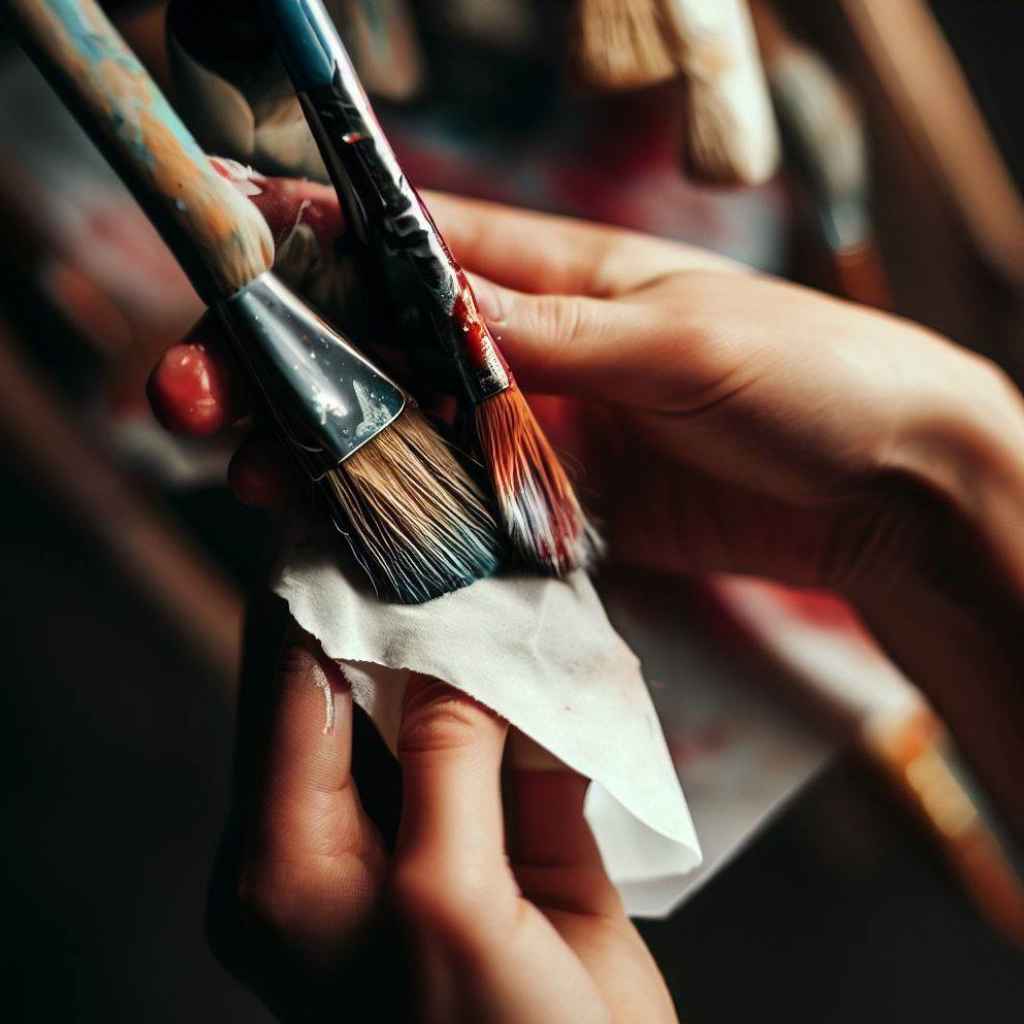
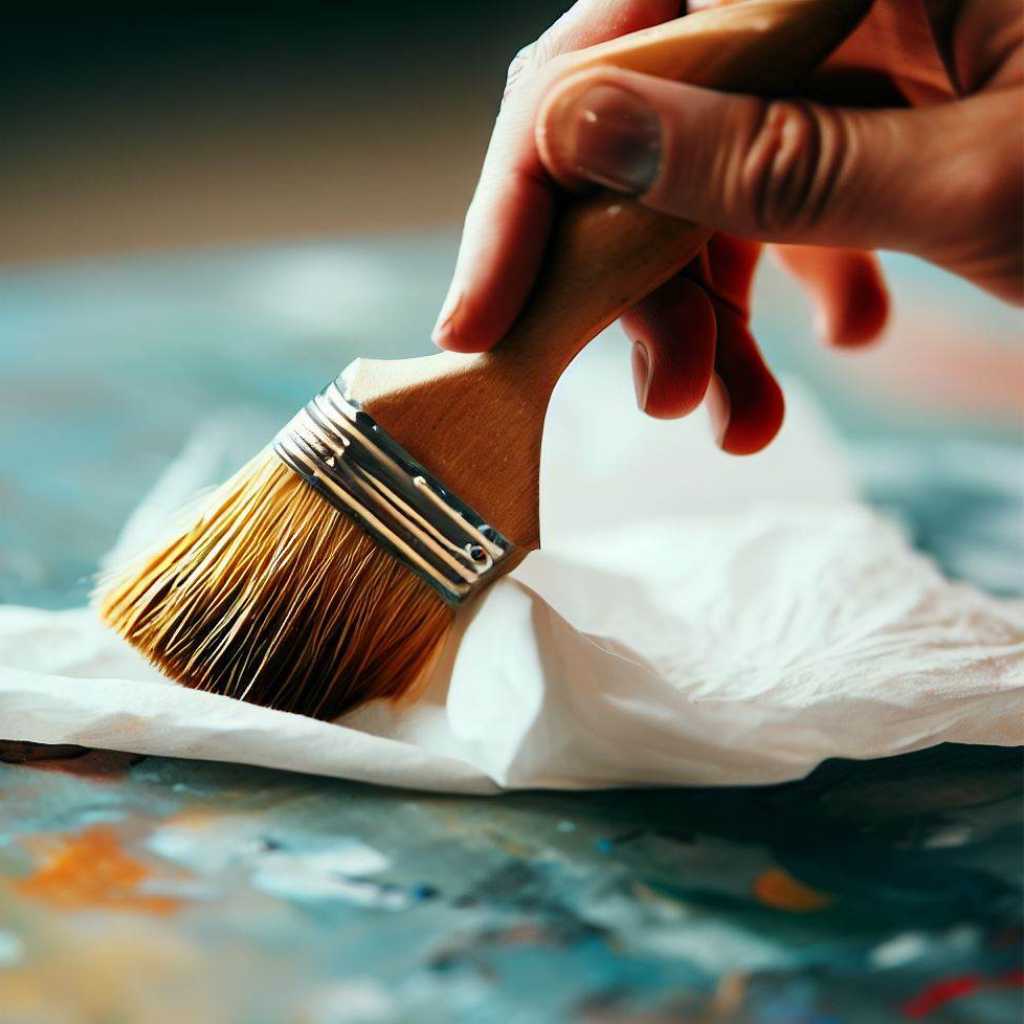
- Drying and reshaping the bristles: Squeeze out excess water from the brush using your fingers or a clean cloth. Gently reshape the bristles to their original form, ensuring that they are evenly aligned. Lay the brushes flat or hang them upside down to dry completely before the next use. You can use a drying rack for that.
Cleaning Brushes at the End of a Painting Session
At the end of each painting session, it’s crucial to perform a more thorough cleaning of your oil paint brushes. This ensures that all paint residues are removed, preventing them from drying and hardening on the bristles.
Follow these steps for comprehensive brush cleaning:
- Removing as much paint as possible: Utilize a palette knife or scraper to scrape off any remaining paint from the bristles. Be thorough but gentle to avoid damaging the bristles.
- Choosing the appropriate cleaning method: Select the appropriate cleaning method based on the type of paint used. Refer to the manufacturer’s recommendations for cleaning oil paint brushes.
- Using solvents or cleaning solutions: Use a solvent or cleaning solution specifically designed for oil paint brushes. Dip the brush into the solution and gently swirl it to loosen any remaining paint.
- Rinsing and drying the brushes: Rinse the brush under warm running water until the water runs clear, ensuring all paint and cleaning agents are removed. Squeeze out excess water and reshape the bristles. Avoid water entering the ferrule or handle.
- Ensuring bristles are in good condition: Inspect the bristles for any remaining paint or damage. Repeat the cleaning process if necessary. Use your fingers or a brush comb to remove stubborn paint particles. Store the brushes properly to maintain their shape and prevent damage.
Brush Cleaning for Specific Brush Types
Different brush types require specific care to maintain their performance. Consider these tips for cleaning various brush types:
- Cleaning natural hair brushes: Natural hair brushes, such as those made from sable, require extra care to prevent damage. Clean them gently using mild soap or a brush cleaner designed for delicate brushes. Avoid using excessive force or harsh chemicals that can strip the natural oils from the bristles.
- Caring for synthetic brushes: Synthetic brushes are typically more durable and can withstand slightly harsher cleaning methods. However, it’s still important to clean them gently to preserve their shape and performance. Use mild soap or a brush cleaner suitable for synthetic bristles.
- Cleaning bristle brushes: Bristle brushes, commonly used for oil painting, can tolerate more rigorous cleaning methods. Rinse them thoroughly under warm water, gently massaging the bristles to remove paint residues. You can also use a brush cleaner specifically formulated for bristle brushes to ensure effective cleaning.
- Maintaining delicate brushes: Delicate brushes, such as fine detail brushes or specialty brushes, require extra care during cleaning. Use a mild brush cleaner or gentle soap, and avoid excessive pressure or scrubbing. Rinse delicately and reshape the bristles carefully to preserve their fine qualities.
Troubleshooting Common Brush Cleaning Issues
Despite your best efforts, you may encounter certain issues while cleaning oil paint brushes. Here are some common problems and their solutions:
- Dealing with stubborn paint residue: If you’re struggling to remove dried or stubborn paint from the bristles, you can try using a brush conditioner or a mixture of vinegar and warm water.
Let the brushes soak in the solution for a few minutes before gently scrubbing the bristles with your fingers or a soft brush. Rinse and dry the brushes as usual.
- Addressing hardened paint on brushes: If the paint has hardened on the bristles, you can try using a brush restorer or a solvent specifically designed for removing dried paint.
Follow the product instructions carefully, as some solvents may require longer soaking periods or additional scrubbing.
- Restoring damaged or misshapen bristles: If your brushes have become misshapen or frayed, you can revive them by using a brush conditioner or hair conditioner.
Apply a small amount to the bristles, then gently reshape them using your fingers or a comb. Rinse and dry the brushes afterward.
- Tips for salvaging neglected brushes: If you have brushes that haven’t been cleaned for an extended period, you can try soaking them in a brush cleaner solution overnight. This will help soften and break down the accumulated paint, making it easier to clean them the next day.
FAQs
- How long should I let my oil paint brushes dry after cleaning between colors?
The drying time of oil paint brushes can vary depending on the cleaning method used and the type of brush cleaner or solvent. It’s important to allow sufficient time for the brushes to dry completely before storing or using them again. Generally, air-drying overnight or for at least 24 hours is recommended to ensure that the bristles are fully dry and ready for the next painting session.
- Can I use the same cleaning process for all types of oil paint brushes?
Different types of oil paint brushes may require slightly different cleaning approaches. Natural hair brushes, synthetic brushes, bristle brushes, and delicate brushes may have specific care instructions. It’s important to refer to the manufacturer’s recommendations or seek advice from art supply professionals to ensure you are cleaning each brush appropriately and preserving its quality and performance.
- Is it possible to salvage neglected oil paint brushes that have hardened bristles?
In some cases, neglected oil paint brushes with hard bristles can be revived. Soaking the bristles in a brush cleaner or solvent and gently massaging them can help soften the hardened paint. However, severe damage may be irreversible, and it’s always best to maintain a regular cleaning routine to prevent brushes from reaching this state.
- What should I do if my oil paint brushes have become misshapen or frayed?
If your oil paint brushes have become misshapen or frayed, there are a few steps you can take to try to restore them. First, rinse the brushes under warm water and reshape the bristles by gently pulling them back into their original shape. You can also use your fingers or a brush comb to carefully remove any tangles or clumps in the bristles. If the damage is severe, it may be necessary to trim the frayed ends with scissors. However, prevention is key, so be sure to store your brushes properly and avoid excessive pressure or bending while painting to maintain their shape.
- Can I use the same cleaning process for both natural hair and synthetic oil paint brushes?
While the general cleaning process is similar for both natural hair and synthetic oil paint brushes, there are some differences to consider. Natural hair brushes are more delicate and may require gentler handling and specific brush cleaners. Synthetic brushes, on the other hand, are often more resilient and can tolerate slightly harsher cleaning methods. Always refer to the manufacturer’s instructions for cleaning and caring for your specific brushes to ensure you maintain their quality and longevity.
Wrapping Up
As we reach the end of this artistic journey, it’s time to reflect on the transformative power of proper brush maintenance.
Throughout this article, we have explored the challenges that arise when it comes to cleaning oil paint brushes between colors, highlighting the frustration of muddled pigments and compromised brush performance.
We have agitated the artist within you, reminding you of those moments when your creativity was stifled by neglected brushes. But fear not, for the solution is within your grasp.
By implementing the techniques and tips we have discussed, you can ensure that your brushes remain in optimal condition, ready to bring your artistic visions to life with vibrant strokes and precise detailing.
So, let your brushes whisper their gratitude, as you master the art of cleaning oil paint brushes between colors.