
Are you ready to take your acrylic painting to the next level? If you’ve ever wondered how many coats of gesso for acrylic painting are needed to achieve stunning results, you’ve come to the right place.
In this article, we will dive deep into the fascinating world of gesso, exploring its composition, historical significance, and its vital role in providing a stable and uniform canvas for your creative vision.
Gesso serves as the unsung hero, quietly working behind the scenes to prepare the painting surface for your artistic masterpiece. Get ready to uncover the secrets of gesso and discover why it’s an essential tool in the artist’s arsenal.
So, let’s embark on this creative adventure together, as we unravel the mysteries of gesso and unleash the full potential of your acrylic artwork.
What is Gesso?
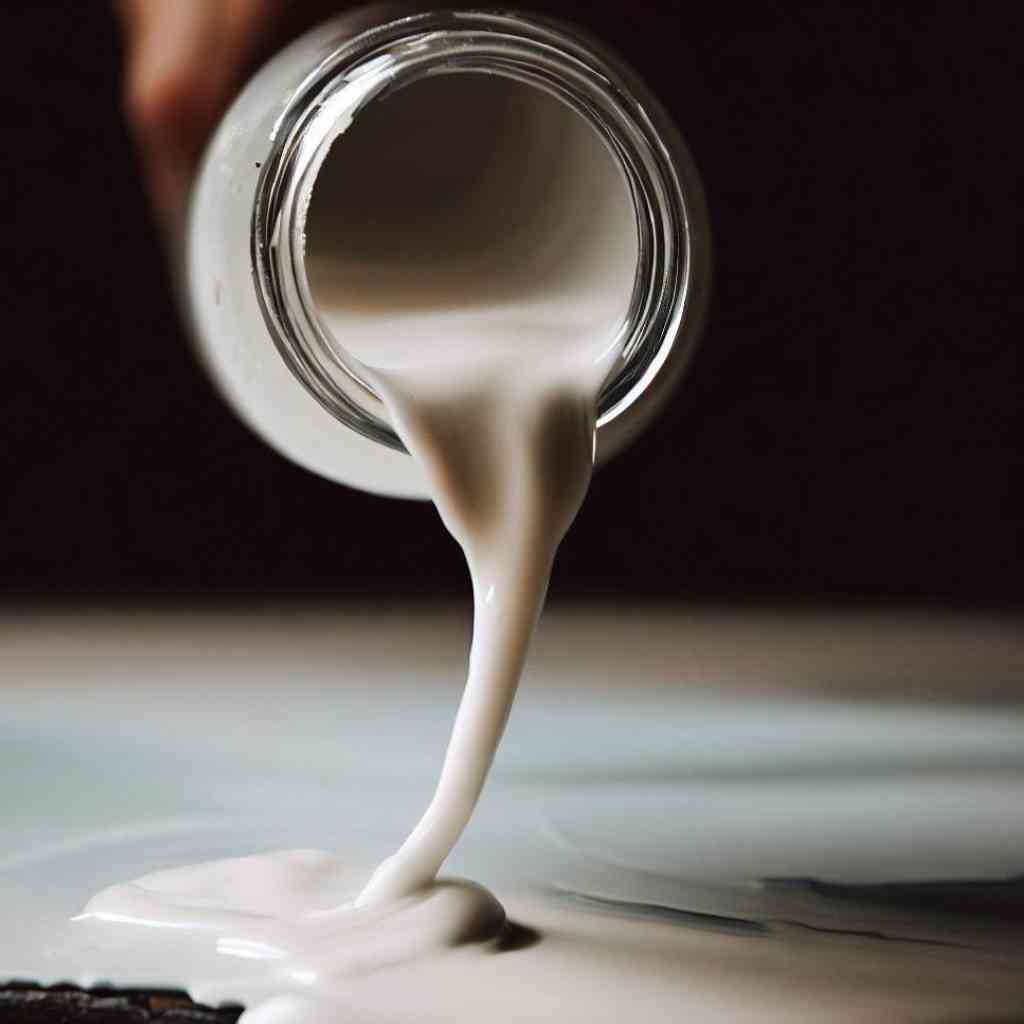
Gesso is a primer that is commonly used in art to create a smooth and stable surface for painting. It is made from a combination of binder, typically acrylic polymer, and a filler such as calcium carbonate or gypsum. Gesso has a long history in the world of art, dating back to ancient times when it was used to prepare surfaces for various painting techniques.
The Purpose of Using Gesso in Acrylic Painting
Using gesso in acrylic painting serves several important purposes:
- Providing a stable and uniform surface: Gesso creates a consistent surface that helps prevent the warping or buckling of the support material, such as canvas or wood.
- Improving adhesion: The application of gesso enhances the adhesion of acrylic paint to the surface, ensuring better paint adherence and reducing the risk of paint peeling or flaking.
- Preventing paint absorption: Gesso acts as a barrier, preventing the paint from being absorbed into the support material, which can lead to color dullness and a less vibrant result.
- Enhancing color vibrancy and opacity: By providing a white or tinted base, gesso helps amplify the vibrancy and opacity of the paint colors applied on top.
Types of Gesso
There are several types of gesso available, each catering to different artistic needs. White gesso is the most commonly used and provides a neutral base for painting. Clear gesso is transparent, allowing the underlying surface to show through.
Tinted gesso offers a colored base, altering the overall tone of your artwork. Additionally, there are specialized gessoes with added properties like extra teeth for better paint adhesion or flexibility for working on flexible supports.
How Many Coats of Gesso for Acrylic Painting
Before diving into the process of applying gesso, it’s important to consider several factors that can influence the outcome of your artwork.
Factors to Consider
When determining the number of gesso coats to apply, consider the following factors:
- The type and texture of the support material: Different materials require different levels of gesso coverage to achieve the desired surface.
- Personal preference and desired effect: Some artists prefer a smoother surface with fewer coats, while others may want a more textured result that requires additional layers of gesso.
- The amount of absorbency in the support material: More absorbent surfaces may require additional coats to prevent paint absorption and achieve a consistent color result.
Recommended Number of Coats of Gesso
Once you’ve assessed these factors, you can determine the recommended number of coats of gesso needed to achieve the desired results, balancing adhesion, coverage, and texture manipulation for a solid foundation.
As a general guideline, two to three coats of gesso are typically recommended for most painting surfaces. However, it’s essential to adjust the number of coats based on the factors we discussed earlier.
- One Coat of Gesso: In some cases, a single coat of gesso may be sufficient, especially if you’re working on a pre-primed canvas or a smooth surface with good absorbency. This approach is suitable for artworks that don’t require heavy texture or multiple layers of paint.
- Two Coats of Gesso: Two coats of gesso are commonly used for most situations. This provides a balanced foundation, ensuring good adhesion and coverage while allowing for texture manipulation and layering of paint.
- Three Coats of Gesso: For artists who desire a smoother and more refined surface, three coats of gesso can be applied. This creates a solid base with enhanced opacity and reduces the visibility of the underlying surface.
- Four or More Coats of Gesso: In certain cases where heavy texture or significant surface imperfections need to be concealed, applying four or more coats of gesso might be necessary. This approach is commonly used in mixed media art or when working with highly absorbent or rough surfaces.
- Adjusting the Number of Coats Based on Surface Factors: Remember that the recommended number of coats is not set in stone. Adjust the quantity based on the specific characteristics of your painting surface, texture preferences, desired finish, and the type of acrylic paint you’re using.
Applying Gesso Correctly
When it comes to achieving a solid foundation for your acrylic painting, applying gesso correctly is essential. This crucial step sets the stage for optimal paint adhesion, surface preparation, and the overall success of your artwork.
Preparing the Surface
Before applying gesso, it’s crucial to prepare the surface properly. Ensure that the surface is clean, free from dust or debris, and adequately primed if required. Smooth out any imperfections, such as bumps or ridges, with sandpaper or other suitable tools.
Applying the First Coat
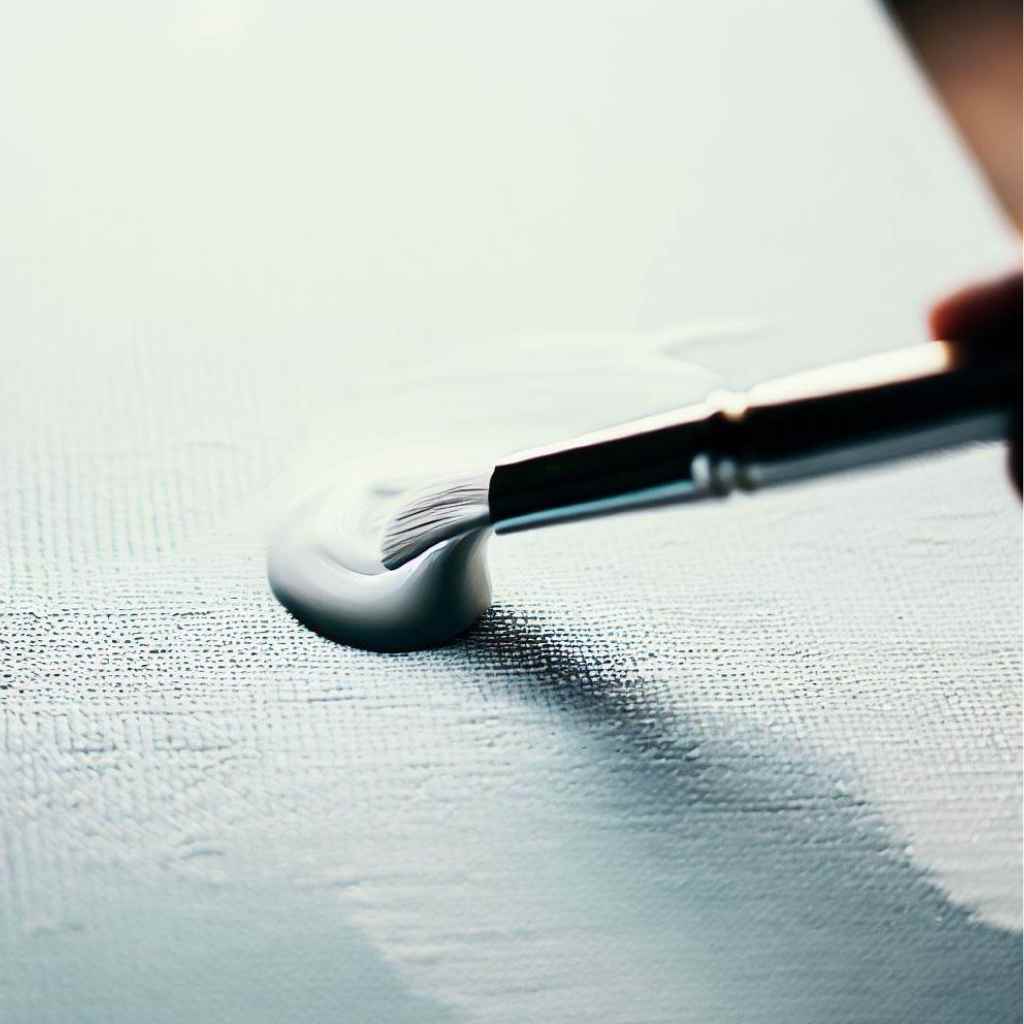

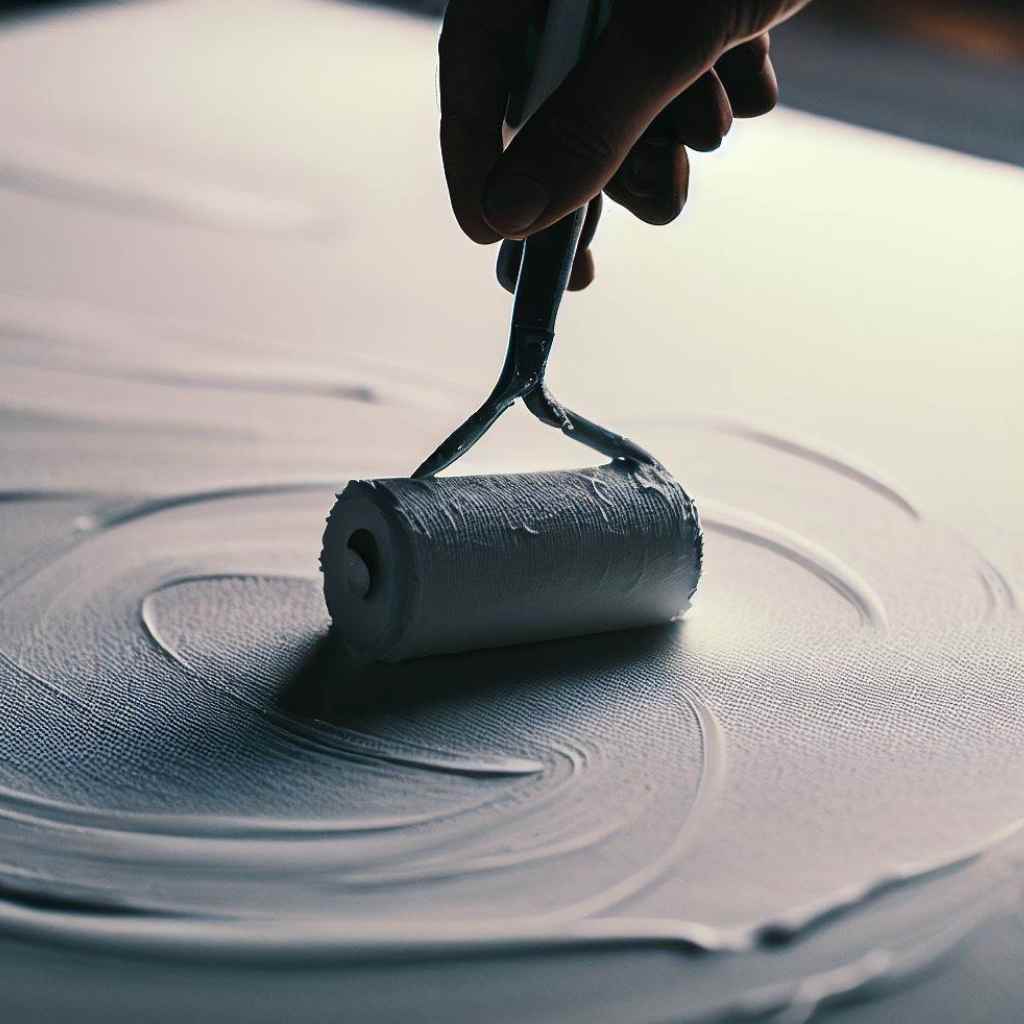
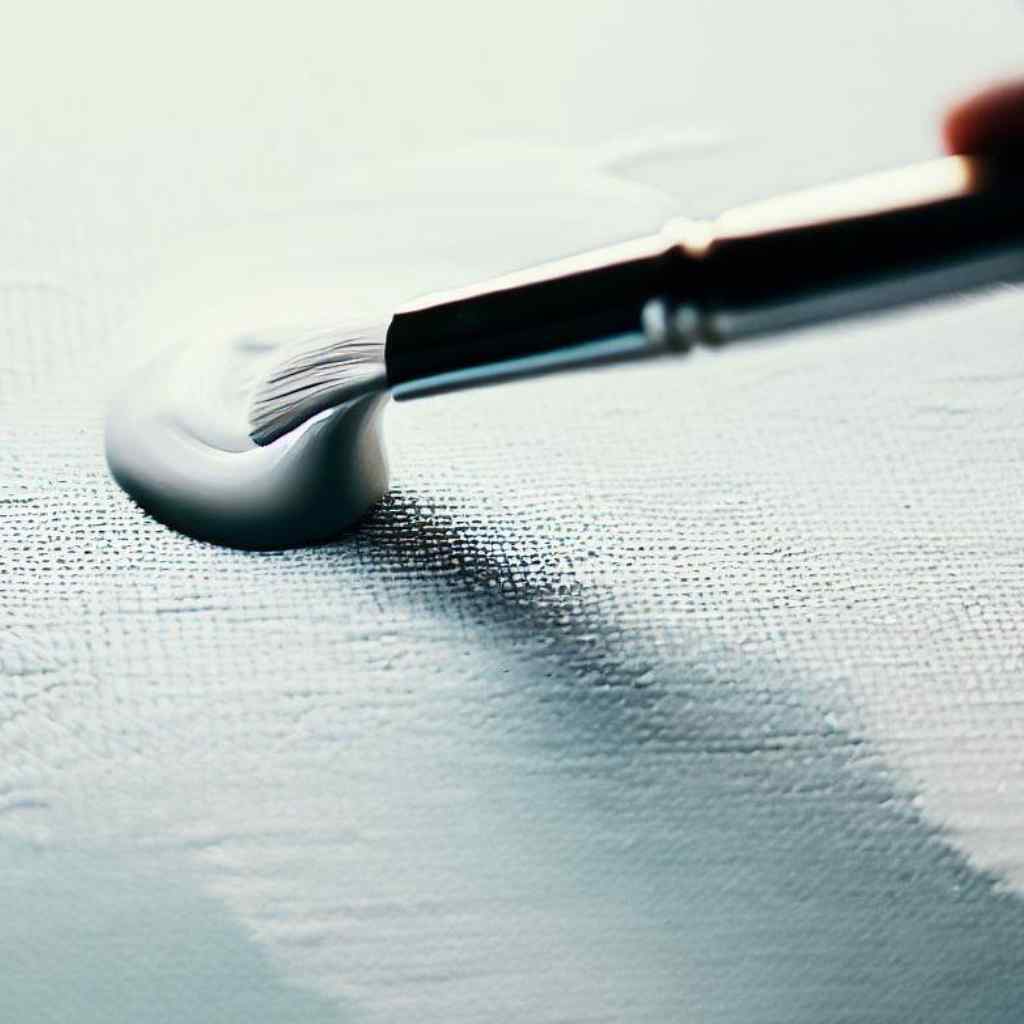
Start by applying the first coat of gesso using a wide, flat brush or a palette knife or a roller. Ensure an even application, spreading the gesso across the surface in smooth strokes. The thickness of the first coat can vary based on personal preference and desired effect.
A thin application will allow the texture of the support material to show through, while a thicker coat can create a smoother surface.
Drying and Sanding
Allow the first coat of gesso to dry completely before proceeding. This ensures that subsequent layers adhere properly and prevents any mixing or smudging of the gesso. Once dry, lightly sand the surface using fine-grit sandpaper to remove any imperfections or brush marks.
Applying Additional Coats
Assess the coverage and texture after the first coat has dried. If necessary, apply additional coats of gesso to achieve the desired result. Sand the surface between coats to create a smoother and more refined painting surface.
The number of additional coats required will depend on personal preference and the desired level of surface texture.
Tips for Using Gesso in Specific Painting Techniques
Unlock the full potential of gesso in your artistic endeavors with these valuable tips tailored for specific painting techniques. Whether you’re into acrylic pouring, dry brushing, or impasto painting, discover how gesso can elevate your artistry to new heights.
Acrylic Pouring
For acrylic pouring techniques, it’s important to prepare the surface with gesso to enhance paint flow and prevent excessive absorption into the support material. Gesso can also serve as a barrier between the pouring medium and the surface, allowing for better control and prevent the paint from seeping into the support.
Dry Brushing
To achieve unique surface effects with dry brushing, consider using a textured gesso. This will create additional texture on the surface, allowing for more pronounced dry brush strokes. Layering gesso and paint can also produce interesting dry brush effects.
Impasto Painting
Impasto painting involves applying thick layers of paint to create a three-dimensional effect. To enhance the texture, consider applying thick layers of gesso as well. Building up multiple layers of gesso and paint will allow you to achieve a more pronounced and textured surface.
Alternative Approaches Using Gesso
Explore innovative alternatives to traditional gesso applications and unlock new creative possibilities.
Tinted Gesso
Mixing paint with gesso can result in a colored ground for your painting. This tinted gesso can create a tonal base that complements the color palette you plan to use, adding depth and visual interest to your artwork.
Clear Gesso
Using clear gesso provides a unique approach to painting. It allows the support material to show through the layers of paint, creating a transparent or stained look. This technique can be particularly effective when working on materials such as wood, where the natural grain can be highlighted.
Troubleshooting Gesso Application
To ensure a successful application of gesso, be mindful of these common mistakes:
Over-application of gesso
One of the most prevalent mistakes is applying too much gesso onto the painting surface. While it’s important to create a solid base, excessive gesso can result in a thick and textured surface that may not be suitable for your desired style.
Remember, gesso is meant to enhance adhesion and provide a smooth foundation, so use it sparingly and apply thin coats as needed.
Insufficient drying time between coats
Patience is key when working with Gesso. Rushing the drying process between coats can lead to uneven layers and the potential mixing of wet gesso with subsequent applications.
Allow each coat to dry completely before proceeding to the next one. This ensures proper adhesion and prevents any unwanted blending of layers.
Neglecting to sand between coats
Sanding the surface between gesso coats is an important step that should not be overlooked. It helps create a smoother surface and promotes better adhesion for subsequent layers of gesso or paint.
By sanding lightly with fine-grit sandpaper, you can remove any imperfections, brush marks, or rough spots, resulting in a more professional and refined finish.
Fixing Cracking or Peeling Gesso
Cracking or peeling of gesso can happen if the underlying surface was not properly prepared or if excessive layers of gesso were applied too quickly.
To fix this issue, gently sand the affected area, remove any loose gesso, and reapply a new coat of gesso, ensuring proper adhesion to the surface.
Dealing with Brush Strokes or Texture
If you’re experiencing visible brush strokes or an undesired texture in your gesso application, try using a foam roller instead of a brush. The roller can create a smoother finish and minimize texture inconsistencies.
Addressing Uneven Coverage
Uneven coverage may occur if the gesso is not applied evenly across the surface. To rectify this, allow the gesso to dry completely, sand the surface gently, and apply an additional coat of gesso, ensuring consistent coverage.
FAQs
- Can I apply gesso over an existing painting?
Yes, it’s possible to apply gesso over an existing painting. This technique, known as “re-gessoing,” allows you to start afresh by covering the previous layers. However, keep in mind that re-gessoing may alter the texture and appearance of the original artwork.
- Can gesso be used for mixed media artworks?
Absolutely! Gesso is a versatile medium that can be used in mixed-media artworks. It provides a consistent surface and helps unify different materials and paint layers. Incorporating gesso into your mixed media projects can enhance adhesion and create a cohesive foundation for your artwork.
- Is it possible to remove gesso from a painting surface?
Removing gesso from a painting surface can be challenging, especially once it has dried and cured. It’s generally recommended to avoid the need for removal by applying gesso carefully and accurately. However, if necessary, some artists may choose to sand or scrape off excess gesso, but this process can affect the underlying layers.
- Can I mix gesso with other mediums or additives?
Yes, you can experiment with mixing gesso with other mediums or additives to achieve specific effects. Some artists may mix gesso with acrylic mediums, texture gels, or even pigment powders to alter the texture, transparency, or color of the gessoed surface.
- How long does gesso last once opened?
Properly stored, gesso can last for an extended period. However, it’s important to seal the container tightly and store it in a cool, dry place. Over time, gesso may thicken or develop a skin-like layer on the surface, but this can often be remedied by stirring or adding a small amount of water.
Conclusion
In the realm of acrylic painting, achieving the desired results requires more than just a brush and paint. At the end of our exploration how many coats of gesso for acrylic painting unveils a vital key to unlocking your artistic potential.
With a foundation built on understanding the importance of gesso, you can now embark on your creative journey with confidence and intention. By carefully preparing the painting surface, applying the right number of gesso coats, and avoiding common mistakes, you have the power to elevate your artistry to new heights.
So, embrace experimentation, unleash your imagination, and let gesso be the guiding force that transforms your artistic vision into reality. It’s time to embrace the power of gesso and create masterpieces that captivate and inspire.