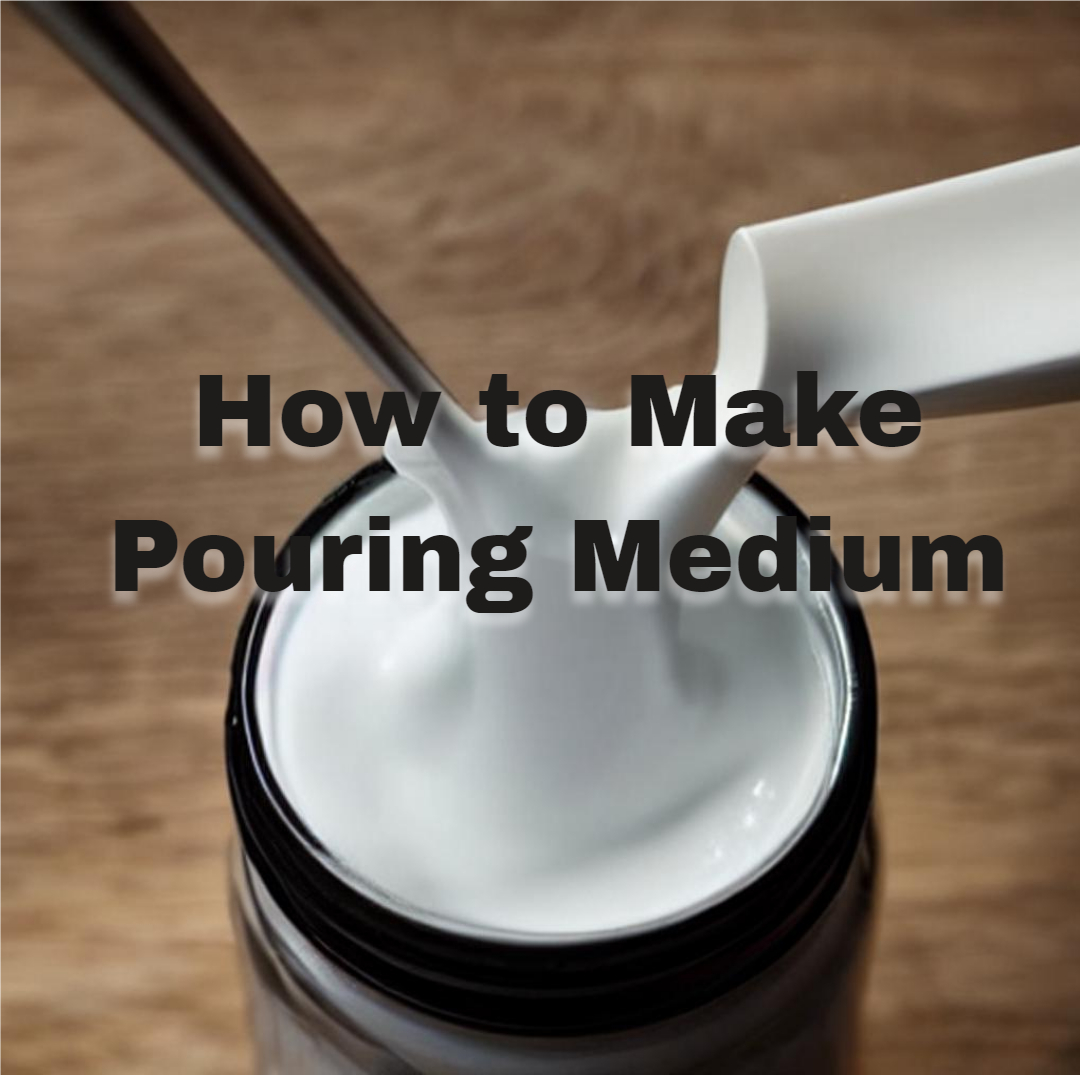
How to make pouring medium is a crucial question for any artist who wants to achieve stunning acrylic pours. Making a good pouring medium is an essential step in creating these pours, as it helps to achieve the desired consistency and flow of the paint.
To make the perfect pouring medium, you should mix the PVA glue and water in a 1:1 ratio and then add acrylic paint to achieve your desired color. Once you’ve created the medium, it’s crucial to store it correctly to keep it in good condition.
In this article, we will walk you through the step-by-step process of making pouring medium from scratch, including the ingredients you’ll need, how to mix them together, and some tips and tricks for achieving the perfect texture.
Do You Really Need Pouring Medium?
If you’re into acrylic pouring, you’ve likely heard of pouring medium. It’s an additive that can help you achieve cool effects like cells and lacing in your art.
While you can pour without it, using a pouring medium makes the process easier and more successful. It thins the paint, helping it flow smoothly and consistently, reducing the risk of a chunky or muddy look.
Beyond thinning, pouring medium enhances color vibrancy, prevents cracking or crazing, and can give a glossy finish. This makes your art pop and look professional.
Alternatives like water or silicone exist, but they may not offer the same consistency and effects. If you’re serious about acrylic pouring, investing in a good pouring medium is wise.
Try it out! Pouring medium can be a fun and rewarding tool, helping you discover amazing effects in your acrylic pouring art.
Ingredients and Tools Required
Before making your own Acrylic Pouring Medium, it is important to understand the basic ingredients and tools required. Here is a breakdown of the essential components:
Basic ingredients for making Acrylic Pouring Medium
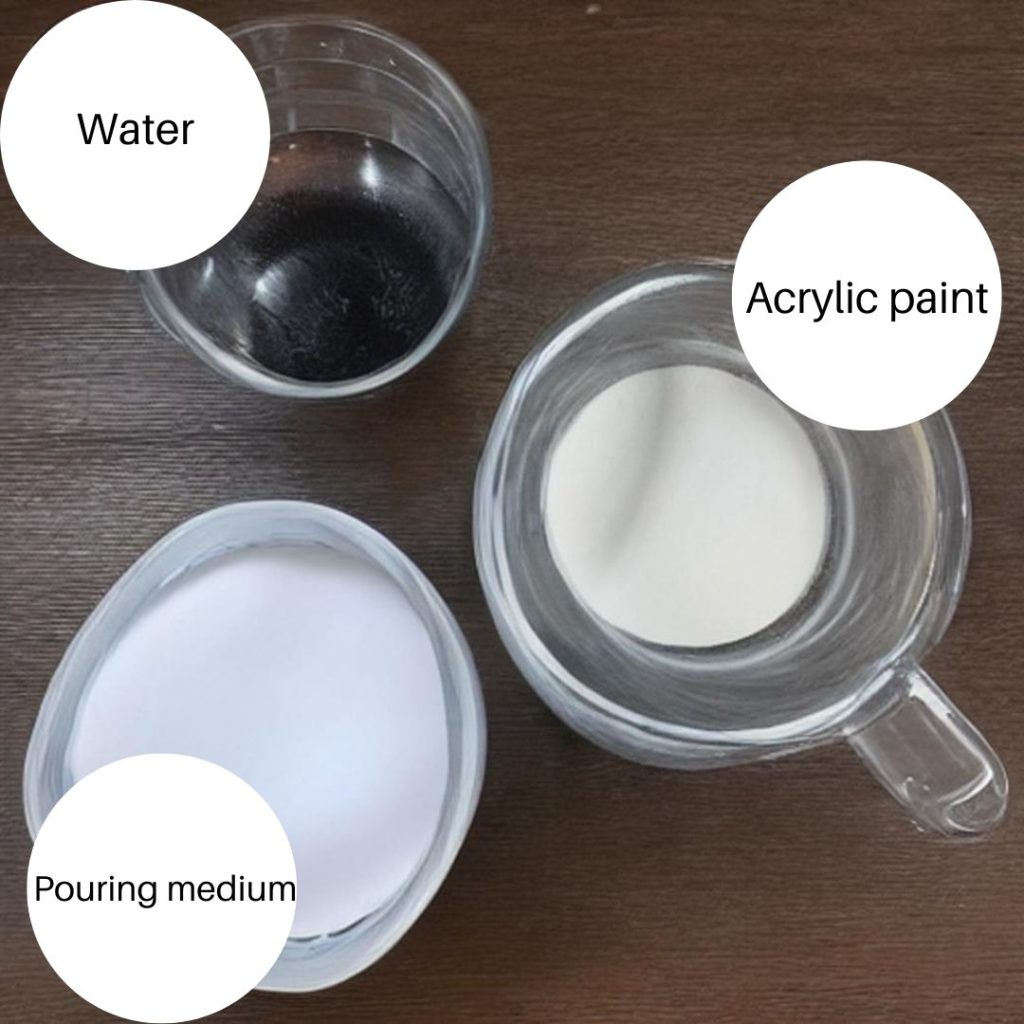
Acrylic paint: This is the primary coloring agent in Acrylic Pouring Medium. It is important to choose high-quality, fluid acrylic paints that are designed for pouring.
Pouring medium: This is the ingredient that thins out the acrylic paint, making it easier to pour and creating a smoother, more even finish.
The pouring medium also helps to maintain the vibrancy of the colors and prevents cracking as the paint dries. Some popular brands of pouring medium include Liquitex Pouring Medium, Floetrol, and GAC 800.
Water: In addition to the pouring medium, you may also need to add a small amount of water to thin out the paint and achieve the desired consistency.
Tools required for making Acrylic Pouring Medium
Measuring cups and spoons: Accurate measurements are crucial when making your own pouring medium. Use measuring cups and spoons to ensure that you are using the correct ratios of paint, medium, and additional ingredients.
Stirring utensils: Use a stir stick, palette knife, or other utensils to mix the paint and medium thoroughly.
Containers: Use containers with lids to mix and store your pouring medium. Mason jars, plastic cups, and plastic squeeze bottles are all good options. Here’s basically how to store acrylic pouring medium-
Store the acrylic pouring medium in an airtight glass jar in a cool, dry place away from sunlight and heat. Label the container with the date of creation to track its shelf life, which can last from a few weeks to several months.
Proper storage and labeling ensure a fresh batch for the next project.
How to Make Pouring Medium: Both Pouring Medium and Glue Method
Here’s what you need to do to make acrylic pouring medium-
Step 1: Mixing the ingredients
Start with mixing the ingredients for the acrylic pouring medium.
To do this, you’ll need to take the pouring medium or glue and add it to a mixing container. You can then add the water to the medium or glue and mix the two ingredients until they are well combined.
If you use pouring medium, it should be 1 part pouring medium and ¼ part water. And if you use glue, then it should be half white glue and half water.
Step 2: Adding the additional ingredients
Once the glue and water are mixed together, it’s time to add the other ingredients. This can include things like acrylic mediums, silicone oil, dimethicone, or alcohol.
These additional ingredients can help create unique effects in your pouring medium, such as cells or lacing.
Step 3: Stirring and Mixing
After adding the additional ingredients, you’ll want to stir everything together to ensure that it’s well combined. You can do this with a wooden stick or a paint stirrer.
It’s important to mix everything thoroughly so that you get the desired consistency and properties for your acrylic pouring medium.
Step 4: Testing the consistency of the Acrylic Pouring Medium
Once everything is mixed together, you’ll want to test the consistency of your acrylic pouring medium.
To do this, you can take a small amount of the mixture and pour it onto a surface. You can then observe how it flows and spreads out.
If the paint flows off the tool in a steady stream and creates a mound on top of the mixture, it has the right consistency.
However, if it falls off too quickly or is too thin, you may need to add more paint, and if it’s too thick, you may need to add more medium.
If it’s too thick, you can add more water. If it’s too thin, you can add more glue.
Additional Ingredients
Silicone oil: This is an optional ingredient that can be added to the paint and medium mixture to create unique cells and patterns. Silicone oil reduces the surface tension of the paint, allowing it to separate and create interesting effects.
It is important to use only a small amount of silicone oil, as too much can cause the paint to break down and lose its integrity.
Glue: Some artists choose to add glue to their pouring medium mixture to create a thicker consistency or to help the paint adhere to the canvas more effectively. White glue, such as Elmer’s Glue-All, can be used for this purpose.
Alcohol: Adding a small amount of isopropyl alcohol to the pouring medium mixture can help to eliminate bubbles and create a smoother finish.
It is important to use only a small amount of alcohol, as too much can cause the paint to break down.
Troubleshooting Common Issues with Acrylic Pouring Medium
While Acrylic Pouring is a fun and rewarding art form, it can also present some common issues that can be frustrating for beginners. Here are some tips for troubleshooting common issues:
Cracking and Crazing
This occurs when the paint or medium dries too quickly, or when the canvas is not properly primed. To avoid cracking and crazing, make sure to use a high-quality primer and allow ample drying time.
Pinholes and Bubbles
This can happen when air gets trapped in the paint as it dries. To prevent this, make sure to stir the paint and medium thoroughly and avoid shaking the canvas.
Uneven Coverage and Texture
This can happen when the paint is too thick or too thin, or when the canvas is not level. Make sure to use the correct ratios of paint and medium, and use a level surface to avoid uneven coverage.
Common Mistakes When Making Acrylic Pouring Medium On Your Own
Making acrylic pouring medium on your own can be a fun and rewarding experience, but there are some common mistakes to avoid. Here are some of the most common mistakes people make when making their own acrylic pouring medium:
Using the wrong type of glue
Not all glues are suitable for making acrylic pouring medium. PVA glue is the most commonly used glue, but other types of glue may not have the same properties and could result in a different consistency and drying time.
The incorrect ratio of ingredients
The ratio of glue to water and other additives is crucial in making acrylic pouring medium. Using too much water or too little glue can result in a mixture that is too thin or too thick, which can affect the cells and overall finish of the artwork.
Overmixing or undermixing
Mixing the ingredients for too long or not mixing them enough can also affect the consistency and quality of the pouring medium. Overmixing can create bubbles or foam, while undermixing can result in clumps and lumps in the mixture.
Adding too many additives
Adding too many additives to the pouring medium can make it difficult to achieve the desired consistency and effect.
It is important to experiment with small batches and take note of the amounts and types of ingredients used to recreate the results in the future.
Using dirty or contaminated tools
The tools used to mix the pouring medium should be clean and free of any residue or contaminants. Using dirty tools can affect the consistency and quality of the mixture.
By avoiding these common mistakes, you can ensure that your homemade acrylic pouring medium turns out just as you envisioned it, resulting in beautiful and unique artwork.
FAQs
- Can I use pouring medium with oil or watercolor paints?
Pouring medium is specifically designed for use with acrylic paints. It is not recommended to use pouring medium with oil or watercolor paints as they have different properties and consistencies. There are, however, other mediums available for oil and watercolor paints that can help enhance their flow and performance.
- How long does homemade pouring medium last?
Homemade pouring medium, when stored properly, can last for several weeks to a few months. It is recommended to store it in an airtight container and keep it in a cool, dry place. Over time, the mixture may thicken or develop mold, so it’s advisable to check its consistency and quality before using it.
- Can I use pouring medium without diluting it with water?
Pouring medium is typically mixed with water to achieve the desired consistency and flow. However, you can experiment with different ratios or use pouring medium without dilution, depending on the effect you want to achieve. It’s all about finding the balance that works best for your specific painting technique and desired outcome.
- Can I use pouring medium with other art mediums like resin or encaustic?
Pouring medium is primarily designed for use with acrylic paints. While it may not be suitable for direct use with resin or encaustic, it can still be used alongside them in mixed media artworks. When using pouring mediums with other art mediums, it’s important to consider compatibility and test small samples to ensure the desired results.
- Is pouring medium necessary for beginners in acrylic pour painting?
Pouring medium is not necessarily a requirement for beginners in acrylic pour painting, but it can be a helpful tool. It assists in achieving consistent paint flow, reduces the risk of cracking, and enhances certain effects. However, beginners can still experiment and learn the basics of acrylic pour painting with diluted acrylic paint before incorporating the pouring medium into their practice.
- Can I reuse the leftover pouring medium?
Yes, you can reuse leftover pouring mediums in future art projects. It’s recommended to strain the leftover medium to remove any paint or debris and store it in an airtight container. Over time, the consistency may change, so you may need to adjust it by adding water or pouring medium to restore the desired consistency before using it again.
Conclusion
Acrylic Pouring is a fun and accessible art form that allows for a wide range of creative expression. By knowing how to make Acrylic Pouring Medium, you can customize the consistency and properties of the medium to suit your needs and preferences.
Whether you are a beginner or an experienced artist, experimenting with different techniques and materials can help you create unique and beautiful works of art.
Creating a custom pouring medium is just one part of the equation. To fully understand your options, read our comparison on Floetrol vs Pouring Medium.